Table Of Contents
Cleaning the Broken Glass
Cleaning broken glass is an essential first step before attempting to repair it. Begin by ensuring the area is safe. Wear protective gloves to prevent cuts and use a broom and dustpan to carefully gather larger shards. For smaller fragments, using sticky tape can help to lift them off surfaces without causing further injury. Dispose of the shards in a sturdy container to prevent accidents.
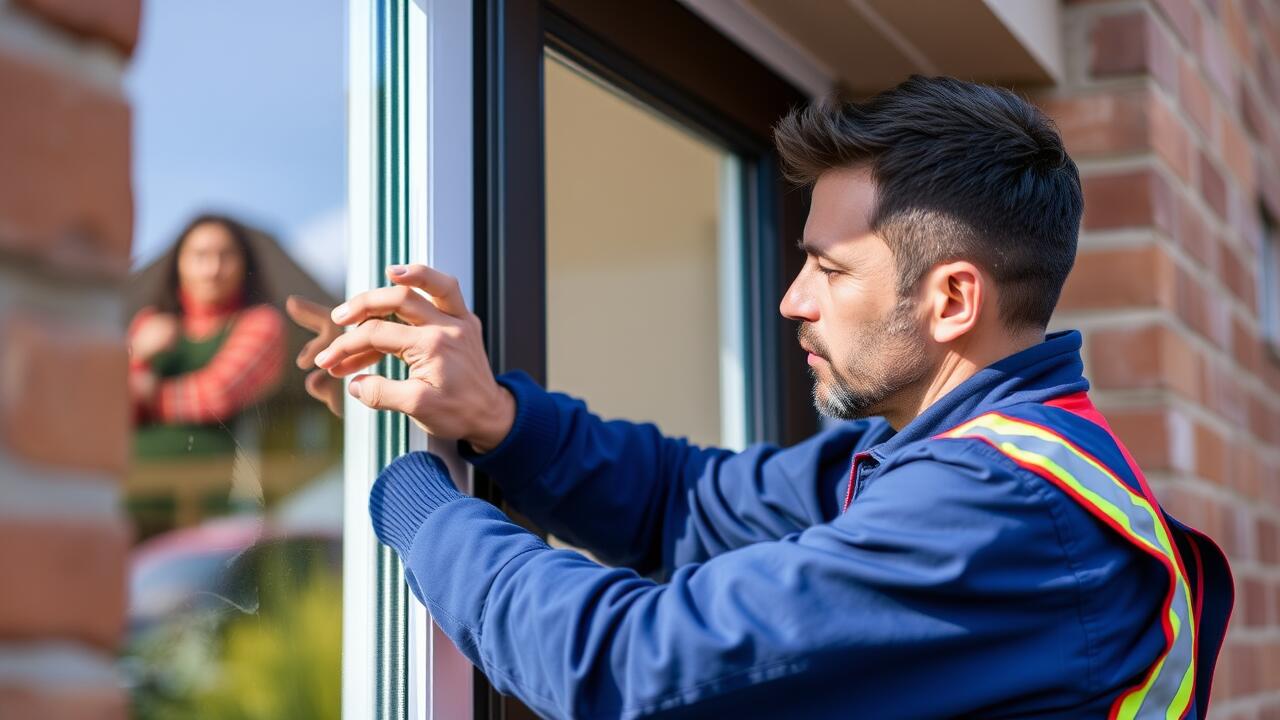
Once the larger pieces are removed, clean the surrounding area with a damp cloth to capture any tiny glass particles. Ensure the surface is free of dust and debris to promote better adhesion later on. This preparation stage is crucial, especially in tasks like side window repair, where a clean surface will help the adhesive bond effectively. A meticulous clean-up not only protects against further injury but also enhances the longevity of the repair.
This new blog post covers this topic in more detail.
Steps to Safely Remove Glass Shards
When dealing with broken glass, safety should be your top priority. Begin by wearing gloves to protect your hands from sharp edges. Thick, cut-resistant gloves are ideal for this task. Use sturdy shoes to prevent injuries to your feet. Gather a broom and dustpan, as well as a vacuum cleaner with a hose attachment to collect smaller shards. Carefully inspect the area for loose pieces before proceeding. It can be helpful to have a damp paper towel on hand to pick up tiny fragments that may not be easily visible.
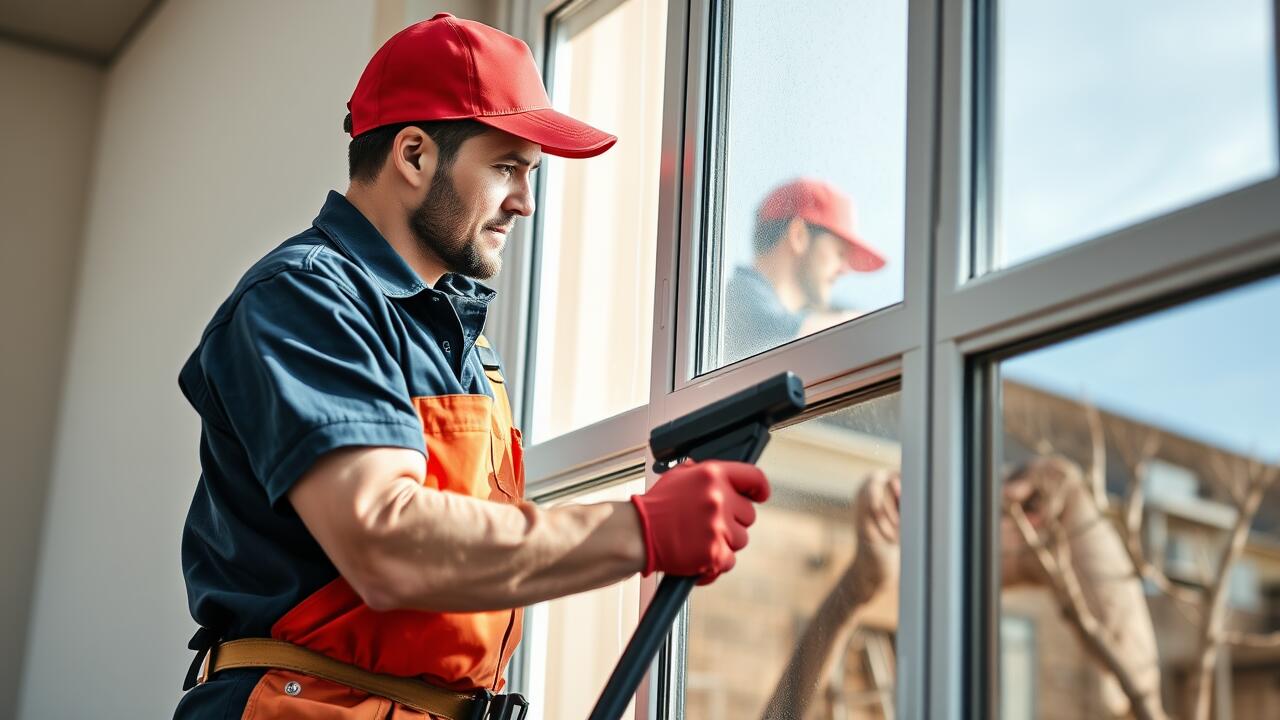
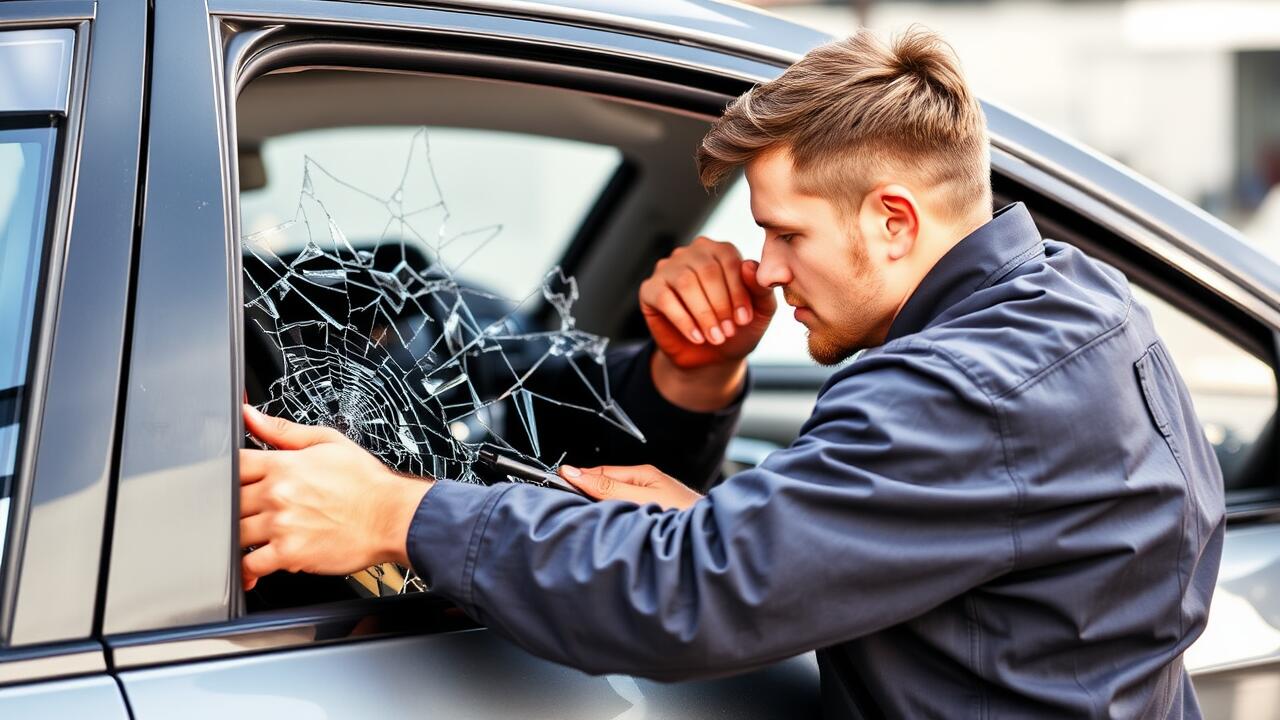
For effective side window repair, gently sweep the larger pieces of glass into a pile and transfer them into a sturdy container. Avoid using your hands directly, as this increases the risk of injury. Once the majority of the shards have been collected, use the vacuum to suck up any remaining glass that could pose a danger. Pay special attention to corners and hard-to-reach places where shards may hide, ensuring the area is completely clear. Dispose of the glass safely according to your local regulations, keeping the environment in mind.
Choosing the Right Adhesive
Selecting the appropriate adhesive is crucial for achieving a successful glass repair. Different types of glue are available, each designed for specific bonding needs. For instances such as side window repair, opt for adhesives that offer strong, clear bonds that can withstand temperature variations. Consider products like cyanoacrylate glue for minor cracks or epoxy for larger breaks. Always check the manufacturer's instructions for compatibility with glass and ensure the adhesive provides sufficient strength and durability.
When repairing glass, it's essential to factor in the environment where the adhesive will be applied. Some glues cure quickly, making them suitable for immediate repairs, while others may require a longer setting time. In the case of side window repair, look for adhesives that not only bond effectively but also resist moisture and UV exposure. This resistance is vital to maintain the integrity of the repair over time and prevent further issues stemming from environmental factors.
Types of Glue Suitable for Glass
When it comes to repairing glass, choosing the right adhesive is crucial to ensure a durable fix. Epoxy glue is a popular option for glass repairs, including side window repair, due to its strong bond and resistance to heat and water. It generally requires mixing two components, which activates the adhesive properties. This type of glue can be used effectively for larger cracks or breaks where structural integrity is a concern.
Another suitable adhesive is cyanoacrylate, commonly known as super glue. This glue works well for small chips or cracks in glass and sets quickly. It is important to use it sparingly as too much can create a messy repair job. When undertaking a side window repair, ensure the glass surfaces are clean and dry before applying the adhesive, as this will promote a better bond and a more professional-looking finish.
Step-by-Step Repair Process
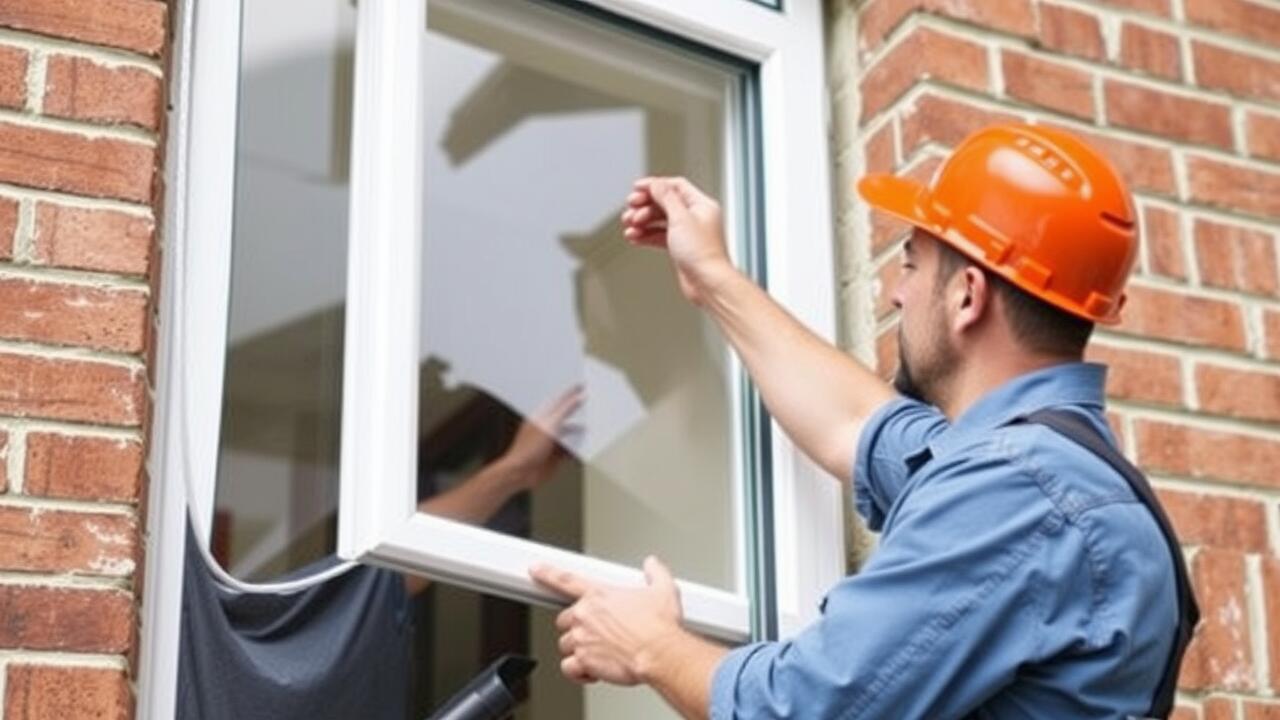
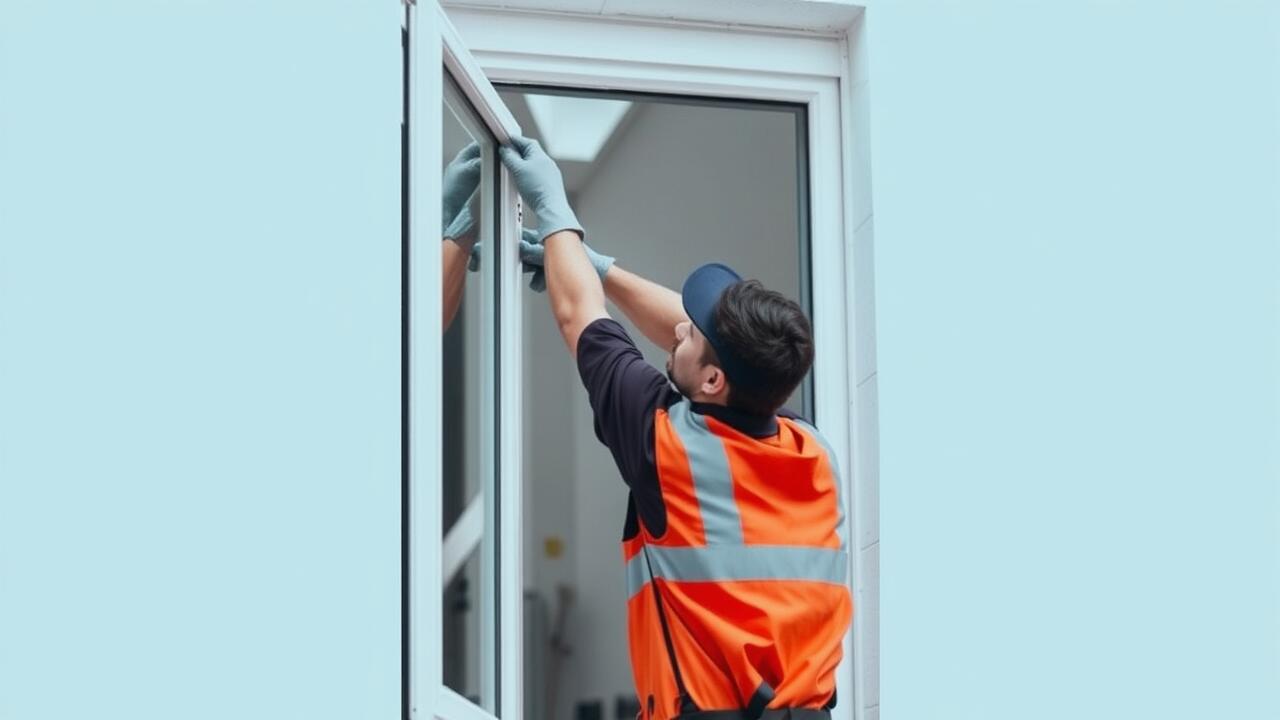
Before beginning with the actual repair, ensure you have all the necessary materials at hand. Gather the adhesive suitable for glass, a small brush or applicator for precise application, and some clamps or weights for securing the pieces together during drying. If you're repairing a side window, make sure the area is clean and dry. Any dirt or moisture can interfere with the adhesive bond. Carefully align the broken pieces, paying close attention to any jagged edges that might need adjustments before they can be joined effectively.
When applying the adhesive, use a delicate touch to avoid excess glue spilling over the edges. Apply a thin layer to the broken edges and press them firmly together. If you’re working on side window repair, it’s essential to clamp the pieces without causing additional stress on the glass. Check the manufacturer's instructions for drying times and ensure that the repair remains undisturbed during this period. Once the adhesive has set, inspect the bond for any gaps or weaknesses, making sure the glass is secure before reinstalling it if it's part of a frame.
Detailed Instructions for Effective Repair
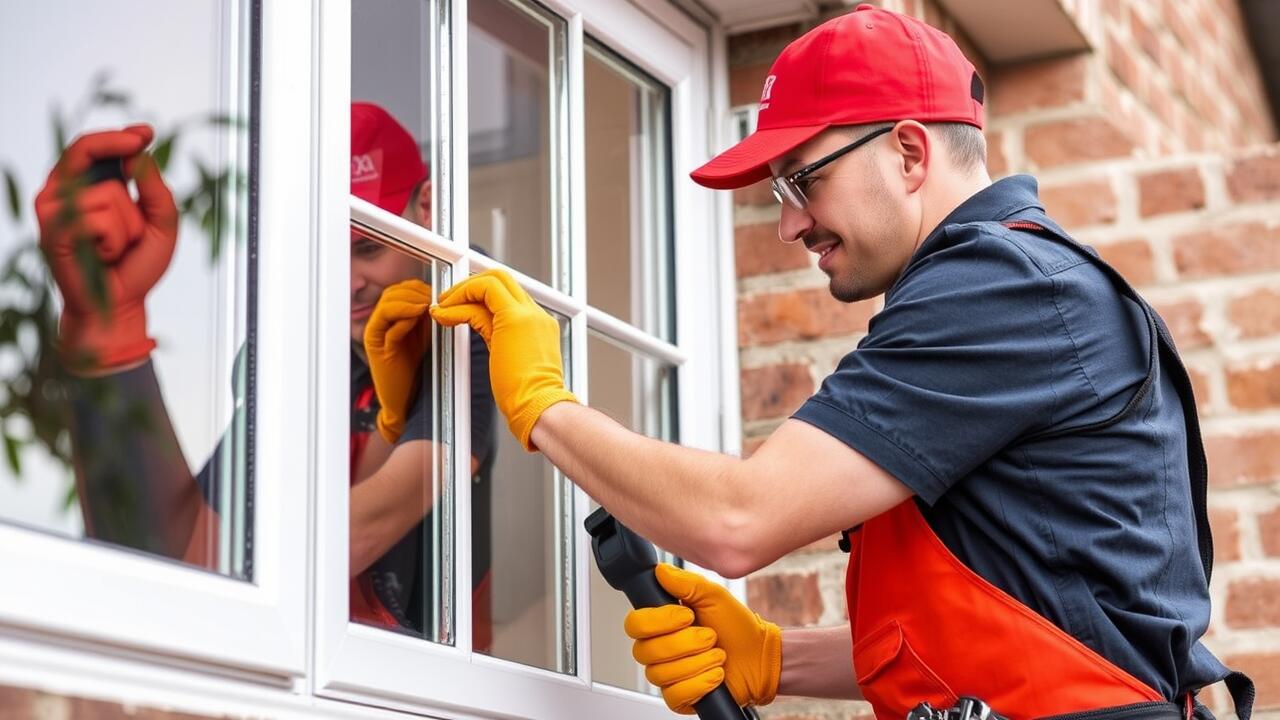
Begin by carefully examining the pieces of broken glass to ensure a proper fit during the repair process. Clean the edges of each shard with rubbing alcohol to remove any dust or oil. This step enhances the adhesion and helps the glue bond effectively. If using a two-part epoxy, mix the components according to the manufacturer's instructions and apply a small amount to one piece of glass. Press the pieces together firmly, ensuring a snug fit while being cautious not to apply excessive pressure, which could lead to further breakage.
For a side window repair, ensure that the adhesive is suitable for the type of glass in question. Allow adequate time for the glue to cure based on the product specifications. It is advisable to let the repair sit undisturbed for a minimum of 24 hours to achieve optimal strength. Once cured, inspect the repair for any gaps or imperfections. If needed, sand down any rough edges gently to create a smooth finish, ensuring the repaired area blends seamlessly with the surrounding glass.
FAQS
What should I do immediately after breaking glass?
First, ensure your safety by wearing gloves and shoes to protect against sharp shards. Carefully pick up larger pieces and use a broom and dustpan to sweep up smaller fragments. Dispose of the glass safely in a sturdy container.
Can I repair broken glass myself, or should I hire a professional?
Many minor glass repairs can be done safely and effectively at home using the right tools and adhesives. However, for larger or more intricate repairs, or if you're unsure, it may be wise to consult a professional.
What types of glue are best for repairing glass?
Epoxy, cyanoacrylate (super glue), and specialized glass adhesives are commonly used for repairing glass. The best choice depends on the type of glass and the extent of the damage.
How long does it take for glass adhesive to dry?
Drying times can vary by adhesive type. Generally, most glass adhesives set within a few minutes but may require 24 hours to fully cure for maximum strength.
Is it safe to use repaired glass items?
Once a glass item is properly repaired and the adhesive has fully cured, it should be safe to use. However, avoid using repaired glass for hot liquids or heavy items, as it may not hold up under stress.