Table Of Contents
Installing the New Window
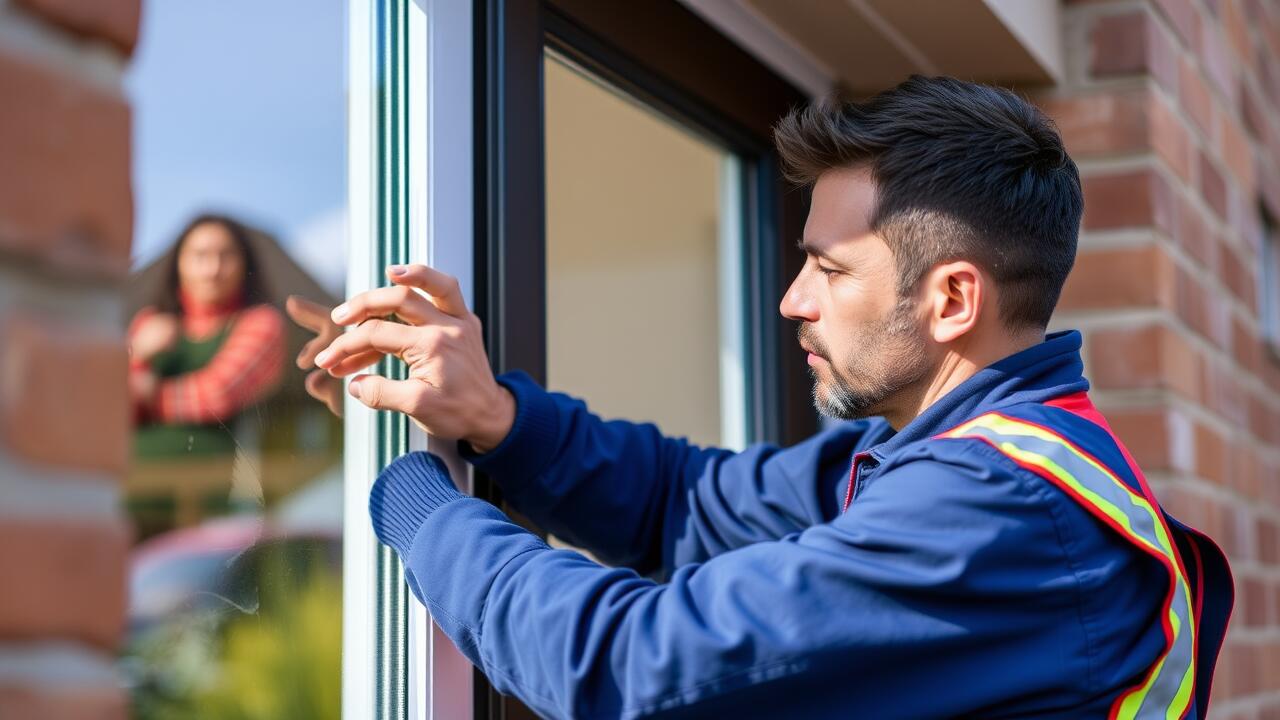
When installing the new driver side window, start by carefully placing the glass into the window frame. Ensure that the new window aligns with the tracks and guides, allowing it to move seamlessly when the mechanism is activated. It’s important to follow any manufacturer-specific instructions to avoid complications during the installation process. Gently press the window into place, ensuring it fits securely within the frame.
Once the new glass is positioned correctly, reattach the window's securing clips and brackets as needed. Double-check all connections to confirm that they are tight and firm. This step is crucial to the success of your side window repair. Lastly, apply a suitable adhesive around the edges of the glass if recommended, as this will help create a solid seal and improve durability against the elements. After completing this, you can proceed to the next phase of the replacement process.
This new blog post covers this topic in more detail.
Best Practices for Securing the New Glass
When securing the new glass in place during a driver side window replacement, it is essential to use high-quality adhesive designed specifically for automotive applications. Apply the adhesive evenly along the frame where the glass will sit, ensuring a solid bond. Place the new glass gently in position, taking care not to exert too much pressure that could shatter it. Allow the adhesive to cure as per the manufacturer’s instructions, which is critical for the long-term performance of the side window repair.
After the glass is positioned and the adhesive has set, consider adding support to prevent movement while the adhesive dries completely. Using clamps specifically designed for glass can help maintain the correct alignment without applying excess pressure. Additionally, check that any trim pieces are reattached correctly, as they provide further stability and an aesthetically pleasing finish. With these practices, you can ensure a secure fit for the new driver side window, contributing to a successful side window repair process.
Testing the New Window Functionality
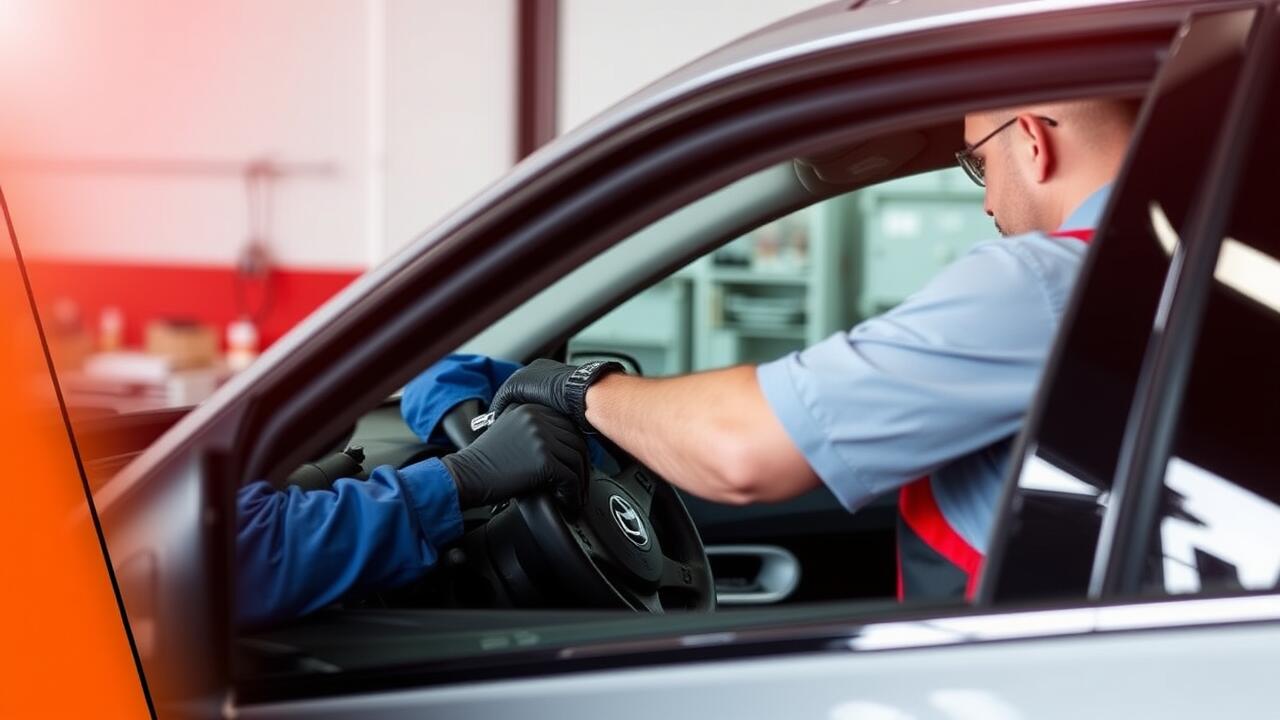
Once the new driver side window has been installed, it is essential to test its functionality. Begin by ensuring that the window can be raised and lowered smoothly without any obstructions. Operate the window several times using the switch to check for any unusual sounds or resistance. This step not only confirms proper installation but also helps in identifying any issues before reassembling the door panel. A well-functioning side window is crucial for both visibility and safety on the road.
After confirming that the window operates smoothly, inspect the seal around the edges. A proper seal prevents wind noise and water ingress. Close the window fully and run your fingers along the edges to feel for any gaps. Pay close attention to the corners, as these areas are often prone to misalignment. If you notice any irregularities, adjustments may be required to ensure a perfect fit. Attention to detail during this side window repair can save future headaches and enhance the longevity of your vehicle.
Ensuring Smooth Operation and Seal Quality
After installing the new window, it is essential to ensure its smooth operation. Open and close the window multiple times to confirm that it moves freely without any obstruction. Listen for unusual noises that may indicate a misalignment or interference from surrounding components. Pay attention to any resistance while operating the window. If issues arise, it may require adjustments to the window tracks or the alignment of the glass itself. A well-functioning side window adds to the vehicle's overall comfort and usability.
Seal quality is another crucial aspect of side window repair. Inspect the rubber seals around the edges of the new glass for proper placement and ensure they create a tight fit against the frame. A good seal prevents water ingress and reduces wind noise. If any gaps are noticeable, they could lead to future problems such as leaks or drafts. Regular checks of the seal can help maintain the integrity of the window and contribute to a better driving experience.
Cleaning Up After the Replacement
Once the driver side window has been successfully replaced, it's essential to tidy up the workspace. Remove any leftover materials such as packaging or old components from the installation. Collect tools and ensure that nothing is left inside the vehicle that could cause damage or obstruction later. Pay attention to any glass shards or debris that may have fallen during the process. A clean workspace reduces the risk of accidents and creates a professional finish to your side window repair.
Disposing of the old materials properly is also crucial. Glass shards can be hazardous and should be wrapped securely before disposition. Check local regulations regarding the disposal of automotive glass to ensure compliance. If you have any used adhesive or sealant, follow guidelines for hazardous waste in your area. Taking these steps not only keeps your surroundings safe but also contributes to environmentally responsible behaviour following your side window repair.
Proper Disposal of Old Materials and Tools
After completing the side window repair, it's essential to handle the disposal of old materials responsibly. Broken glass poses a safety hazard and should be wrapped securely in heavy-duty materials to prevent injury during transport. Local waste management services often have specific guidelines for disposing of glass, so it’s wise to check with them. Some areas offer recycling programs for glass that can be a sustainable option for disposal.
Tools used during the repair should also be accounted for. Ensure that any non-reusable items are disposed of according to local regulations. If tools are in good condition, consider donating or selling them instead of discarding them. Proper disposal not only contributes to a cleaner environment but also promotes safety in your workspace.
FAQS
What tools do I need to replace the driver side window?
To replace the driver side window, you'll typically need a screwdriver, a window removal tool, silicone adhesive, glass cleaner, and safety gloves. Depending on your vehicle model, you may also need specific tools like a trim removal tool or a socket set.
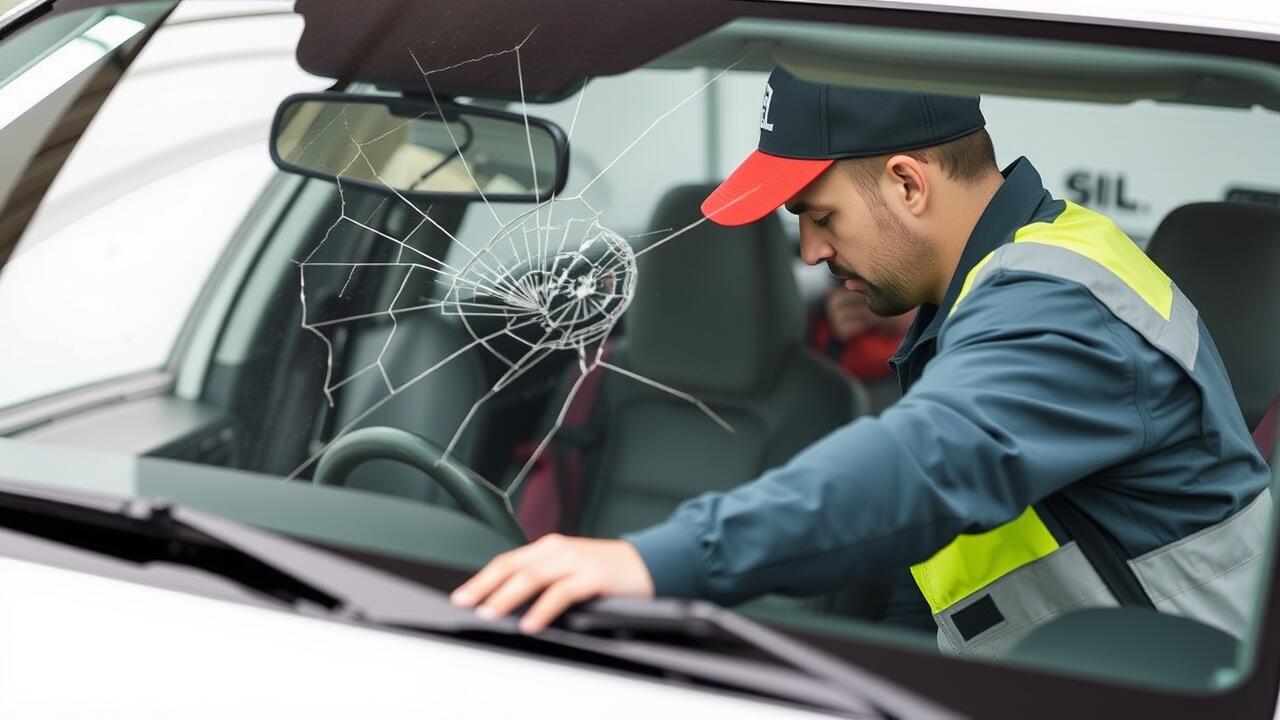
How do I know if I need to replace the entire window or just the glass?
If the glass is shattered or extensively damaged, you will need to replace the entire window. However, if the glass is intact but the mechanism is faulty, you might just need to repair or replace the window regulator.
Is it necessary to use a professional for window replacement?
While many DIY enthusiasts can successfully replace a window, it is advisable to seek professional help if you are unsure or lack the necessary tools and skills. Professionals can ensure proper installation and sealing to prevent leaks.
How long does it take to replace a driver side window?
The time required can vary depending on your experience level and the complexity of the job, but typically it takes between 1 to 3 hours to complete the replacement.
What should I do if the new window doesn’t fit properly?
If the new window doesn’t fit correctly, double-check the measurements and ensure you have the right glass for your vehicle model. If the issue persists, it may be best to consult a professional for assistance.