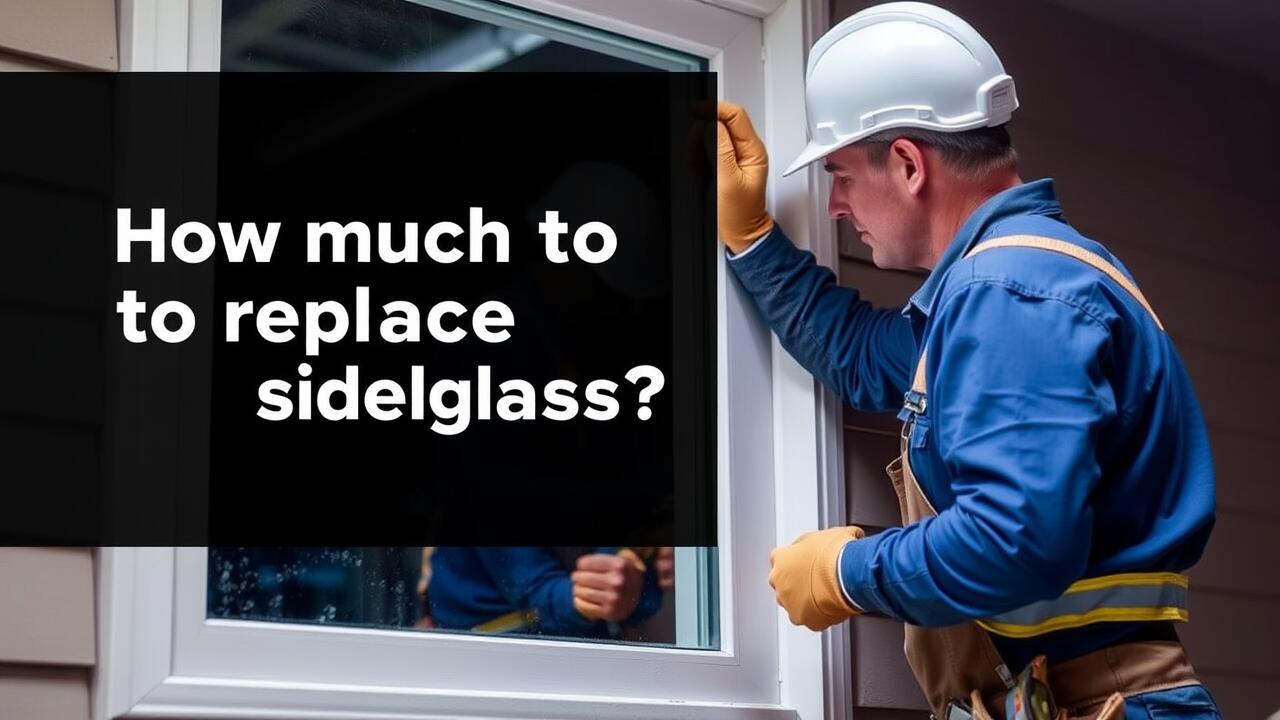
Table Of Contents
The Role of UV Protection in Repair Products
UV protection plays a critical role in the efficacy and longevity of side window repair products. Many adhesives and sealants used in the repair process can degrade over time when exposed to harmful ultraviolet rays. This degradation not only affects the strength of the repair but also leads to discolouration and cloudiness in the window surface, compromising the overall aesthetic and functional quality.
Choosing repair products that incorporate UV stabilisers can significantly enhance the durability of the repairs. These stabilisers work to absorb and dissipate harmful UV radiation, protecting the integrity of the adhesive used in side window repair. By selecting products specifically designed to withstand UV exposure, vehicle owners can ensure that their repairs remain effective and visually appealing for a longer period.
Here is a great resource for anyone looking to expand on this topic.
How UV Rays Affect Window Repairs
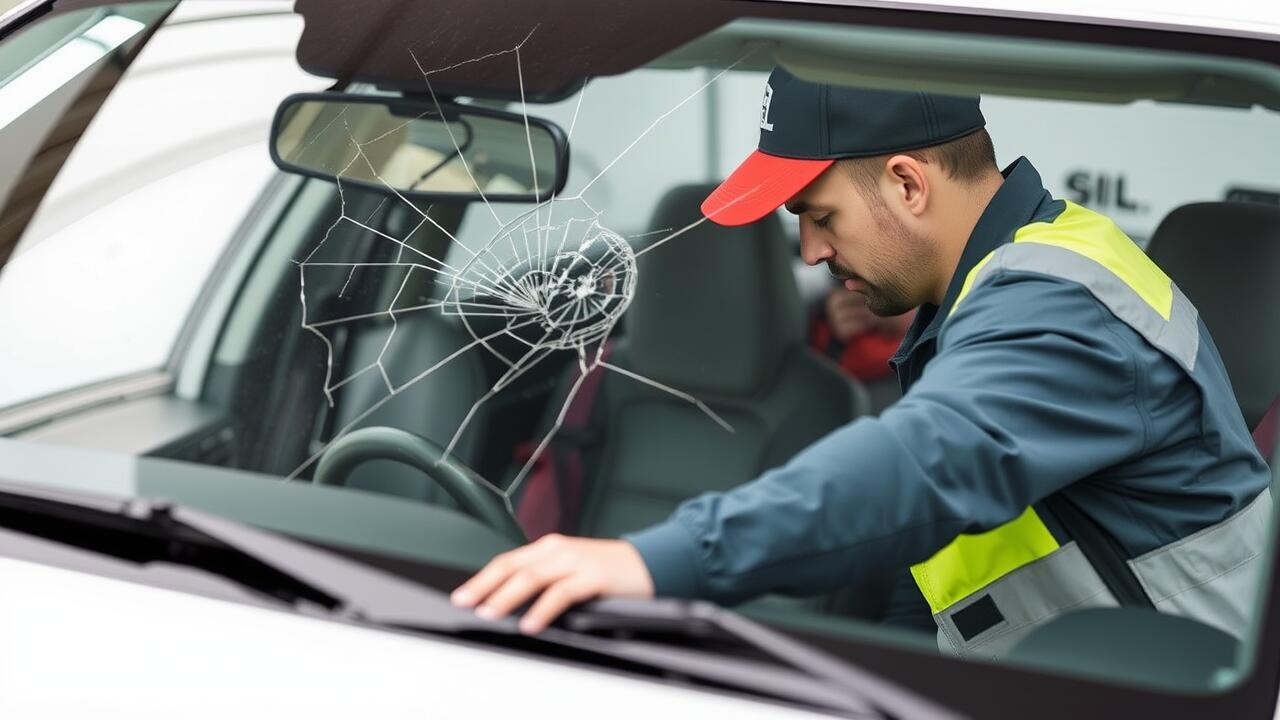
UV rays can significantly impact the effectiveness of side window repair products. When exposed to direct sunlight, certain repair resins may cure too quickly, leading to uneven bonding within the crack. This can create weaknesses that compromise the integrity of the repair, making it susceptible to further damage. Additionally, prolonged UV exposure can cause the repair materials to discolour, which may detract from the overall appearance of the window.
Proper application timing is crucial to mitigate the adverse effects of UV rays on repairs. Shade or a controlled environment can enhance the curing process, allowing for a more uniform application. Ensuring that the repair area is shielded from harsh sunlight while the product sets can lead to better outcomes. Consumers should consider these factors when choosing a side window repair solution to achieve lasting results.
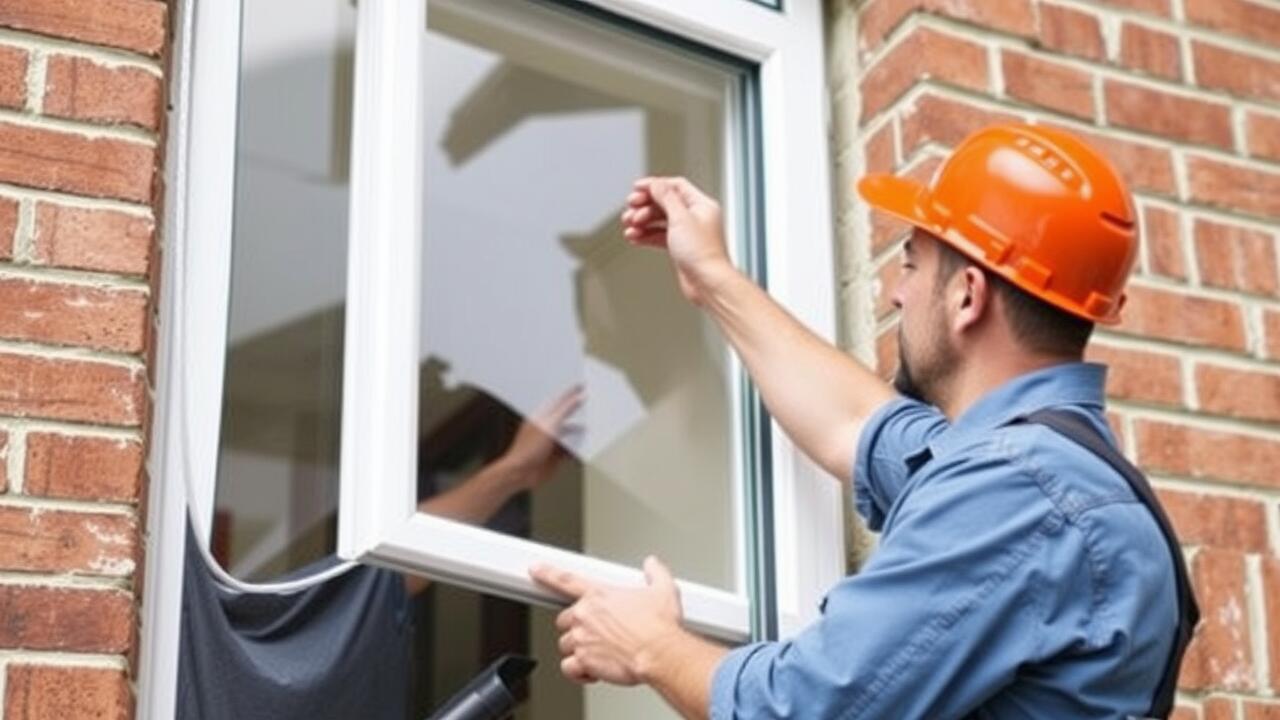
Expert Tips for DIY Repairs
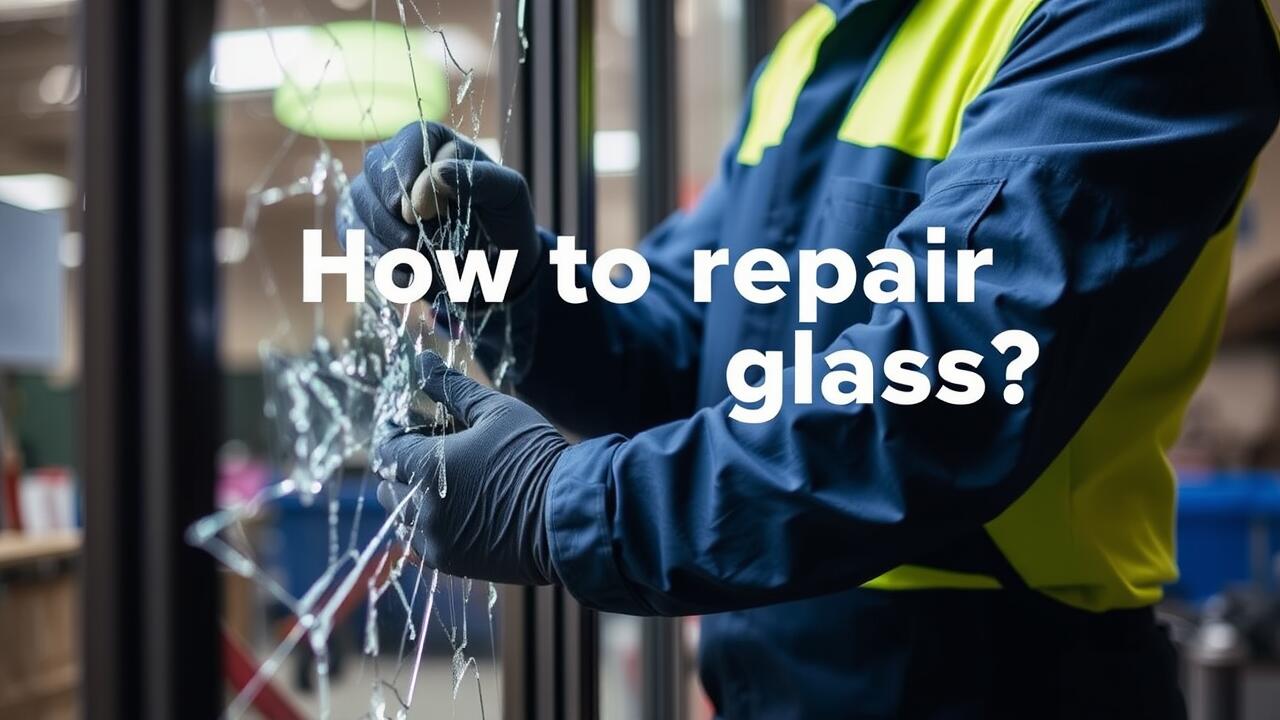
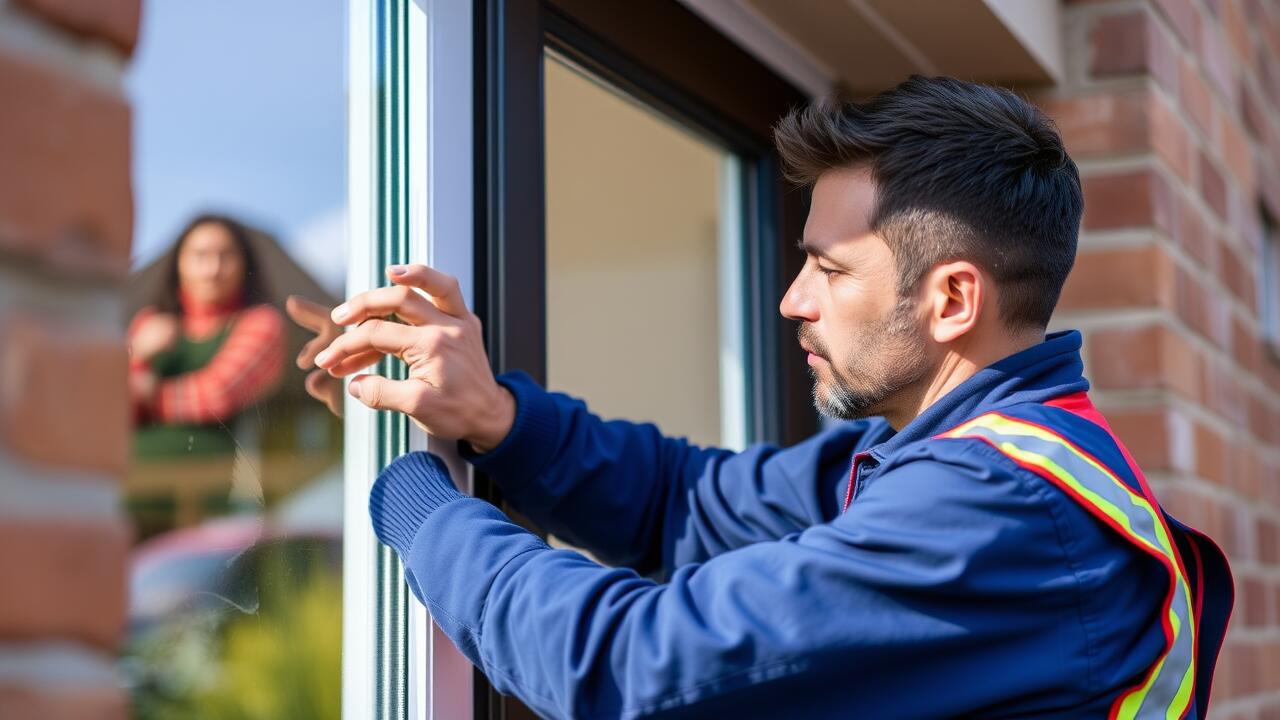
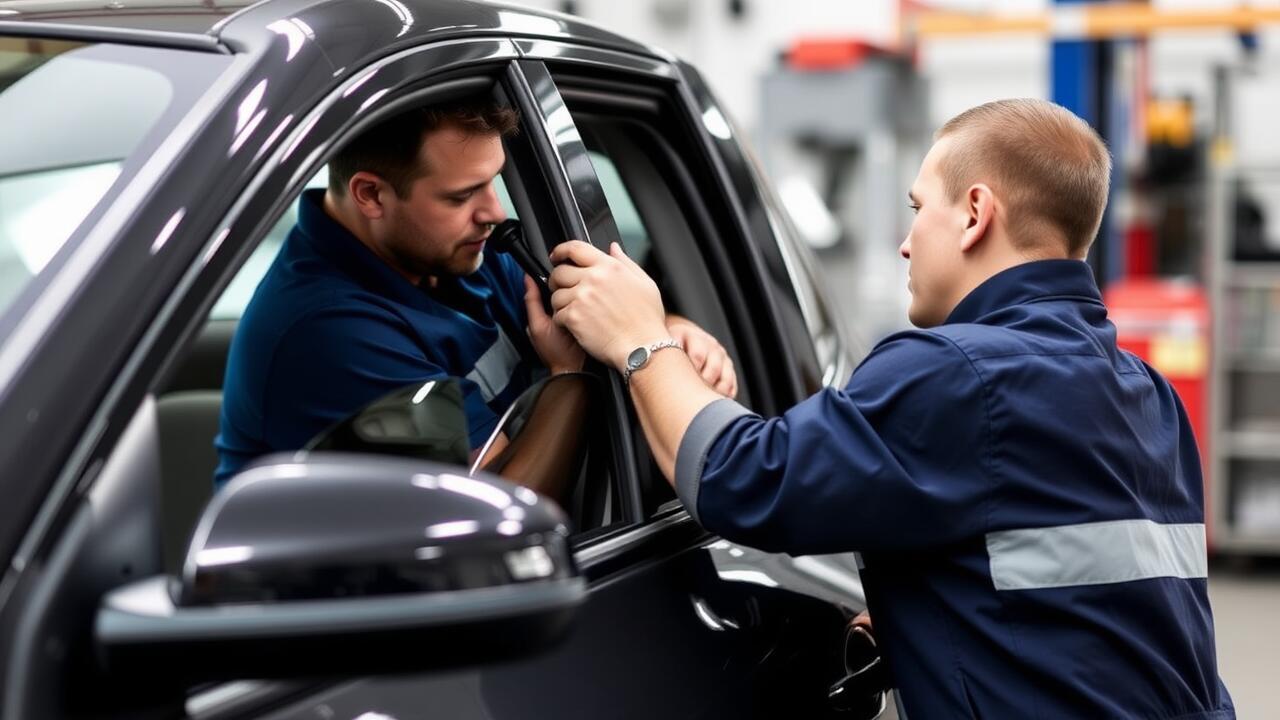
When tackling a side window repair, it is crucial to assess the extent of the damage before beginning any DIY efforts. Inspect the crack thoroughly. Determine whether it requires professional intervention or if it can be effectively managed with a repair kit. Clean the surrounding area to remove dirt and debris. This ensures that adhesive materials adhere properly, improving the overall outcome of your repair.
Using the right materials can significantly enhance the success of your project. Ensure you choose a repair kit specifically designed for automotive glass. Follow the instructions closely for optimal results. Pay attention to curing times, as rushing this step may compromise the integrity of your repair. Lastly, consider applying a UV protectant after the repair to prolong the lifespan of your work and to prevent future damage caused by sun exposure.
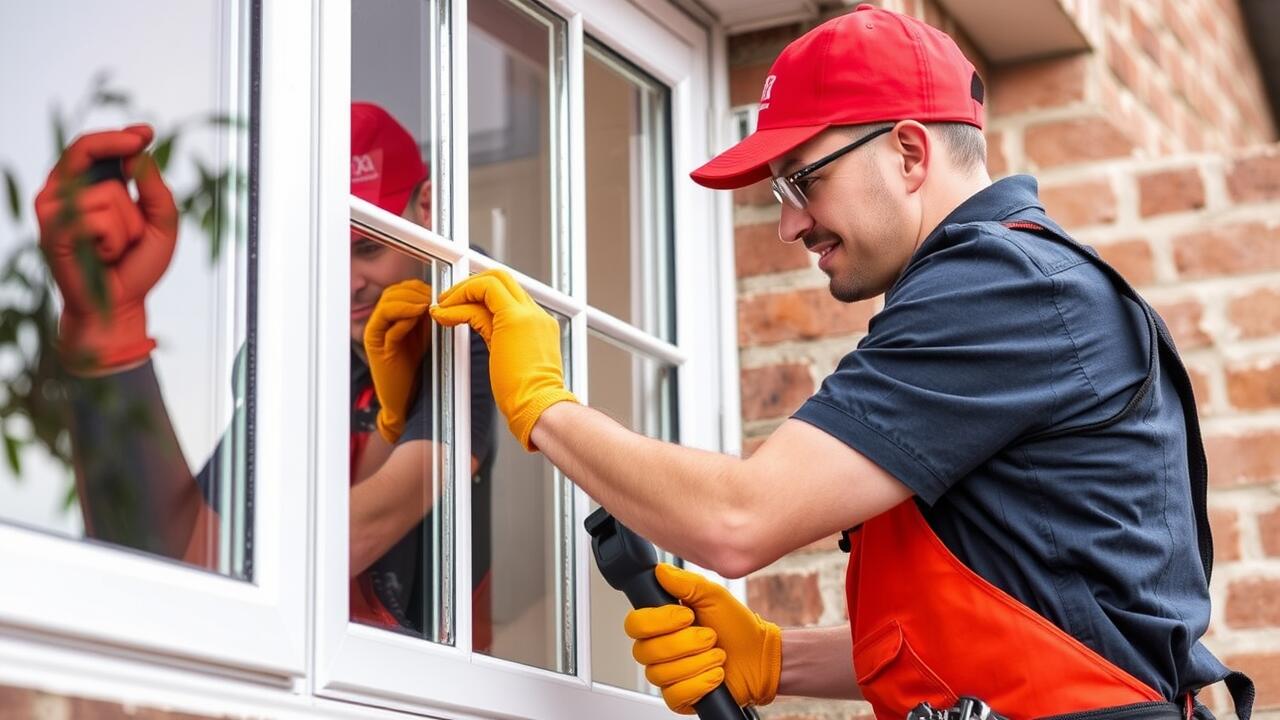
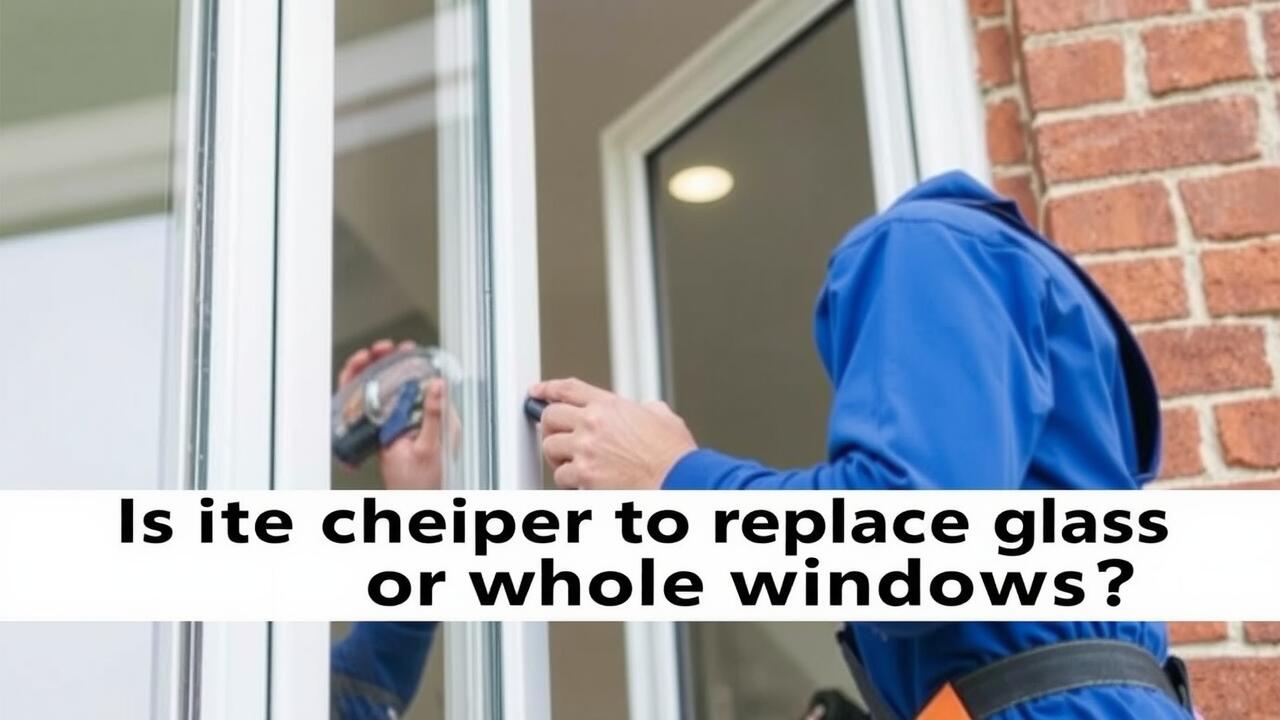
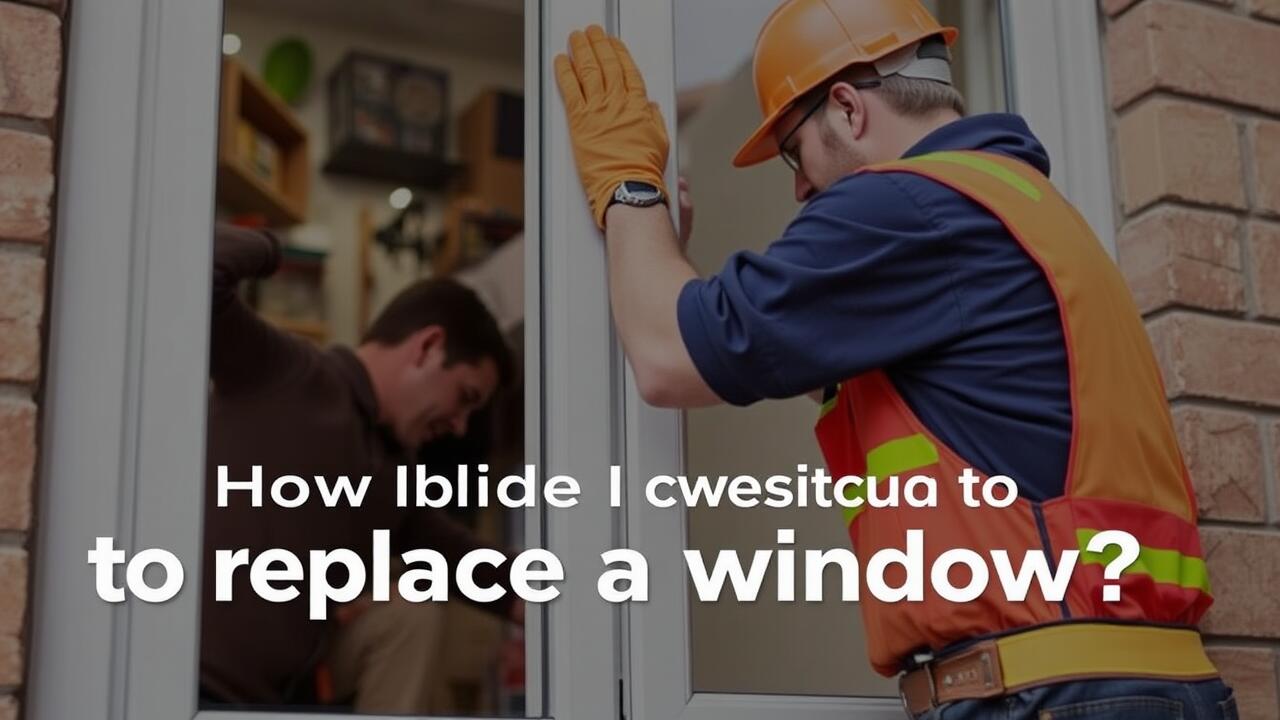
Step-by-Step Guide for Crack Repair
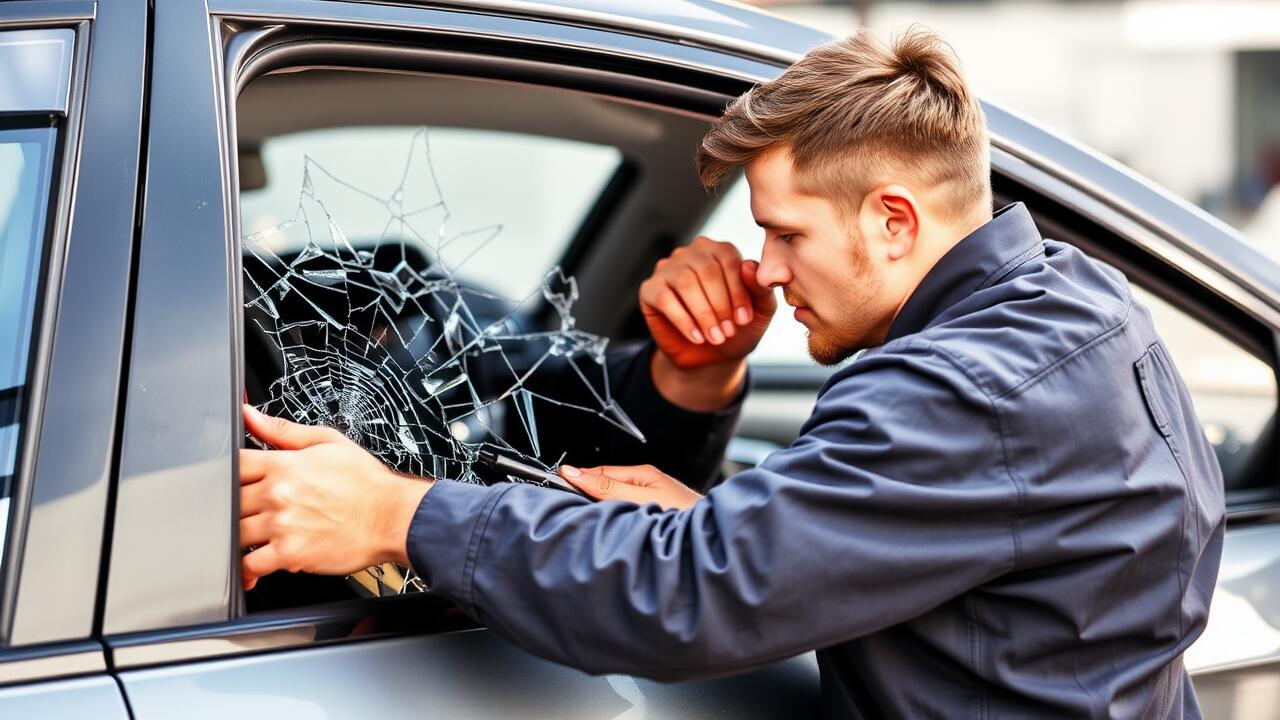
Cracked side windows can impair visibility and compromise safety. To undertake a side window repair effectively, begin by gathering the necessary materials such as a glass cleaner, adhesive, and a repair kit specifically designed for cracks. Clean the area around the crack thoroughly, removing any dirt or debris to ensure a strong bond with the adhesive.
Next, use a small applicator to fill the crack with the adhesive provided in your repair kit. Follow the instructions carefully, applying just the right amount to prevent overflows. Allow the repair to set for the recommended time before testing the integrity of the fix. Always check for any leftover residue and clean up any excess to ensure a neat finish once the side window repair is complete.
Customer Reviews and Ratings of Popular Products
Customers have been vocal about their experiences with various products designed for side window repair. Many users appreciate the ease of application and effectiveness of these kits. Positive feedback often highlights how certain products successfully minimise the appearance of cracks while providing a temporary seal. Some customers report significant improvements after just one application, which adds to their overall satisfaction.
However, not all reviews are glowing. A segment of users has expressed frustration with certain brands that did not meet their expectations. Complaints frequently revolve around the durability of the repair or challenges faced during the application process. This variability in user experiences underscores the importance of researching and selecting the right side window repair kit that aligns with individual needs and circumstances.
What Users Are Saying About Their Experiences
Users have reported mixed experiences with various side window repair products. Some praise the ease of application, noting that the instructions provided were straightforward. They appreciated the quick drying times and visible results, with many stating their cracks were not only sealed but also less noticeable after treatment. Others, however, expressed frustration when products did not live up to their advertising claims. Some experienced issues with adhesion over time, leading to intermittent peeling or new cracks forming around the initial repair.
Customer reviews frequently highlight factors such as cost-effectiveness and durability. Many users felt that investing in side window repair products was worthwhile compared to more expensive professional services. They also shared their tips on maintaining the repaired area, recommending avoiding extreme temperatures and regular inspections to ensure longevity. Overall, while experiences varied, users often emphasised the financial savings and convenience of DIY solutions.
FAQS
What types of products are best for fixing cracked side windows?
The best products for fixing cracked side windows include resin kits designed for glass repair, UV repair solutions, and adhesive sealants specifically formulated for automotive glass.
How do UV rays impact the effectiveness of window repair products?
UV rays can weaken the bond of repair adhesives and resins over time, which can lead to further cracking or peeling if not adequately protected. Products with UV protection help maintain the integrity of the repair.
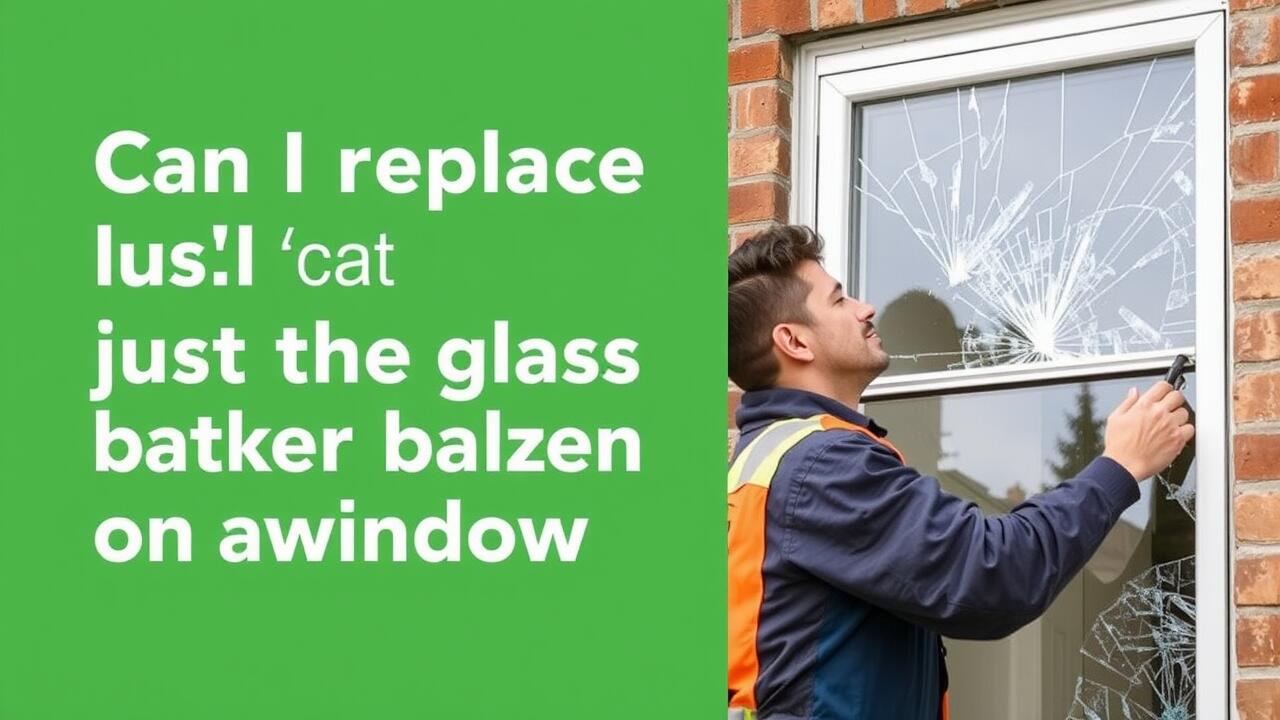
Can I repair a cracked side window myself?
Yes, you can repair a cracked side window yourself using DIY repair kits that come with detailed instructions. However, it's important to assess the extent of the damage—if the crack is significant, professional assistance may be necessary.
What should I do before applying a repair product to my cracked window?
Before applying a repair product, ensure the area around the crack is clean and dry. Remove any dirt or debris, and allow the glass to reach room temperature for optimal adhesion.
Are there any specific customer reviews that highlight the effectiveness of these repair products?
Yes, many customer reviews praise products for their ease of use and effectiveness in sealing cracks. Users often share their experiences regarding the longevity of the repair and the clarity of the window post-application.