Table Of Contents
Installing the New Window
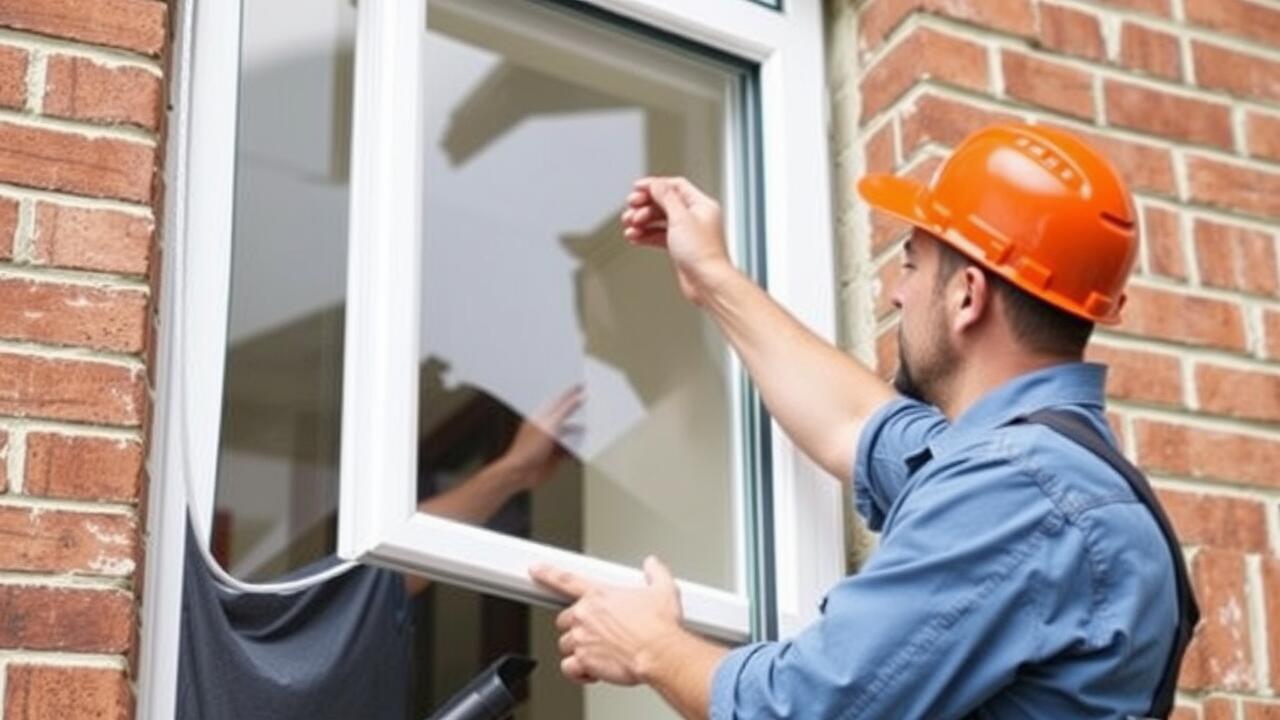
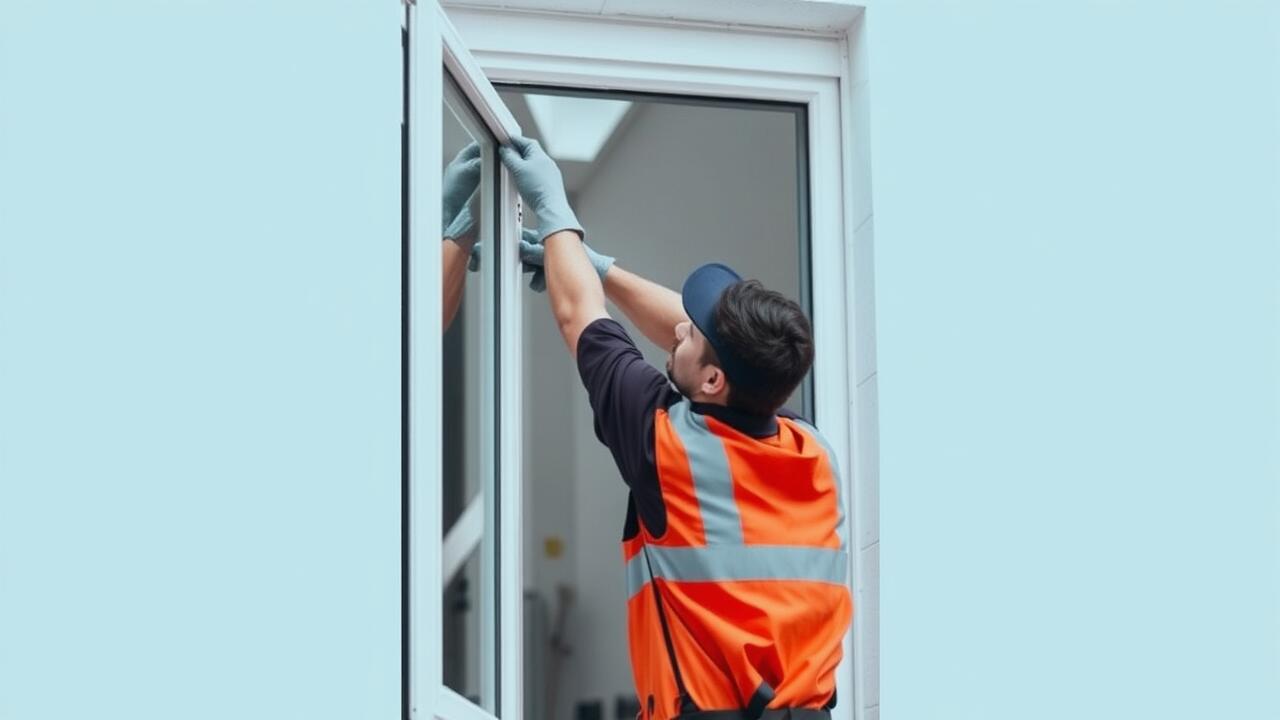
Carefully position the new glass panel into the frame of the door. Ensure that the edges align with the guides and any clips intended to hold it in place. It may be helpful to have a second person support the weight of the glass while you secure it on your side. Follow the manufacturer’s instructions for installing any necessary components, like the window regulator or runners. Double-check that everything is securely connected to avoid any issues later on.
After setting the window, it’s important to test its movement before sealing it permanently. Lower and raise the window a few times to ensure smooth operation. If any resistance is felt, recheck the alignment and connections. Properly installing the new window is crucial for a successful side window repair. Take your time with this step, as doing it right will prevent future complications.
This new blog post covers this topic in more detail.
Detailed instructions for a proper fit
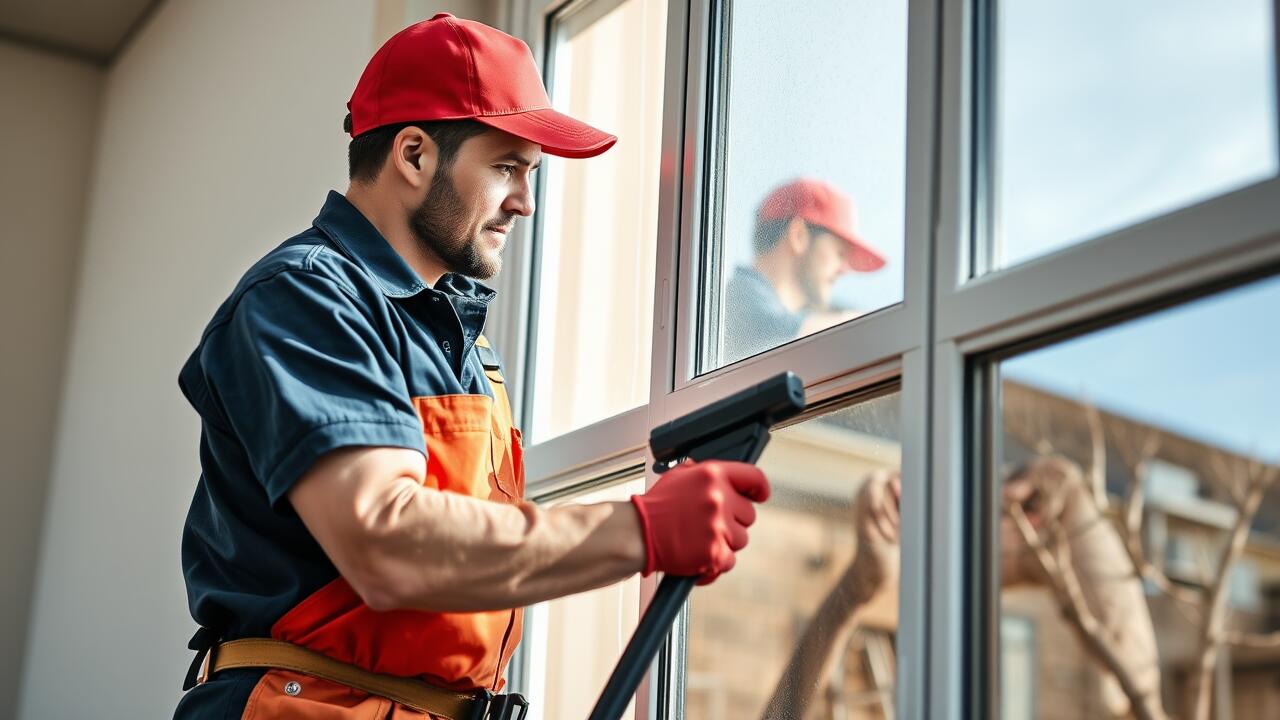
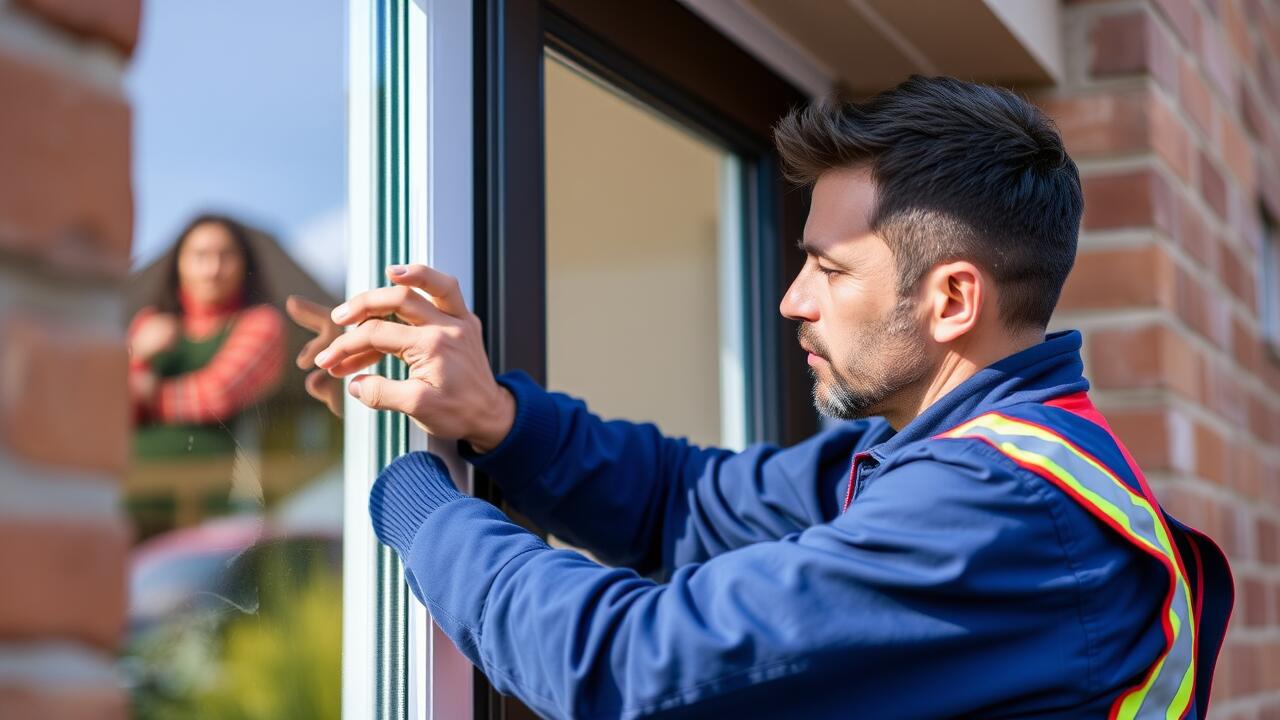
When undertaking a side window repair, it is essential to ensure the new glass fits properly into the frame. Start by removing any remnants of the old window and cleaning the frame thoroughly to prevent debris from disrupting the seal. Place the new glass into position, double-checking its alignment in the frame. It should sit evenly along the edges. If there are any clips or guides that secure the glass, make sure they are also fitted correctly, as this will affect both aesthetics and functionality.
Once the glass is positioned, it is crucial to secure it in place. Apply any necessary adhesive or sealant around the edges, following the manufacturer's recommendations for the specific product. Take care to avoid over-applying the material, as excess sealer can lead to an unsightly finish and may not cure properly. Allow sufficient time for the adhesive to set before proceeding to the next steps. A precise fit during the side window repair process will not only improve the overall appearance of the vehicle but will also enhance its durability and resistance to the elements.
Sealing the Window
To ensure a watertight seal during the side window repair, it's essential to use high-quality adhesive specifically designed for automotive applications. Begin by applying the adhesive evenly along the edge of the window frame. This step prevents water from seeping in while also securing the glass in place. Be mindful of the manufacturer’s instructions regarding the drying time, as this can affect the strength of the bond.
Once the adhesive has cured, inspect the perimeter of the window for any gaps or irregularities. Use a silicone sealant to fill any potential voids as an extra precaution against leaks. Applying sealant will also enhance the overall aesthetics of the installation, providing a cleaner finish. After ensuring everything is sealed correctly, it’s advisable to allow the sealant to set fully before putting the vehicle back into service.
Tips for ensuring a watertight seal
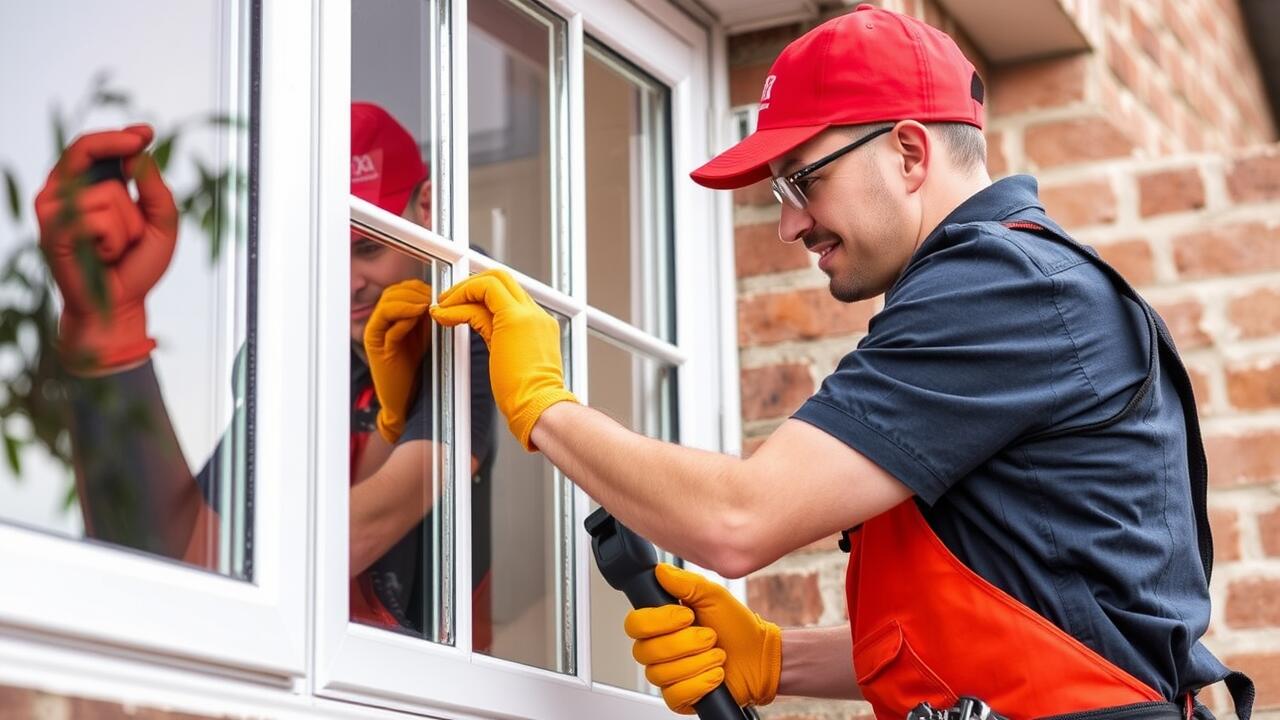
To ensure a watertight seal during your side window repair, start with the right adhesive. Use a high-quality automotive sealant designed specifically for glass installations. This type of sealant can withstand varying weather conditions and remains flexible over time. Clean the window frame thoroughly before applying the adhesive. Remove any old adhesive residues, dust, or dirt that may compromise the seal.
After applying the sealant, carefully fit the new window into place, ensuring it aligns correctly with the frame. Press firmly to create a solid bond. It is important to secure the window with clamps while the adhesive cures to prevent movement. Allow adequate time for the sealant to set according to the manufacturer's instructions. Inspect the seal after curing, looking for any gaps or uneven areas that may need additional attention.
Testing the New Window
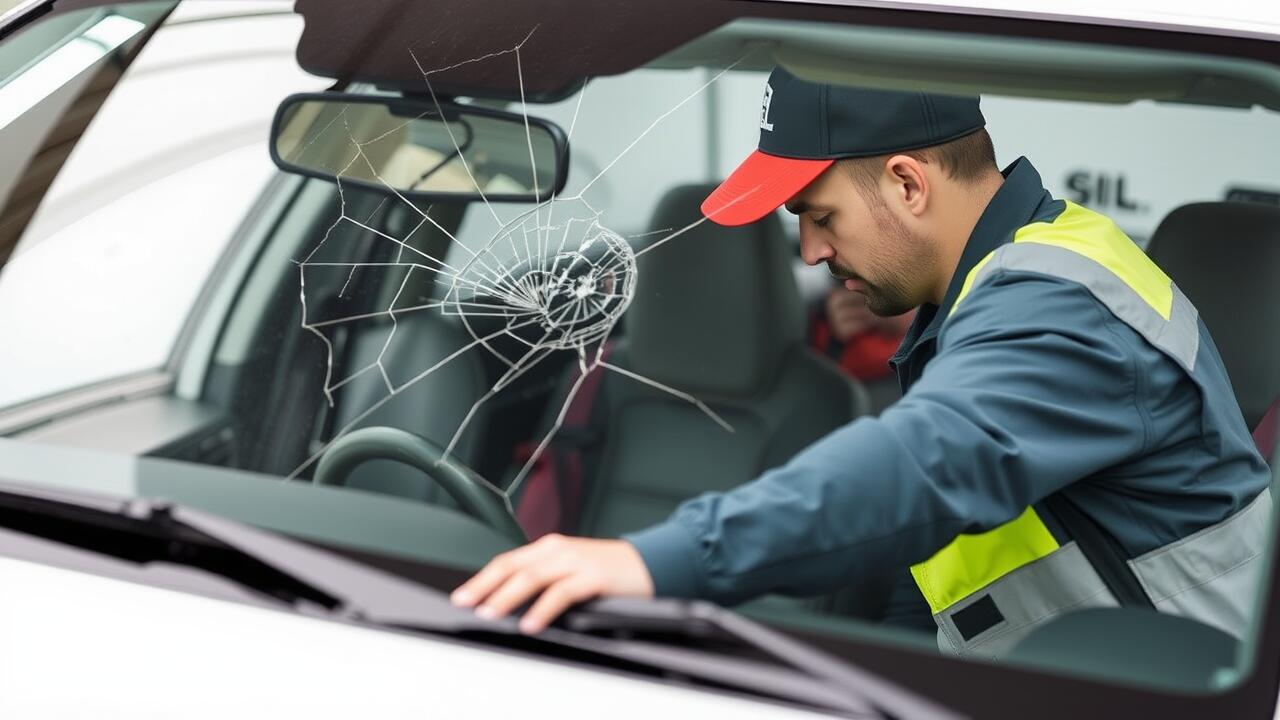
Once you have installed the new side window, it is crucial to test its functionality. Begin by gently closing the door to ensure there is no obstruction. Then, check the window mechanism by operating it multiple times. It should move smoothly up and down without any grinding noise. This step is essential for a proper side window repair, as any irregularities could indicate misalignment or installation issues.
Next, inspect the window for any gaps between the glass and the frame. This assessment will help determine if the seal is intact, preventing water ingress. Run your fingers along the edges to feel for air leaks or uneven surfaces. If everything appears secure, give the window a final push to verify that it is completely seated in the frame. A thorough check guarantees that the side window repair is both effective and durable, providing peace of mind for future use.
Checking for functionality and security
After completing the installation of the new side window, it is crucial to ensure it functions correctly. Start by testing the window’s movement. Operate the window using its control switch, checking for smooth opening and closing. Listen for any unusual sounds during the operation, as this may indicate alignment issues. A well-fitted window should operate seamlessly without sticking or jamming, making this step vital for effective side window repair.
Next, inspect the window's seal and alignment. Gently press around the edges to confirm that it sits flush against the frame. Any gaps could compromise the window’s security and lead to potential leaks. Ensuring proper sealing helps maintain the integrity of the vehicle's interior. Lastly, take a moment to check that the locks engage securely, as this adds another layer of protection against theft and ensures safety while driving.
FAQS
What tools do I need to replace a broken side window in my car?
You will typically need a flathead screwdriver, a socket wrench, a glass cutter, safety gloves, and a sealant or adhesive specific for automotive windows.
Can I replace the side window myself, or should I seek professional help?
If you have basic DIY skills and the right tools, you can replace the side window yourself. However, for best results and to avoid potential issues, it may be advisable to seek professional help.
How do I ensure the new window fits properly?
To ensure a proper fit, carefully follow the detailed instructions during installation, check the measurements of the new window against the frame, and make sure to secure all fittings snugly.
What can I do to prevent leaks after installing the new window?
To prevent leaks, it's important to apply sealant properly and ensure all edges are sealed tightly. Following the tips for a watertight seal will help maintain the integrity of the installation.
How can I test if the new side window is installed correctly?
After installation, check for functionality by rolling the window up and down (if it's powered) and inspect the edges for any gaps or leaks. A secure fit should show no movement or play in the window frame.