Table Of Contents
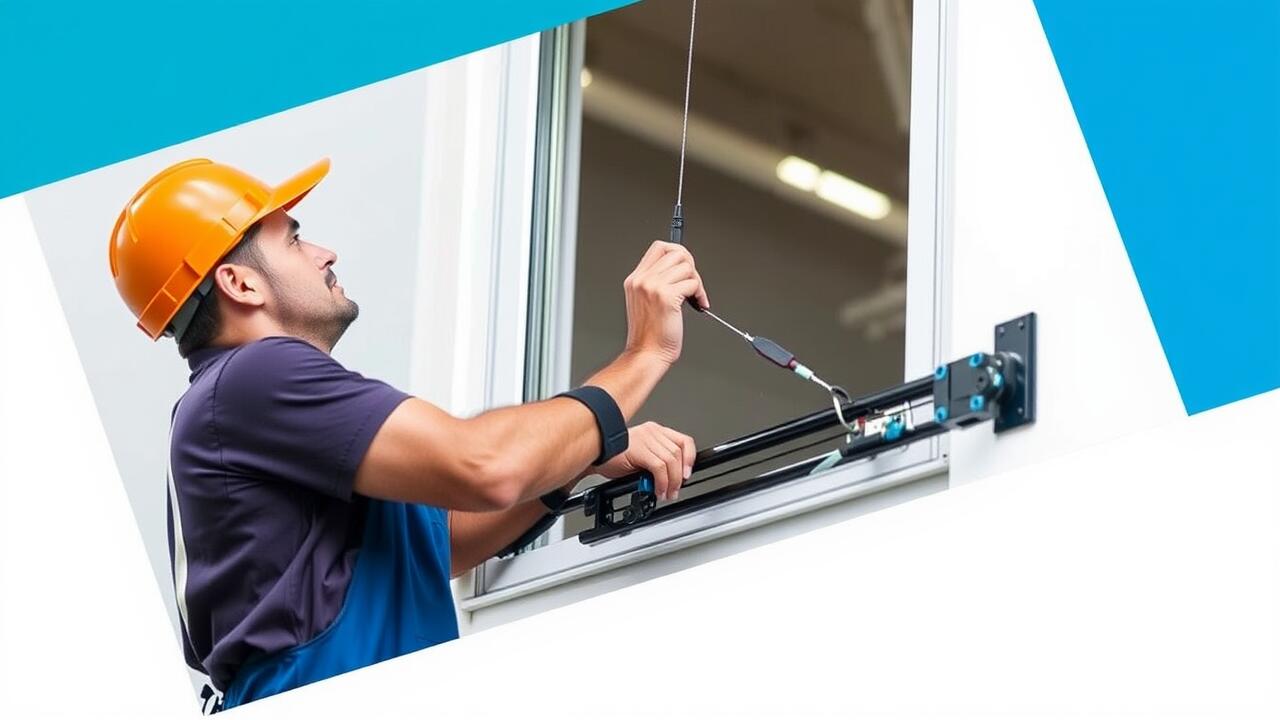
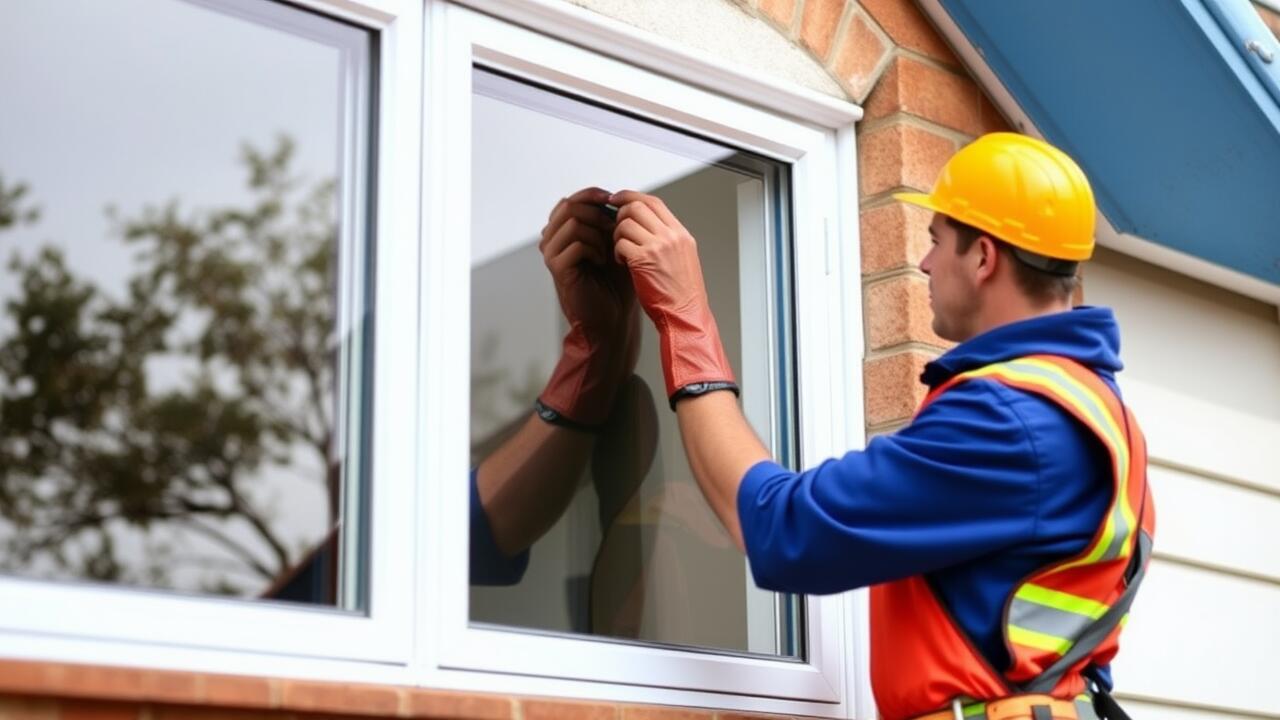
Installing the New Quarter Window
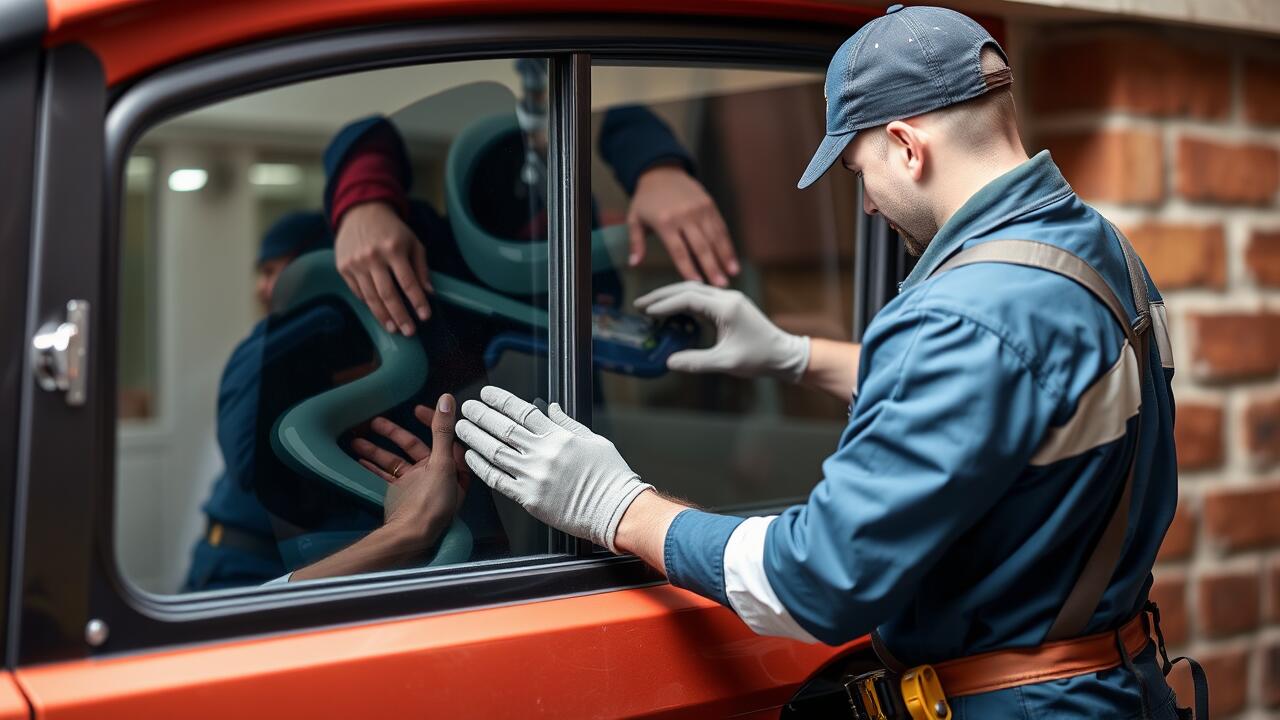
Replacing the driver side quarter window requires careful handling to ensure a correct fit. Start by removing any trim or weather stripping that may impede access to the window opening. Ensure all old adhesive or sealant is thoroughly cleaned from the frame. This step is essential as it prepares the surface for the new installation and promotes adhesion. Once the area is ready, carefully position the new glass in place, ensuring it aligns correctly with the surrounding frame.
During the installation, make use of suitable adhesives designed for automotive glass to secure the quarter window firmly. Apply the adhesive evenly around the edges of the glass prior to placement, ensuring there are no gaps that could lead to leaks. Carefully press the glass into the frame, maintaining even pressure for a strong bond. Side window replacement can be challenging, so it can be beneficial to have a second person assist with positioning while you secure the glass in place.
This new blog post covers this topic in more detail.
Techniques for a Secure Installation
When undertaking a side window replacement, precision is crucial for a successful installation. Begin by ensuring that the new quarter window is correctly aligned with the existing frame. Use clamps or double-sided tape to hold the window in place temporarily while you check the fit. This step allows you to make any necessary adjustments before final securing. Additionally, applying a bead of suitable adhesive around the edges can provide extra support and help to create a tight seal.
As you proceed with the installation, work methodically to secure the window without leaving gaps. Following the manufacturer's instructions regarding the curing time of the adhesive is essential for optimal performance. It’s advisable to run a line of the sealant along the edge where the glass meets the body to enhance stability and prevent water ingress. Regularly inspecting the position of the window will help to ensure its secure attachment throughout the process, contributing to a successful side window replacement.
Sealing the Window Properly
Sealing the window properly is essential to ensure that the installation holds up against environmental elements. When undertaking a side window replacement, it is crucial to use high-quality adhesive or sealant designed for automotive glass. This will create a watertight barrier that prevents leaks and keeps the interior of the vehicle protected from moisture. Carefully apply the sealant around the edge of the window frame before positioning the new glass.
After placing the new quarter window in position, press firmly to create a secure bond with the sealant. Ensure that the glass sits evenly within the frame to avoid any gaps that may lead to future issues. Once the sealant has cured according to the manufacturer's instructions, check for any imperfections in the seal. A well-sealed window will not only enhance the vehicle’s appearance but also contribute to its overall structural integrity.
Best Practices for Weatherproofing
Weatherproofing a quarter window after replacement is crucial for maintaining the integrity of your vehicle. First, ensure that the surface around the window frame is clean and free of any debris or old sealants. Utilising a high-quality urethane adhesive during installation provides a flexible and durable bond that can withstand harsh weather conditions. Apply the adhesive evenly, making sure to cover every edge to prevent moisture from seeping in.
After installing the new window, it’s important to check the seals thoroughly. Consider using a rubber gasket for added protection against the elements. Once the window is in place, test the seals by spraying water along the edges and observing for any leaks. Paying attention to these details during your side window replacement can significantly enhance the longevity of your installation and help maintain your vehicle's overall condition.
Testing the New Installation
After completing the driver side quarter window installation, it is crucial to test the new setup to ensure everything functions correctly. Begin by gently opening and closing the window multiple times. Listening for any unusual sounds can indicate improper alignment. Check the window’s movement; it should slide smoothly without resistance. Pay close attention to any gaps between the window and the frame, as this may suggest alignment issues that need addressing.
Next, inspect the seals around the window to verify that they fit snugly against the glass. A proper seal will prevent water leaks and reduce wind noise. Using a hose or irrigation can help simulate rain, allowing you to check for leaks. Perform a thorough examination of the area around the side window replacement, confirming that no moisture enters the cabin. This final check ensures the installation is secure and ready for everyday use.
Ensuring Proper Operation and Fit
After completing the installation of the new driver side quarter window, it is essential to check its operation thoroughly. Ensure that the window glides smoothly without any hindrances. Open and close it several times to confirm that it aligns correctly with the vehicle’s frame. Inspect the fitment at the edges to avoid gaps that could lead to leaks or wind noise. Any misalignment may not only affect functionality but can also compromise the overall aesthetic of the vehicle.
Once satisfied with the window’s movement, it is wise to conduct a final inspection for proper sealing. Look for any areas where the weatherstripping may be pinched or not seated correctly. A successful side window replacement should eliminate potential sources of water ingress. Testing under various conditions, such as heavy rain or wind, will help guarantee that the installation is secure and functional. Regular maintenance may be necessary to ensure longevity and prevent issues in the future.
FAQS
What tools do I need to replace the driver side quarter window?
To replace the driver side quarter window, you typically need a screwdriver, trim removal tool, utility knife, adhesive remover, and a sealant or adhesive specific for automotive use.
How long does it take to replace a quarter window?
Replacing a quarter window usually takes about 2 to 4 hours, depending on the complexity of the installation and your experience level.
Can I replace the quarter window myself, or should I hire a professional?
If you have basic automotive repair skills and the right tools, you can replace the quarter window yourself. However, if you're unsure or uncomfortable with the process, it's best to hire a professional.
What should I do if the new quarter window doesn't fit properly?
If the new quarter window doesn't fit, check the alignment of the window and the frame. Make sure all clips and seals are correctly installed. If issues persist, consult with a professional for assistance.
How can I ensure the new quarter window is weatherproof?
To ensure the new quarter window is weatherproof, apply a generous amount of sealant or adhesive around the edges during installation and follow best practices for sealing as outlined in your guide. Test for leaks after installation to confirm its effectiveness.