Table Of Contents
Choosing the Right Replacement Glass
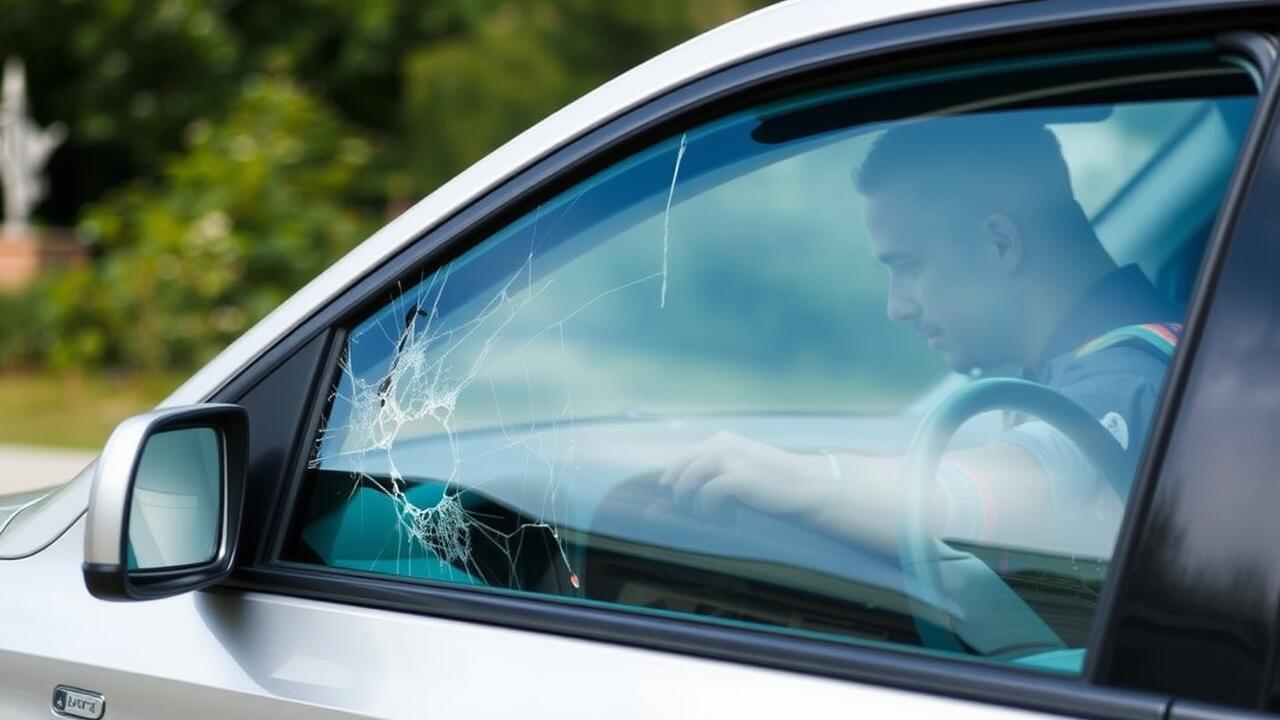
Choosing the right replacement glass is crucial for a successful side window replacement. Various factors come into play, such as the type of glass, the tinting, and whether it has special features like heating elements. Original Equipment Manufacturer (OEM) glass typically offers the best fit and performance, as it matches the specifications of the original window. Aftermarket options may also be available, often at a lower cost, but these can vary significantly in quality.
In addition to glass type, consider the local regulations regarding tinting. Some states and territories have specific laws about how dark your side windows can be. It's also essential to inspect the frame and seals around the window, as any damage there could affect the installation process. Taking the time to choose the appropriate glass ensures the longevity and safety of your side window replacement.
See here for more great tips.
Factors to Consider When Selecting Glass
When selecting glass for a side window replacement, it's crucial to consider the type of glass used in the original window. Many vehicles utilise tempered glass, renowned for its safety features as it shatters into small, less harmful pieces. It's also wise to check for any relevant regulations or standards in your area regarding automotive glass to ensure compliance and safety.
Another important factor is the quality of the replacement glass. Opt for products that are manufactured by reputable suppliers, as cheaper alternatives can lead to issues such as poor visibility or inadequate durability. Proper UV protection and scratch resistance should also be assessed, as these features enhance the overall longevity and functionality of the side window replacement.
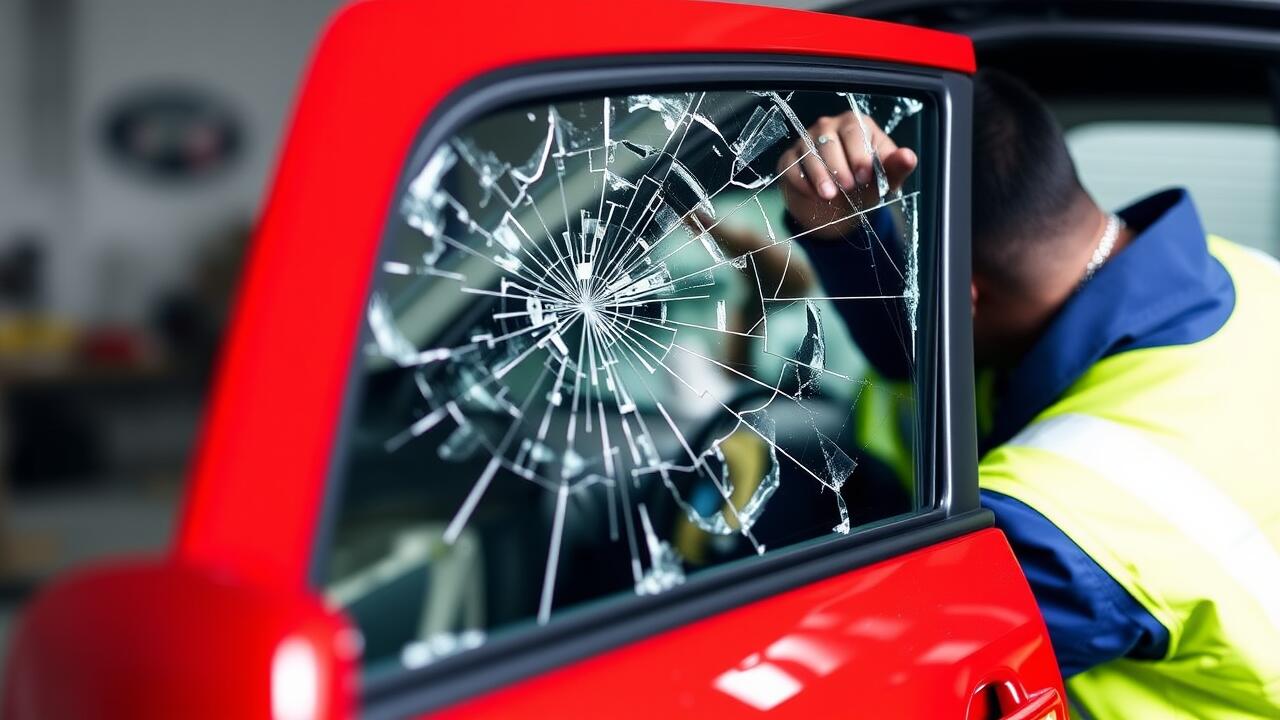
Installing the New Side Car Window
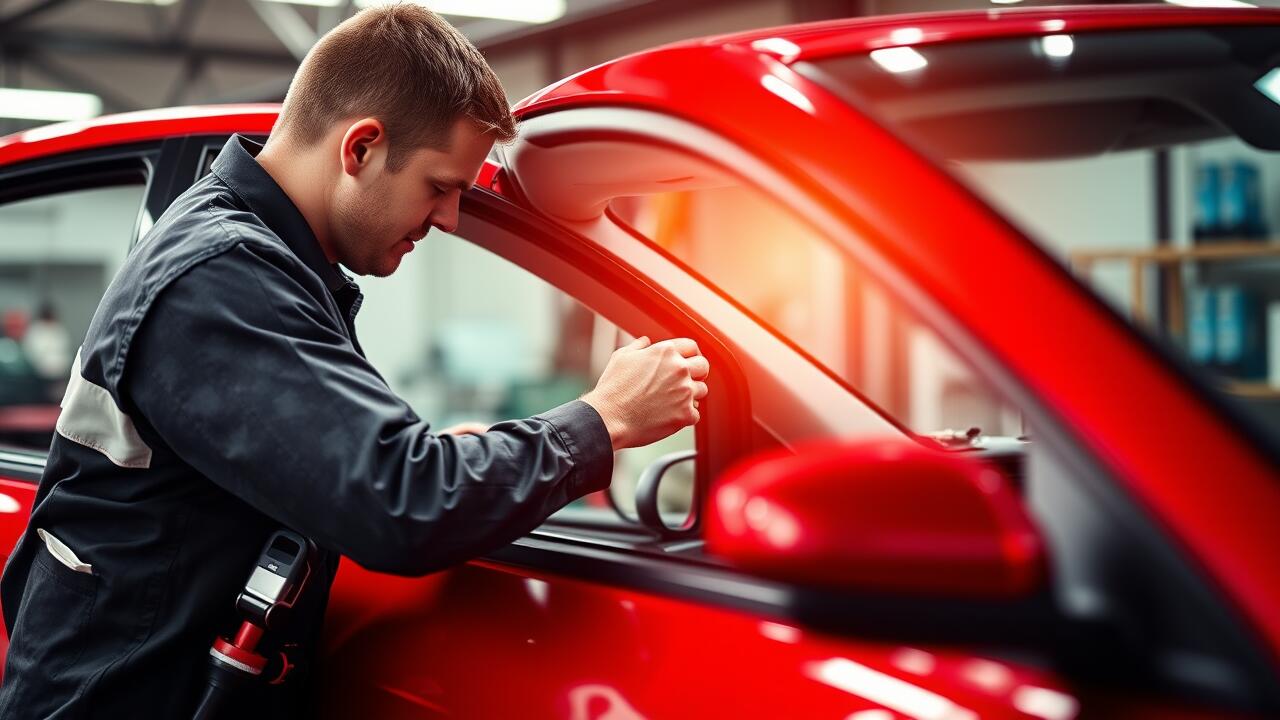
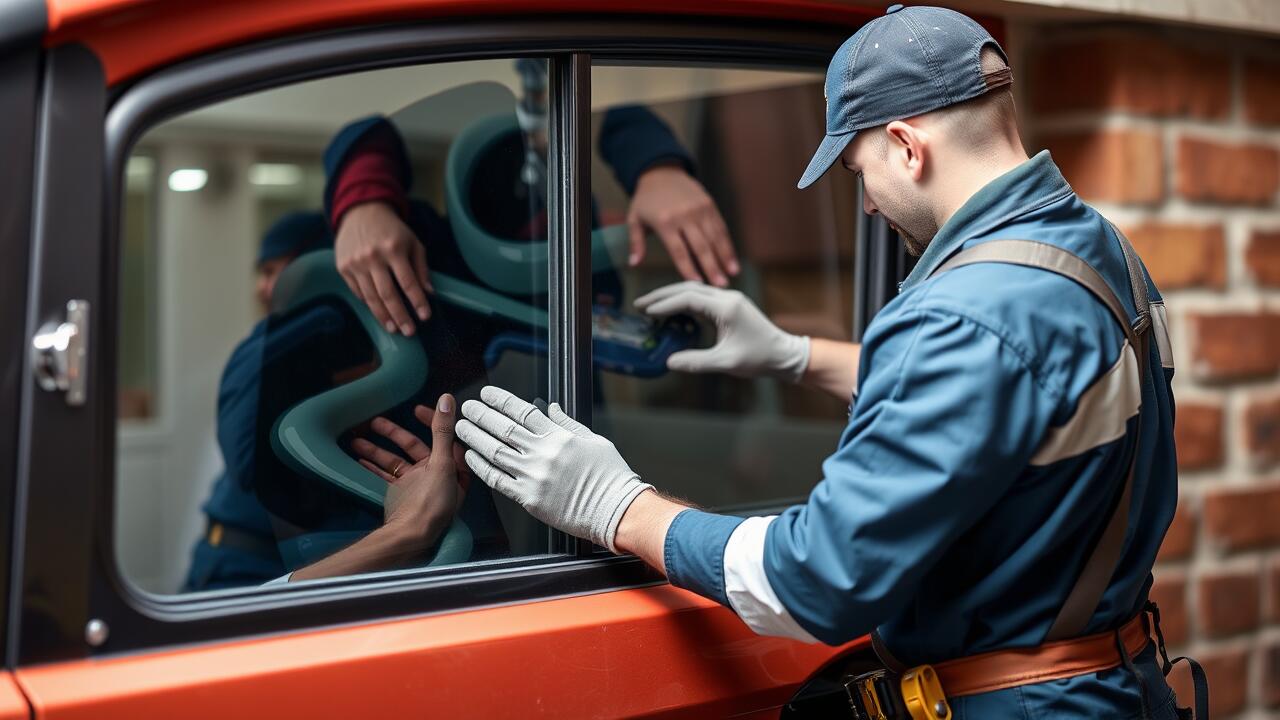
Before beginning the installation of the new side car window, ensure you have all necessary tools at hand, including a sealant, scraper, and suction cups for handling the glass. It is essential to work in a clean environment to prevent contaminants from interfering with the installation process. Remove any remnants of the old glass or adhesive remaining in the window frame. A thorough cleaning of the surface will allow the new glass to adhere properly during the installation phase.
Once the preparation is complete, carefully position the replacement glass in the frame. Using suction cups can aid in manoeuvring and aligning the glass accurately without risking damage. Apply an even bead of sealant around the edges to create a secure fit. This step is crucial for successful side window replacement, offering protection against leaks and ensuring durability. Take the time to inspect the alignment before allowing the sealant to set, making necessary adjustments to achieve a perfect fit.
Step-by-Step Installation Guide
Begin by preparing the vehicle for the installation. Remove any loose debris or remnants of the broken glass from the window frame. Ensure you have all necessary tools handy, such as safety gloves, a vacuum for cleaning up, a putty knife, and an adhesive suitable for auto glass. It’s crucial to have a clean working environment. This will help prevent any dust or dirt from infiltrating the new glass during installation.
Next, position the new glass into the window frame. Align it carefully to fit snugly into place. Apply the adhesive around the edges of the frame before pressing the glass firmly against it. Allow the adhesive time to set according to the manufacturer’s instructions. Make sure the new window is aligned properly to secure an optimal seal. This process is vital for ensuring a successful side window replacement that withstands weather elements and maintains vehicle integrity.
Sealing the Window Properly
Properly sealing the new side car window is crucial to ensure it stays secure and prevents leaks. Start by applying a high-quality weatherstrip adhesive to the edges of the frame where the glass will sit. This adhesive provides a robust bond that helps resist water ingress and the effects of varying temperatures. Ensure that the adhesive is evenly spread for a uniform seal.
Once the glass is fitted into the frame, press it firmly into place. Wipe away any excess adhesive before it cures to maintain a clean finish. It’s advisable to avoid using the vehicle for at least 24 hours post-installation to allow the adhesive to fully set. This process is essential in ensuring the success of your side window replacement and safeguarding against leaks in the future.
Ensuring a Secure Fit and Prevention of Leaks
Proper sealing is crucial for a successful side window replacement. Begin by applying a high-quality automotive adhesive around the edge of the window frame. This ensures that the new glass adheres securely and reduces the risk of water entering the vehicle. Make sure to press the glass firmly into place and allow the adhesive to set as per the manufacturer’s instructions. This attention to detail during installation helps prevent leaks which can lead to water damage in the car.
In addition to using the right adhesive, check that all fasteners and clips are correctly positioned and tightened. This will help maintain the structural integrity of the window and provide a snug fit. Once the glass is set, inspect the perimeter for any gaps that might have developed during the installation process. If necessary, apply additional sealant to fill any openings. Taking these extra precautions during your side window replacement will help ensure both a secure fit and long-lasting performance.
FAQS
What type of glass should I use to replace my broken side car window?
It's essential to choose a replacement glass that matches your vehicle's specifications. Look for tempered glass or laminated glass, depending on your car model. Consulting your owner's manual or a professional can help ensure you select the right type.
Can I install the new side car window myself?
Yes, you can install the new side car window yourself if you have the right tools and follow a step-by-step guide. However, if you're unsure or uncomfortable with the process, it's advisable to seek help from a professional to avoid any mistakes.
How do I ensure the new window is sealed properly?
To ensure a secure fit and prevent leaks, carefully follow the sealing instructions provided in your installation guide. Make sure to apply an appropriate adhesive and allow it to cure as recommended. Checking for any gaps or misalignments after installation is also crucial.
What tools do I need to replace a side car window?
Common tools required for replacing a side car window include a flathead screwdriver, a rubber mallet, a utility knife, adhesive remover, window adhesive, safety gloves, and protective eyewear. Make sure you have everything ready before starting the installation.
How long does it take to fix a broken side car window?
The time it takes to fix a broken side car window can vary, but the installation process typically takes a couple of hours. This includes removing the broken glass, preparing the area, installing the new window, and allowing the adhesive to set.