Table Of Contents
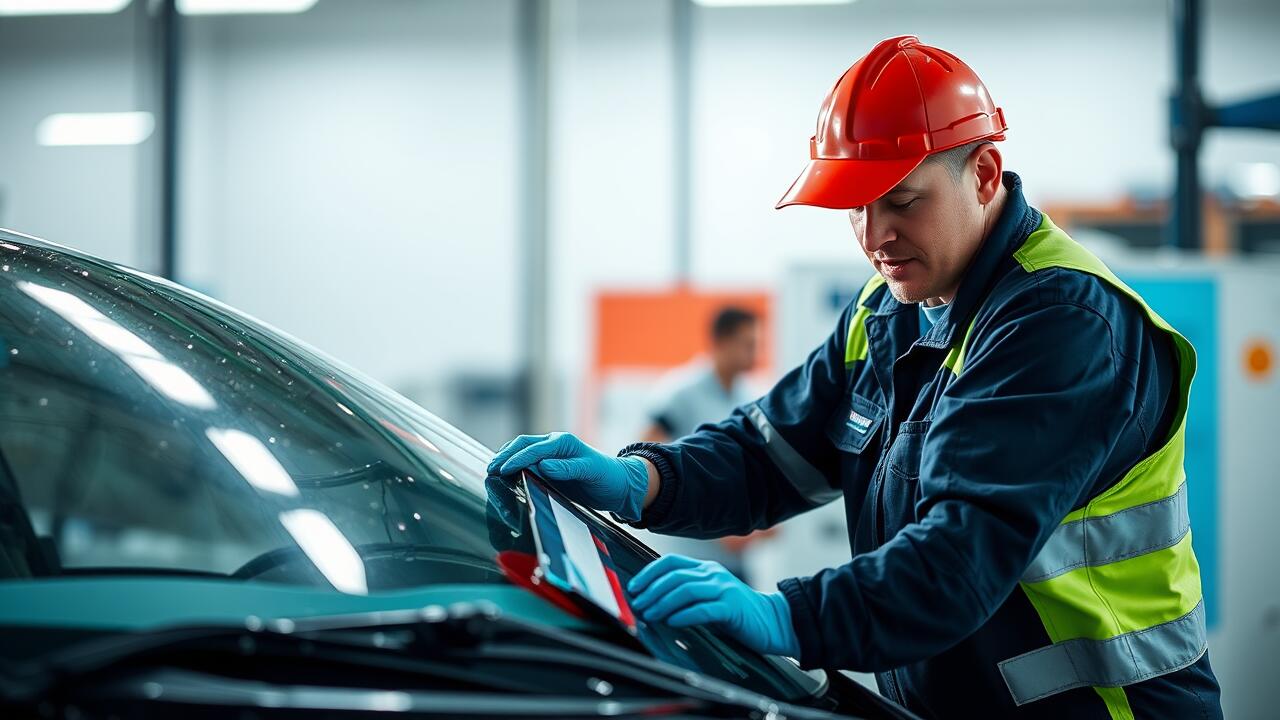
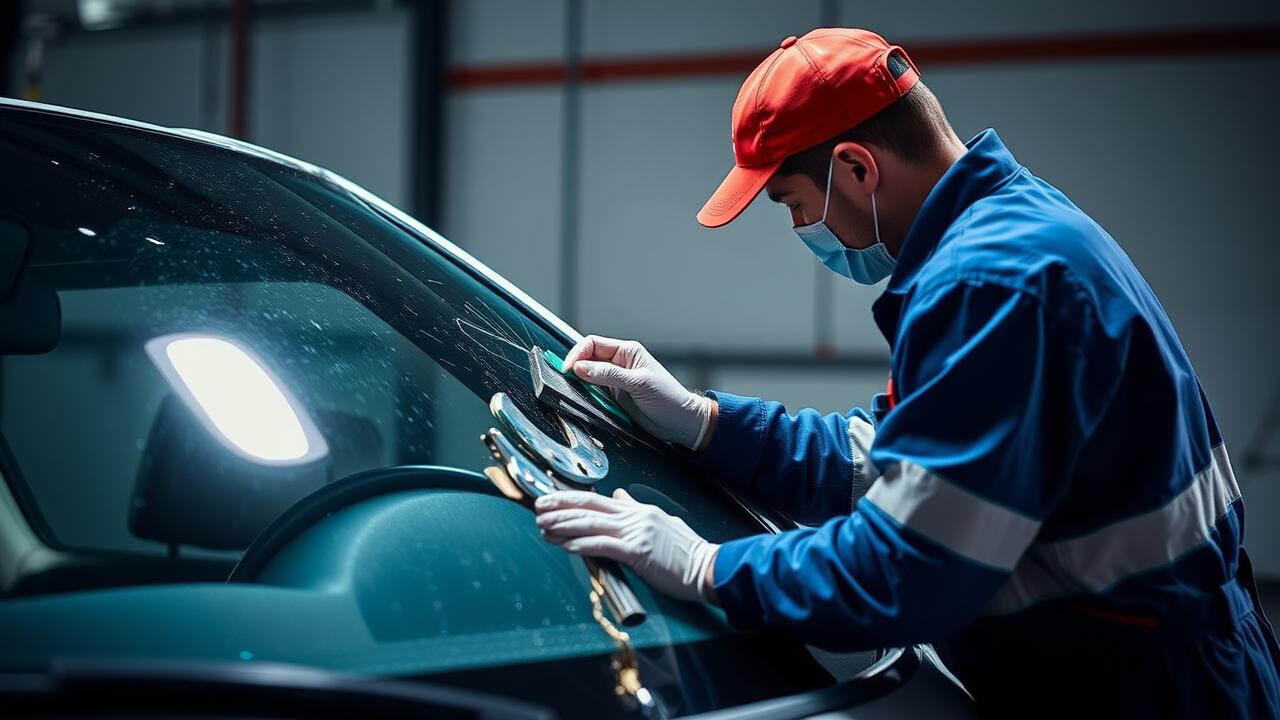
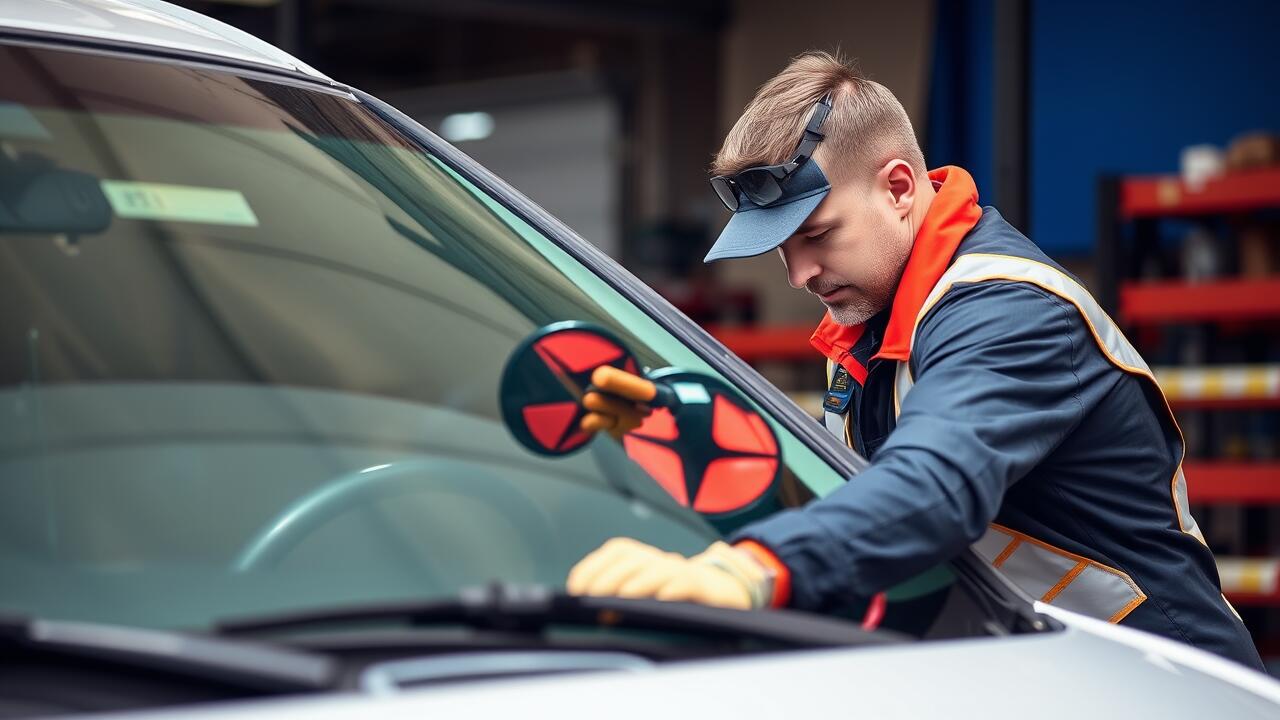
Step-by-Step Repair Process
Repairing a crack in a windscreen requires careful attention to detail to ensure safety and visibility. Start by gathering the necessary tools, including a repair kit specifically designed for windscreens. Clean the affected area thoroughly with a soft cloth to remove any dirt or debris. This step is crucial as it prepares the surface for the repair process and enhances the bonding of the resin.
Once the area is clean, follow the instructions provided with your repair kit. Most kits will include a syringe for applying the resin directly into the crack. After injecting the resin, use a razor blade to smooth out any excess and ensure that the repair fills the entire crack. If the crack is extensive, consider consulting a professional, as there may be a need for windshield replacement instead of a simple repair.
This new blog post covers this topic in more detail.
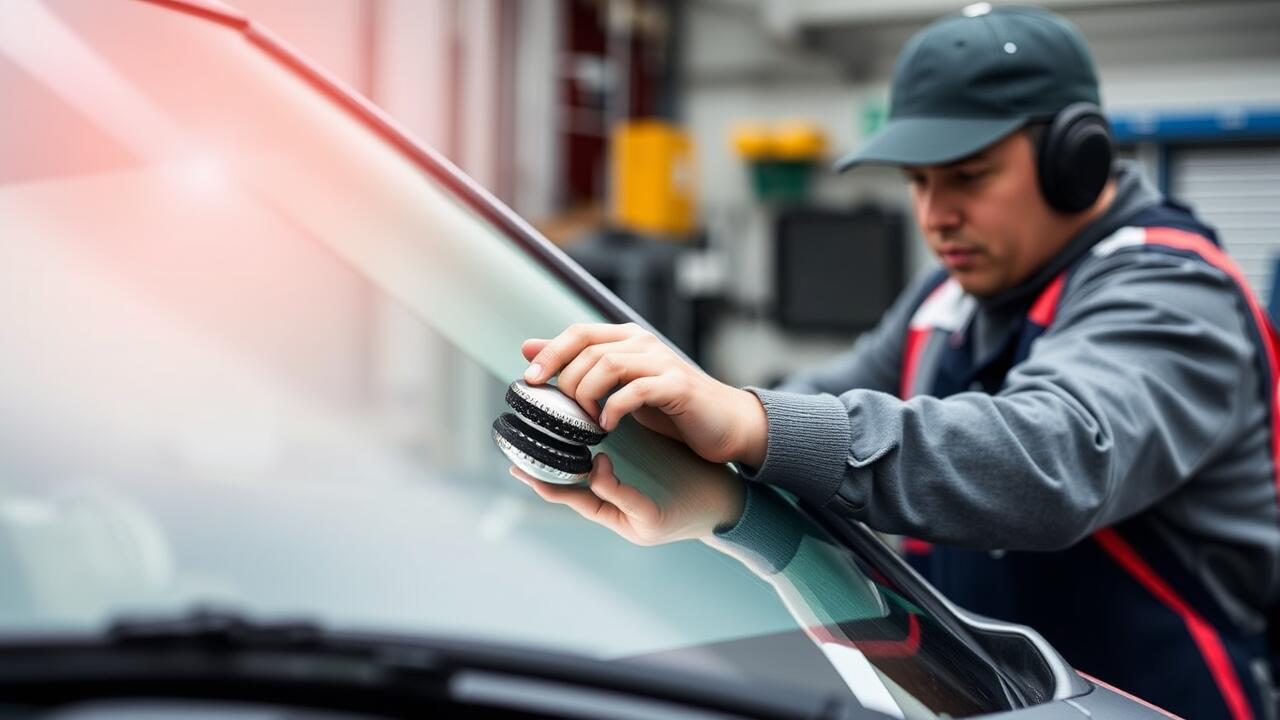
How to Apply Repair Resin
Applying repair resin is a critical step in fixing a crack in the windscreen. Begin by following the instructions provided with the repair kit. Most kits include a resin that fills the crack, creating a bond that prevents further damage. Ensure the area is clean and dry before applying the resin. Use the applicator to inject the resin into the crack, filling it completely. It’s essential to avoid overfilling to prevent excess resin from spilling out.
Once the resin has been applied, allow it to cure as directed. Curing usually involves using a special UV light or simply allowing the resin to harden in sunlight. This process solidifies the repair and restores the windscreen's integrity. If the crack is large or if there are multiple cracks present, it may be necessary to consider windshield replacement instead. Evaluating the extent of the damage ensures that safety is prioritised while maintaining the vehicle’s appearance.
Curing the Repair
After applying the repair resin, it is crucial to allow it to cure properly. The curing time can vary based on the product used and environmental conditions. Generally, it takes anywhere from 30 minutes to a few hours for the resin to fully set. During this time, avoid any disturbances or temperature fluctuations that could compromise the repair's integrity. If temperatures are too low or high, consider allowing the resin to cure in a more controlled environment.
Once the resin has cured, inspect the repair area carefully. Check for any bubbles or imperfections that might affect visibility. If the repair does not meet quality standards, consider consulting a professional for possible windshield replacement. A properly cured repair should restore integrity to the windshield, ensuring the safety of the vehicle while preventing further cracking.
Ensuring Proper Drying Conditions
For optimal results when curing the repair resin, maintaining the right drying conditions is essential. The temperature of the environment should ideally be between 15°C and 29°C. Windy conditions can accelerate the drying process too quickly, potentially compromising the strength of the repair. It is important to avoid direct sunlight, as excessive heat may cause the resin to cure improperly or lead to distortion in the glass.
Humidity levels also play a significant role in the curing process. High humidity can hinder the resin from setting properly, which might increase the likelihood of further damage or necessitate a windshield replacement in the future. Utilizing a controlled environment, if possible, will help ensure that the repair remains intact. Proper drying conditions will ultimately contribute to the longevity and effectiveness of the windshield repair.
Post-Repair Inspection
After completing the repair, a thorough inspection is essential to ensure the effectiveness of the process. Start by checking the visibility of the area where the crack was located. The repair resin should be clear and free from bubbles or distortions. Any imperfections can compromise not only the aesthetic appeal but also the structural integrity of the windscreen.
If the repaired area shows signs of haziness or lacks clarity, it may be necessary to undertake further work or consider windshield replacement. It's crucial to address these issues promptly, as a compromised windscreen can lead to reduced safety while driving. Regular checks can help maintain visibility and ensure the repair holds up against environmental factors.
Checking for Clarity and Integrity
After the repair has cured, inspecting the area is crucial to ensure clarity and integrity. Look closely at the repaired section and assess whether the resin has filled the crack completely. A successful repair should be nearly invisible from both inside and outside the vehicle. If you notice any residual cracks or air bubbles, these might compromise the strength of the repair and require further action.
If the clarity of the repaired area is not satisfactory, it may be necessary to consider windshield replacement. A clear and seamless view through the windscreen is essential for safety on the road. Assessing the overall integrity of the glass also involves checking for any other hidden damage that might not have been addressed during the initial repair process. Regularly evaluating the condition of your windscreen can help maintain both visibility and safety.
FAQS
What types of cracks can be repaired in a windscreen?
Generally, small chips and cracks up to 15 cm in length can be repaired. However, if the crack is in the driver's line of sight or if it’s too large, a full replacement may be necessary.
How long does it take to repair a crack in a windscreen?
The repair process typically takes about 30 minutes to an hour, depending on the size and complexity of the crack.
Can I drive my car immediately after the repair is done?
It's best to wait for the curing process to complete before driving. This usually takes a few hours, but it's advisable to follow the manufacturer's instructions regarding drying time.
Will the repaired area be completely invisible?
While the goal is to restore the windscreen's integrity and clarity, the repaired area may still be slightly visible. However, it should be much less noticeable than the original crack.
Is it safe to repair a windscreen crack myself?
While DIY repair kits are available, it requires precision and skill to achieve a proper repair. If the crack is significant or in a critical area, it's recommended to consult a professional.