Table Of Contents
Step-by-Step Guide to Windshield Replacement
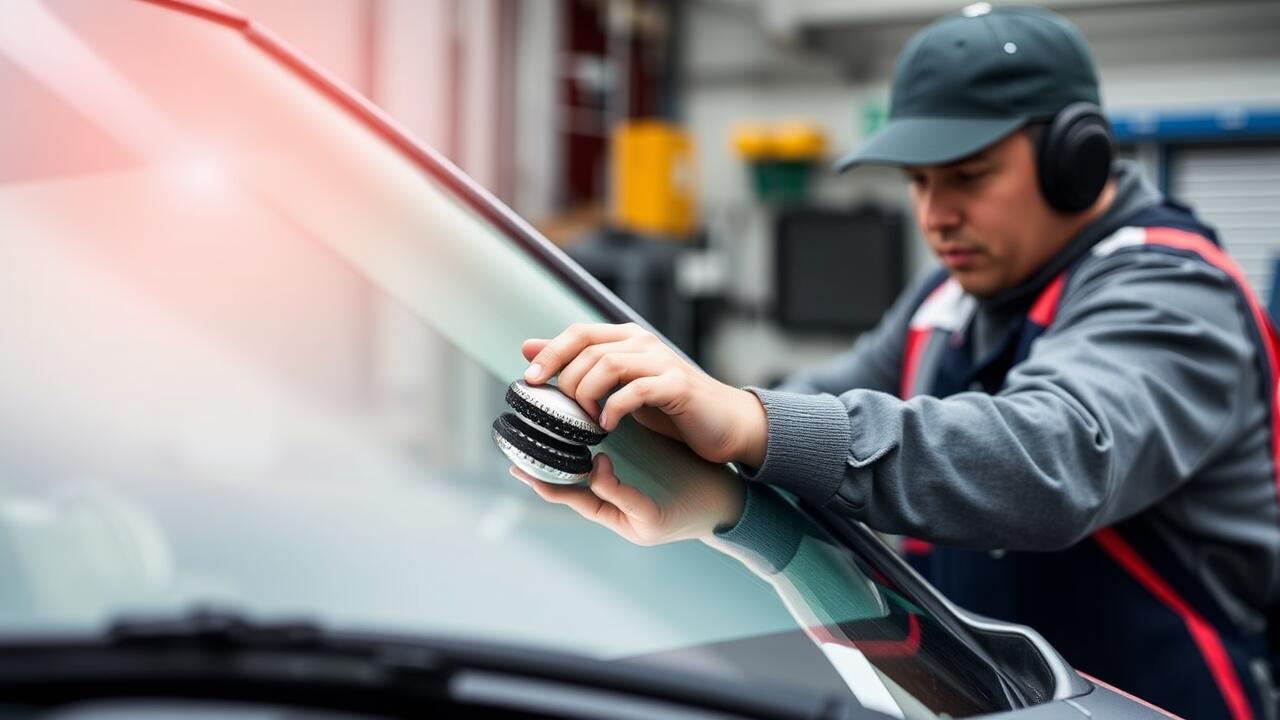
Windshield replacement is a precise task that requires careful attention to detail. Begin by gathering all necessary tools and materials, including a replacement windshield, adhesive, and safety equipment. Make sure the vehicle is parked in a well-lit area to facilitate the process. Start by removing any trim or moulding around the old windshield. Carefully cut through the adhesive that secures the windshield in place using a specialised tool. This step is critical to prevent damage to the vehicle's frame.
After removing the old windshield, inspect the pinch weld for any rust or debris. Clean the area thoroughly before applying a new layer of adhesive. Position the new windshield accurately, ensuring it is aligned with the vehicle's frame. Use spacers if necessary to maintain proper gaps for sealing. Once the windshield is in place, secure it by applying gentle pressure to ensure a strong bond. Allow adequate time for the adhesive to cure before driving the vehicle. Following these guidelines will help ensure a successful windshield replacement.
More tips and tricks can be found here.
Detailed Instructions for Installation
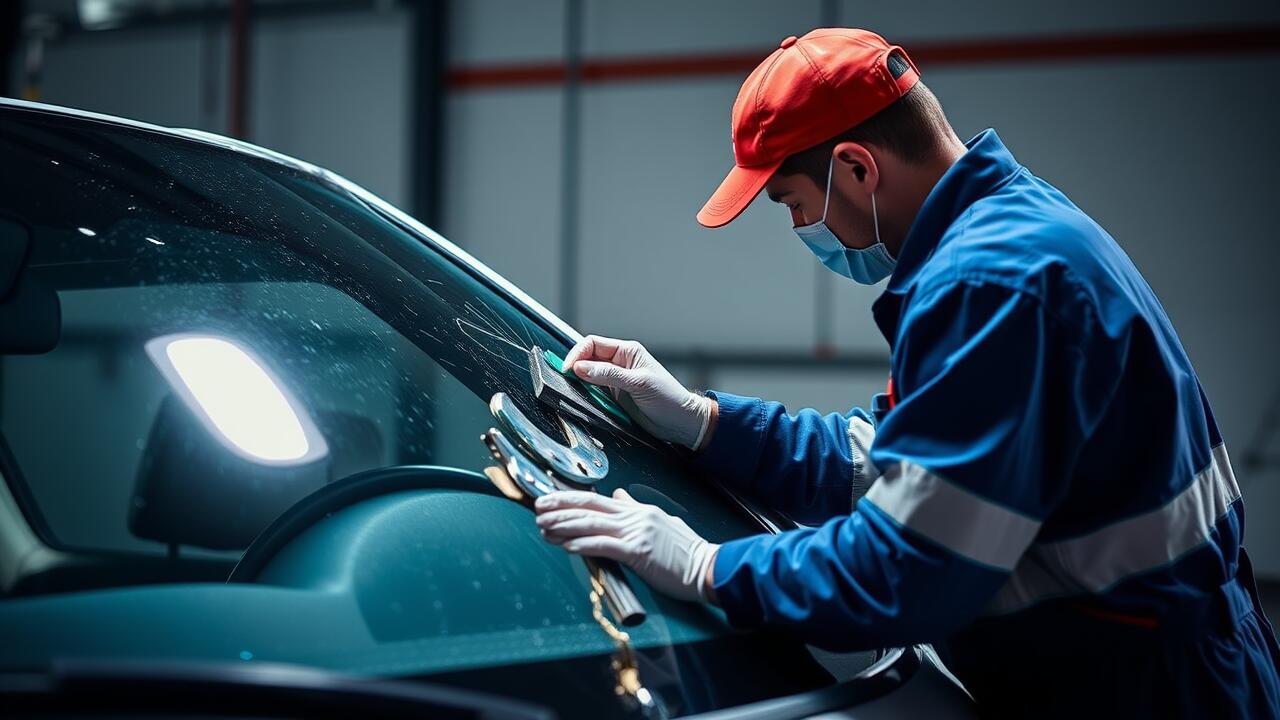
When undertaking a windshield replacement, ensure that you gather the necessary tools and materials before starting. These may include a windshield sealant, a utility knife, suction cups, and a primer specific to the adhesive you're using. Begin by removing any old adhesive and ensuring the frame of the vehicle is clean and free of debris. This preparation is crucial for a successful fit. Apply the primer around the edge of the frame to enhance the bonding process of the new windshield.
Once the edge is prepared, position the new windshield with the help of suction cups for better control. Carefully lower the windshield into place, ensuring it aligns perfectly with the frame. After positioning, apply the sealant evenly along the edge to create a watertight seal. Press the windshield gently but firmly to ensure it adheres properly to the frame. Allow adequate drying time as per the sealant instructions, which is essential for a secure hold and effective performance during driving conditions.
Inspecting the Fit After Installation
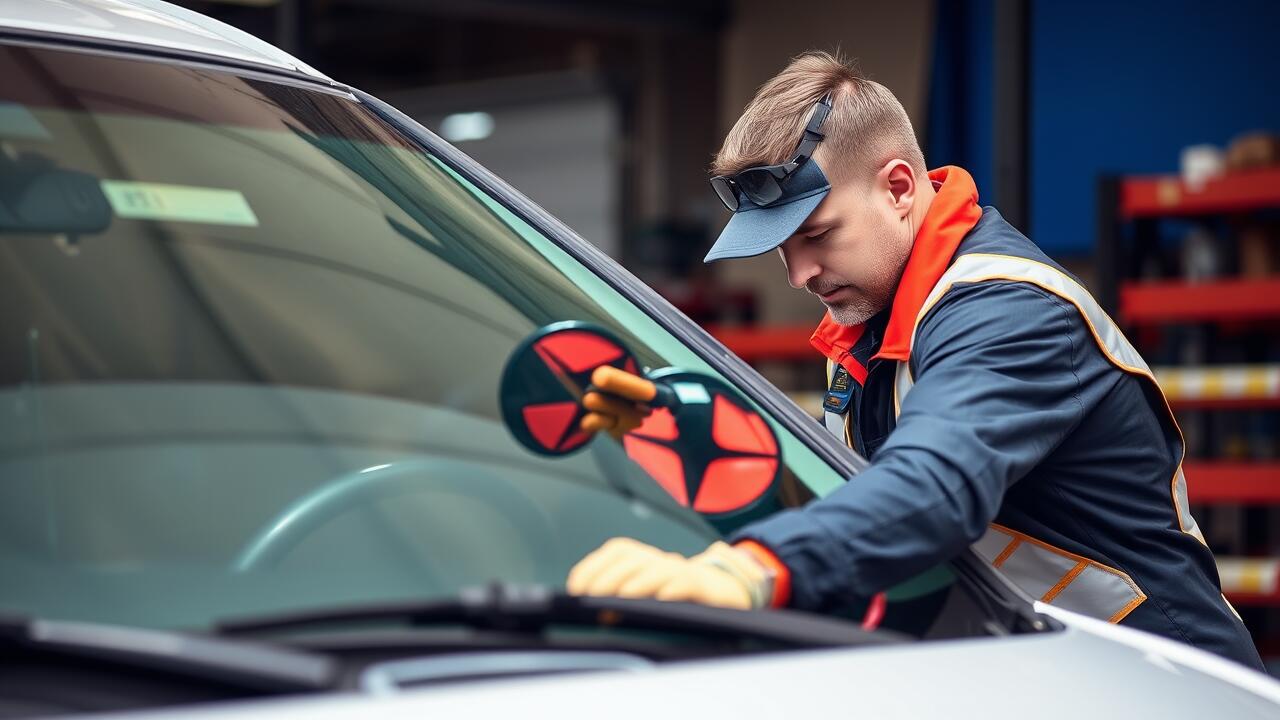
After completing a windshield replacement, it is essential to inspect the fit meticulously. Start by checking the gaps around the edges of the windshield. There should be an even spacing between the glass and the car frame. Uneven gaps could indicate improper installation, which may lead to water leaks or safety concerns in the event of an accident. A thorough visual inspection can help identify any misalignments that need to be addressed promptly.
Next, assess the quality of the sealant used during installation. The sealant should appear uniform and smoothly applied without any bubbles or cracks. Testing the seal can involve gently pressing on the edges of the windshield to ensure it feels secure. Any movement could suggest a weak bond, meaning the replacement was not fitted correctly. Addressing these potential issues early can prevent complications down the line and ensure the safety and effectiveness of the windshield replacement.
Key Checks to Ensure Proper Sealing
To ensure proper sealing during a windshield replacement, examining the adhesive and its application is crucial. Quality sealants should be used, and they must be evenly applied around the entire perimeter of the windshield. Look for consistency in thickness and check that there are no gaps or bubbles. Even small imperfections can lead to water leaks and compromised structural integrity.
After the installation, a thorough inspection of the fit will help identify any potential issues. Ensure that the glass rests correctly against the frame with no excessive gaps. A uniform gap of approximately 3 to 5 mm is ideal. Additionally, listen for any unusual noises, as this may indicate that the windshield is not seated properly. Taking these steps can reinforce the effectiveness of your windshield replacement and enhance your vehicle's safety.
Common Mistakes to Avoid
One common mistake during windshield replacement is failing to prepare the vehicle’s surface adequately. Dirt, dust, and debris can prevent a proper seal, leading to leaks and potential safety hazards. It is crucial to clean and inspect the frame surrounding the windshield thoroughly before installation. Neglecting this step can compromise the integrity of the bond formed by the adhesive, ultimately affecting the overall safety of the vehicle.
Another frequent error involves applying too much adhesive or not enough. Using an excessive amount can create pressure points and prevent the windshield from fitting snugly. Conversely, insufficient adhesive can lead to gaps that allow water and air infiltration. Both scenarios can result in costly repairs later on, so following the manufacturer's guidelines for adhesive application is essential in ensuring a secure and durable windshield replacement.
Pitfalls During Installation
When undergoing windshield replacement, one of the most common pitfalls involves a lack of preparation. Failing to clean the windshield frame thoroughly can lead to debris or old adhesive interfering with the new seal. It is crucial to take the time to remove any remnants of the previous installation, as missed spots can compromise the integrity of the bond, resulting in leaks or further damage.
Another frequent mistake occurs when an installer neglects to use the appropriate adhesive. Each vehicle model may require a specific type of adhesive, and using the wrong one can affect the durability of the installation. Proper curing time is essential as well; rushing the process before the adhesive has fully set can lead to misalignment or even complete loss of the windshield.
FAQS
How can I tell if my windshield has been installed correctly?
You can check for even gaps between the windshield and frame, ensure there are no leaks or air drafts, and look for any visible misalignment. A professional installation should also come with a warranty.
What should I do if I notice a leak after my windshield replacement?
If you notice a leak, it’s important to address it immediately. Return to the installer as they may need to reseal or adjust the windshield to ensure it fits properly.
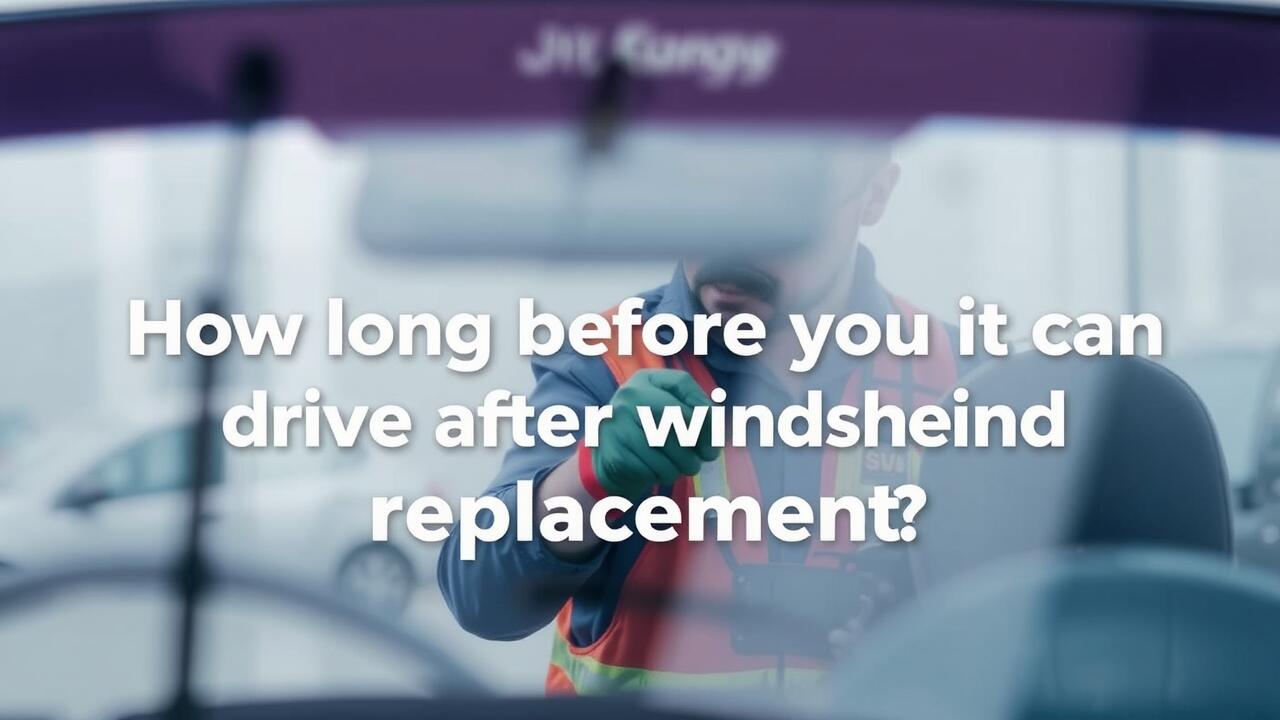
How long should I wait before driving my car after a windshield replacement?
It’s generally recommended to wait at least one hour before driving your vehicle after a windshield replacement, but always follow the specific recommendations provided by the installer for best results.
What common mistakes should I avoid when replacing my windshield?
Common mistakes include using incorrect adhesive, failing to clean the surface properly before installation, and not allowing the adhesive to cure adequately before driving.
Can I install a windshield myself, or should I hire a professional?
While DIY installation is possible, it’s recommended to hire a professional to ensure proper fitting and sealing, as improper installation can lead to leaks or structural issues.