Table Of Contents
Tools for Installing the New Windscreen
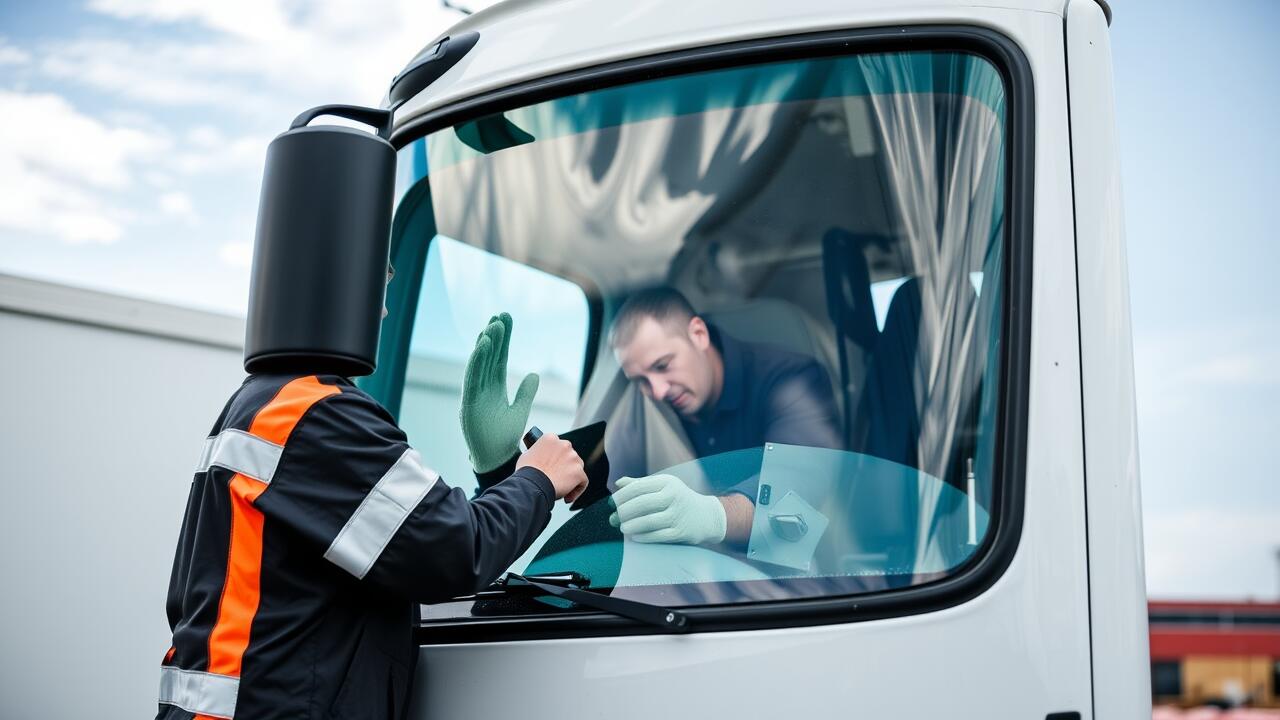
When undertaking a truck windscreen replacement, having the right tools is essential for a successful outcome. A set of quality hand tools can significantly ease the installation process. A utility knife for cutting away old adhesive, a suction cup lifter for safely handling the windscreen, and a torque wrench to secure fittings can make the task more manageable. These tools enable precise work and help prevent damage to both the new windscreen and the vehicle itself.
Additionally, investing in specialised tools such as a windscreen removal tool can save time and effort. This tool allows for easier access to tight spaces around the windscreen, ensuring that old adhesives are removed effectively. Prioritising the right equipment can lead to a more secure and long-lasting installation. Achieving success in truck windscreen replacement hinges not only on the tools used but on the attention to detail throughout the process.
This new blog post covers this topic in more detail.
Recommended Equipment for a Secure Fit
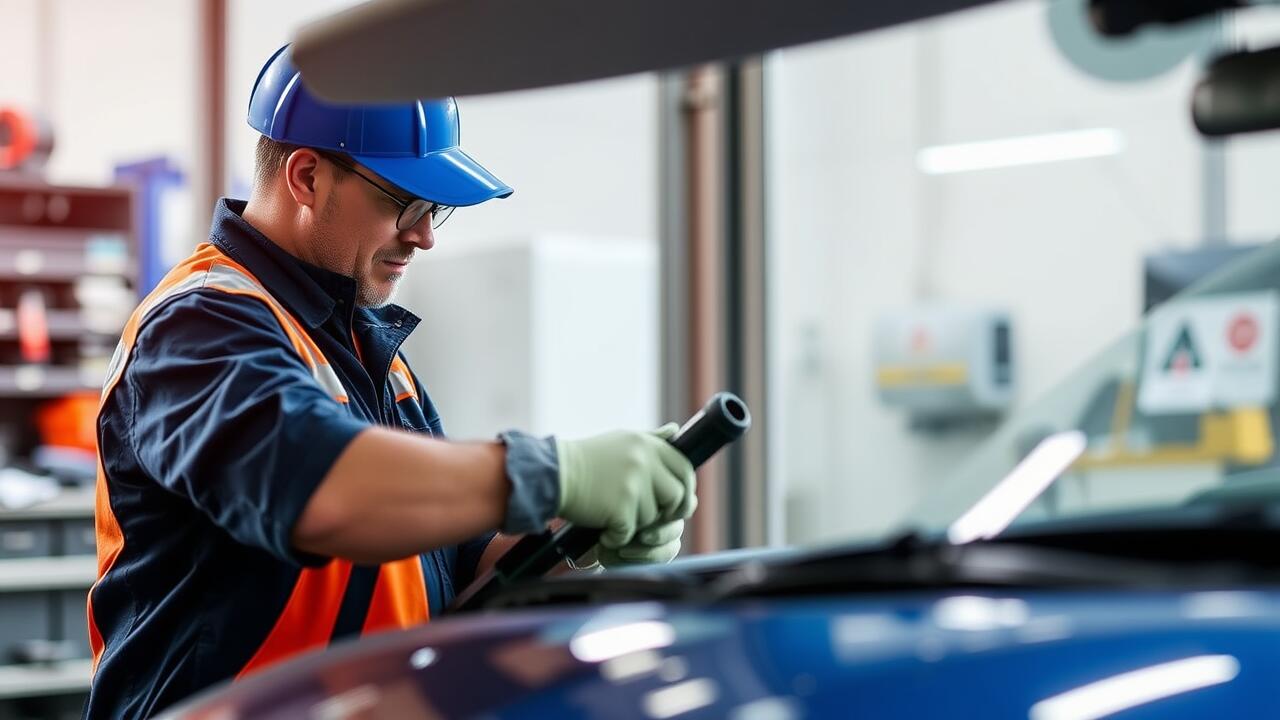
When undertaking a truck windscreen replacement, having the right equipment is crucial to ensure a secure fit. A quality suction cup tool is essential for manoeuvring the glass into place without causing damage. Additionally, a set of rubber mallets can help in gently tapping the windscreen for a snug fit. These tools provide the necessary leverage and control, making the installation process smoother and more effective.
A windscreen spacer kit is another valuable asset when replacing a truck windscreen. This kit typically includes various sizes of spacers, which assist in maintaining an even gap between the glass and the truck frame during installation. Using spacers helps to achieve the correct alignment, promoting a tight seal once the adhesive is applied. Investing in high-quality equipment not only simplifies the process but also contributes to the overall durability and integrity of the installation.
Adhesives and Sealants for Windscreen Replacement
Choosing the right adhesives and sealants is crucial for successful truck windscreen replacement. These products ensure a strong bond between the glass and the vehicle frame, providing necessary durability under various weather conditions. Polyurethane adhesive is commonly used in truck windscreen installations due to its flexibility and resistance to moisture. This combination helps maintain the integrity of the windscreen while also accommodating the vibrations and movements of the truck.
Sealants should also be considered to create an effective barrier against water and dust. Silicone-based sealants can provide excellent adhesion and long-lasting performance for truck windscreens. It's important to apply the sealant properly to avoid leaks that may compromise the installation. When selecting products for your DIY project, always check compatibility with the adhesive used and follow manufacturer instructions for best results.
Best Products to Ensure a Tight Seal
When it comes to Truck Windscreen Replacement, choosing the right adhesive is crucial for a secure and lasting fit. Polyurethane adhesives are commonly recommended for this purpose, as they provide excellent bonding strength and flexibility. Brands such as Sikaflex and 3M offer products specifically designed for automotive applications, ensuring that the adhesive can withstand the harsh conditions of the environment. Always check for compatibility with your vehicle's requirements before making a selection.
Sealants also play an integral role in preventing leaks and ensuring a tight bond. The use of premium-grade sealants, such as silicone-based options, can enhance the longevity of your installation. These products not only fill gaps effectively but also provide a reliable barrier against moisture. Properly applying these sealants during the Truck Windscreen Replacement process contributes significantly to the overall performance of the windscreen, ensuring that it remains securely in place for years to come.
Common Mistakes to Avoid
One common mistake during truck windscreen replacement is neglecting to thoroughly clean the area where the new windscreen will be installed. Dirt, debris, and remnants of the old adhesive can impede the seal, leading to potential leaks. Ensuring the surface is spotless creates a better bond between the windscreen and the truck frame, significantly enhancing the durability and effectiveness of the installation.
Another frequent error is underestimating the importance of allowing the adhesive to cure properly. Rushing this process can compromise the structural integrity of the windscreen, leading to mishaps or further installations down the line. Following the manufacturer’s guidelines for curing times is essential for achieving a secure fit during truck windscreen replacement. Ensuring everything is correctly positioned and adequately set will save time and resources in the long run.
Tips for a Successful DIY Replacement
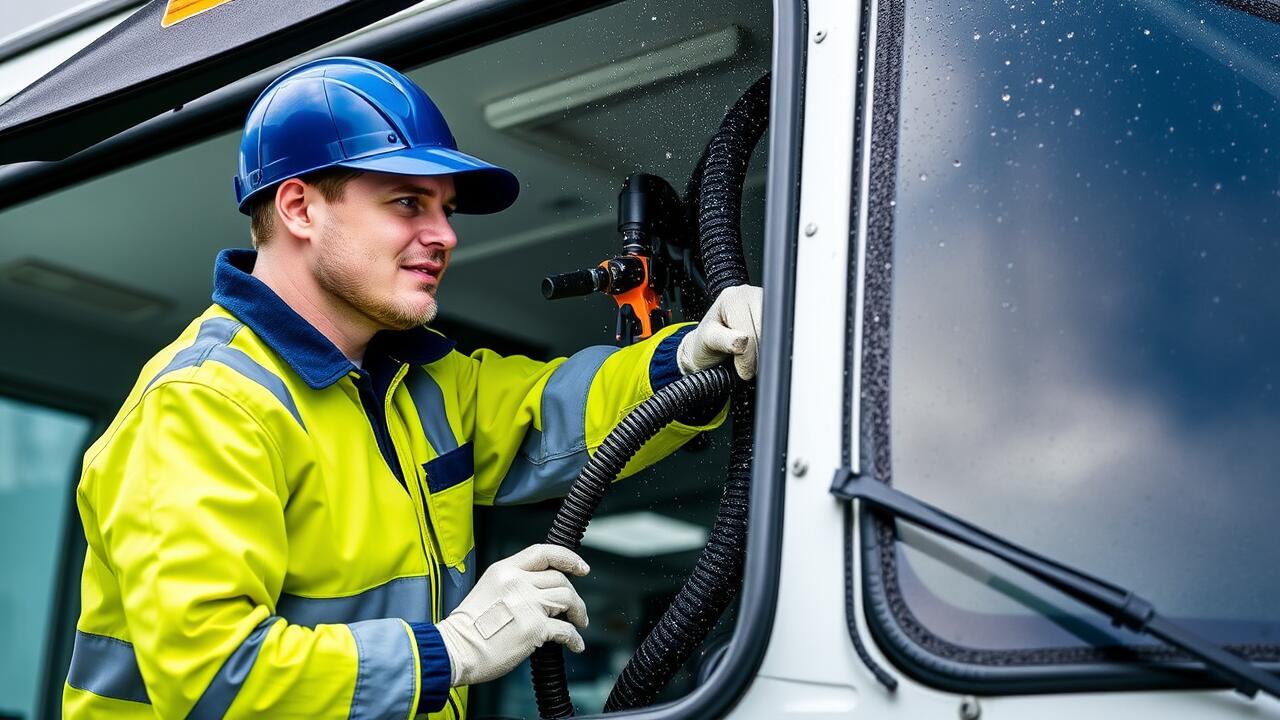
A successful DIY truck windscreen replacement relies heavily on proper preparation and attention to detail. Before starting, ensure you have all the necessary tools and materials within reach. Familiarise yourself with the specific model of your truck and the corresponding windscreen requirements. This knowledge can save you time and prevent potential errors during the replacement process. It’s also wise to check the weather conditions, as extreme temperatures can affect adhesive curing times.
Take your time during the actual installation. Rushing can lead to misalignment or improper sealing, both of which result in long-term issues. Carefully clean the windscreens’ borders and the frame of the truck to create a suitable surface for the adhesive. Apply sealants evenly to ensure a perfect bond, allowing for proper drying time before putting the vehicle back into regular use. Each step counts, and being methodical will greatly enhance the likelihood of a successful truck windscreen replacement.
FAQS
What tools do I need for installing a new windscreen in my truck?
Essential tools for installing a new windscreen include a utility knife for cutting old sealant, a suction cup for lifting the windscreen, a caulking gun for applying adhesive, and a tape measure to ensure proper fit.
Are there specific adhesives recommended for windscreen replacement?
Yes, look for high-quality automotive urethane adhesives, as they provide strong bonding and flexibility. Brands like 3M and Sika are commonly recommended for windscreen replacements.
What are the common mistakes people make during DIY windscreen replacement?
Common mistakes include not cleaning the old seal properly, failing to use enough adhesive, and not allowing sufficient curing time before driving the truck. It's crucial to follow the correct procedure for a successful installation.
How can I ensure a tight seal when replacing a windscreen?
To ensure a tight seal, use the recommended adhesive and apply it evenly. Make sure to press the windscreen firmly into place and remove any excess adhesive before it cures.
Is it safe to replace a windscreen myself, or should I hire a professional?
While DIY windscreen replacement can be done safely with the right tools and precautions, it’s important to assess your skill level. If you're unsure or lack the necessary experience, hiring a professional may be the best option for safety and security.