Table Of Contents
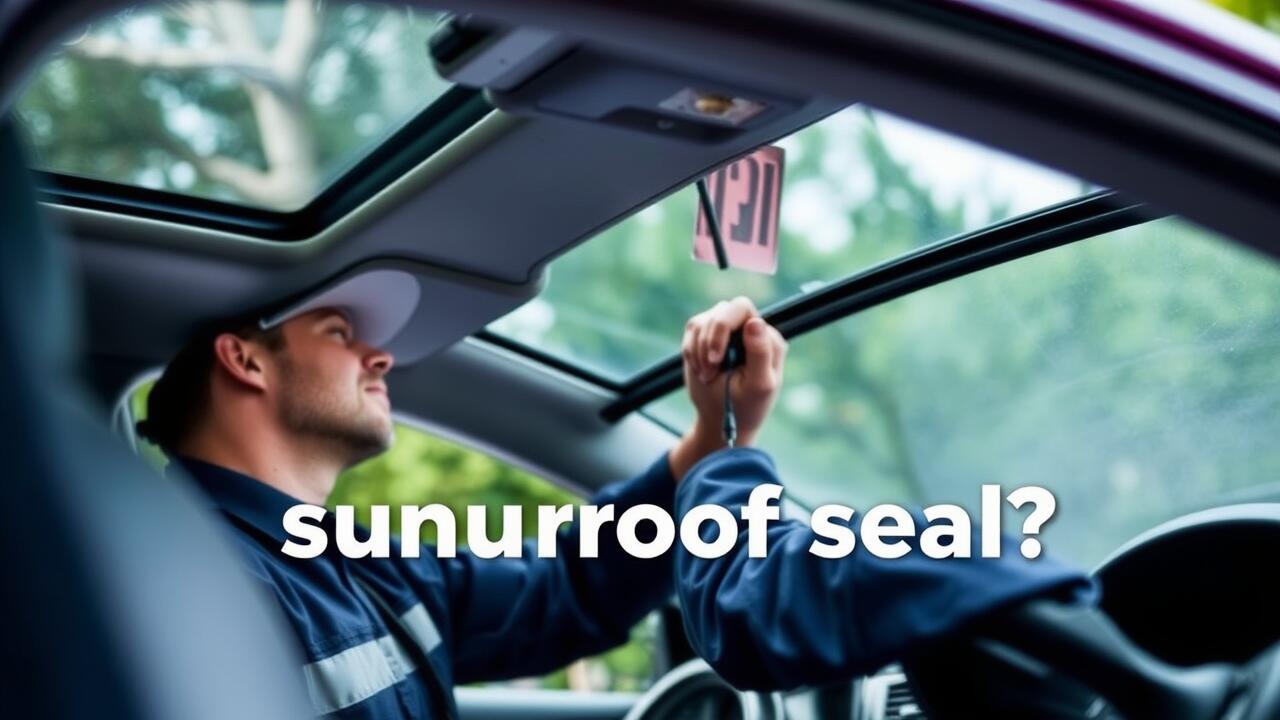
Step-by-Step Sealing Process
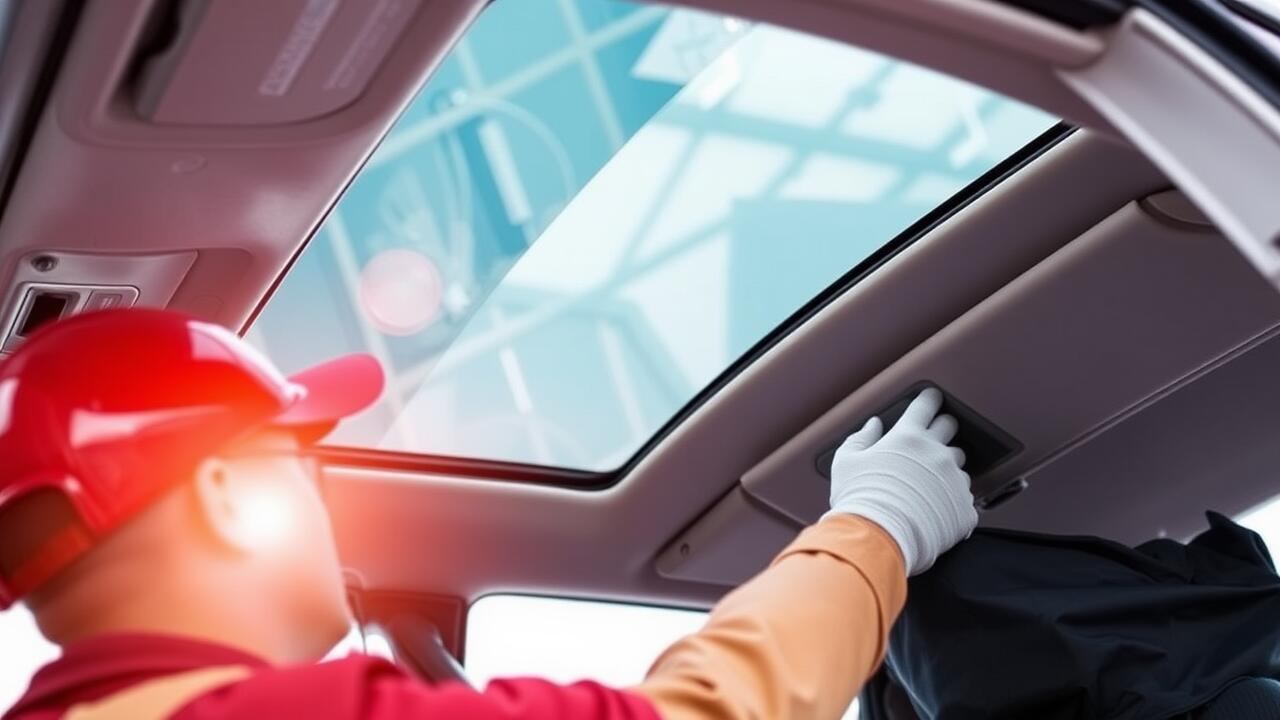
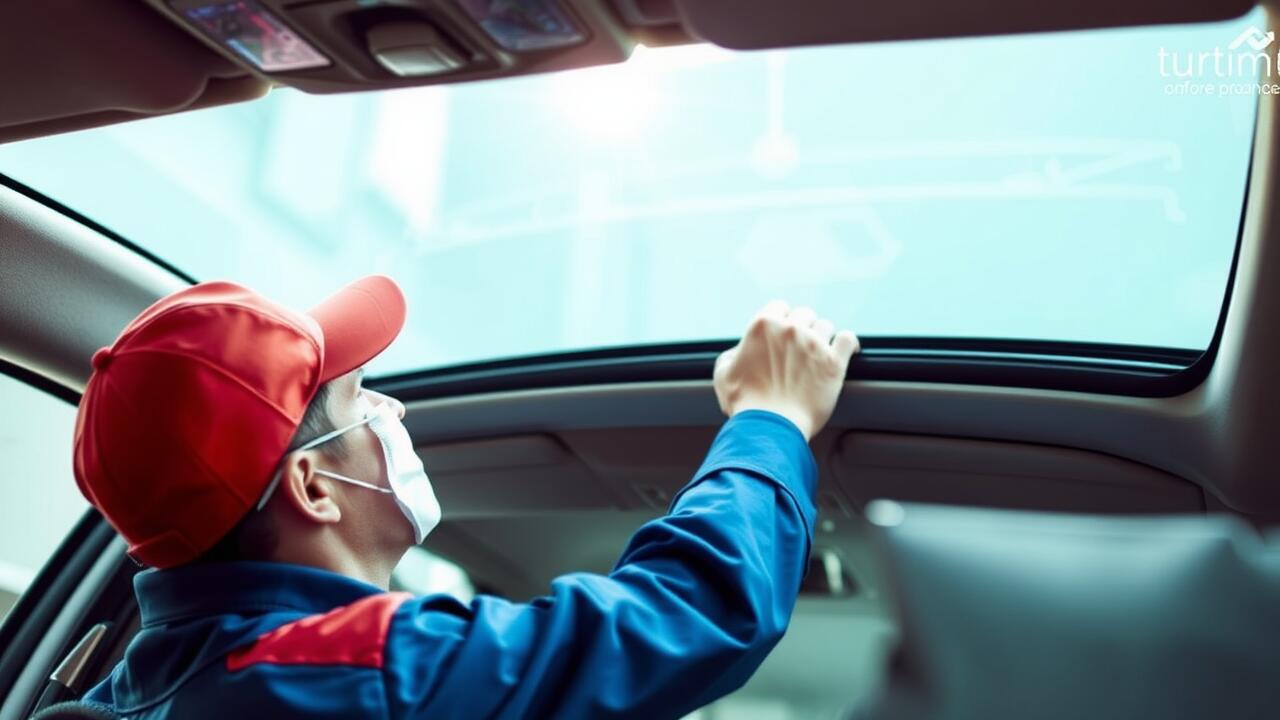
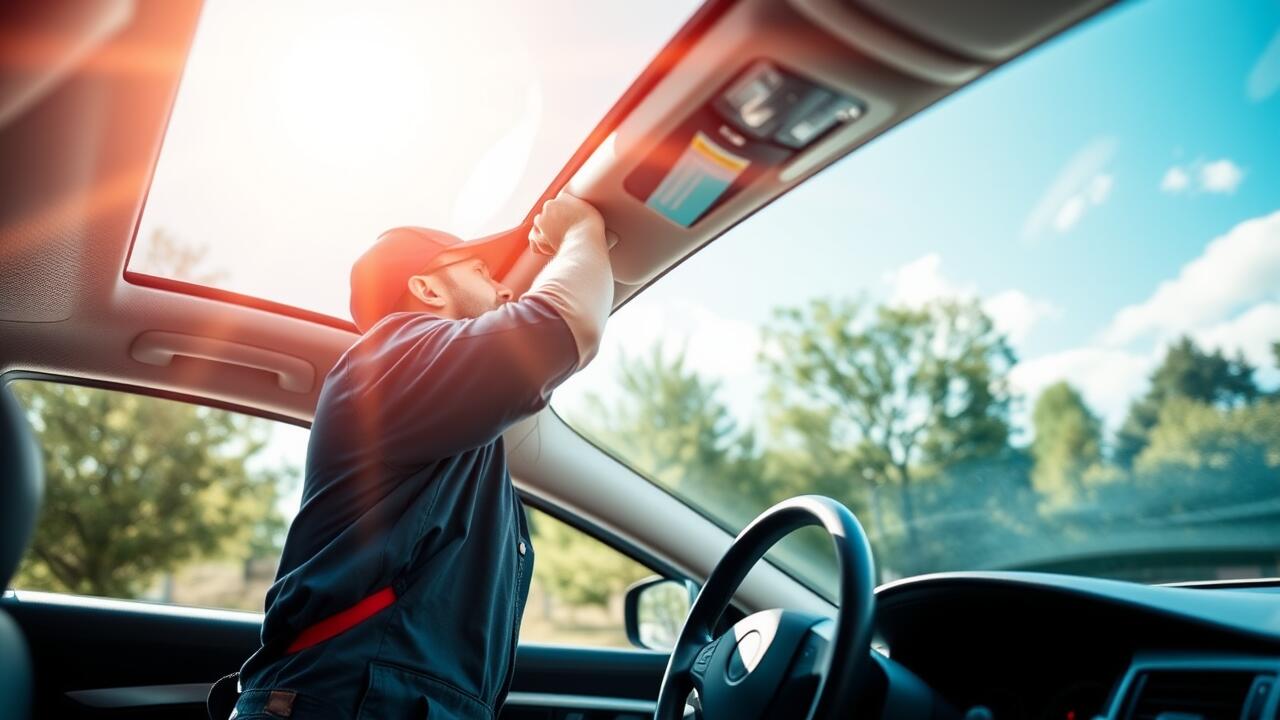
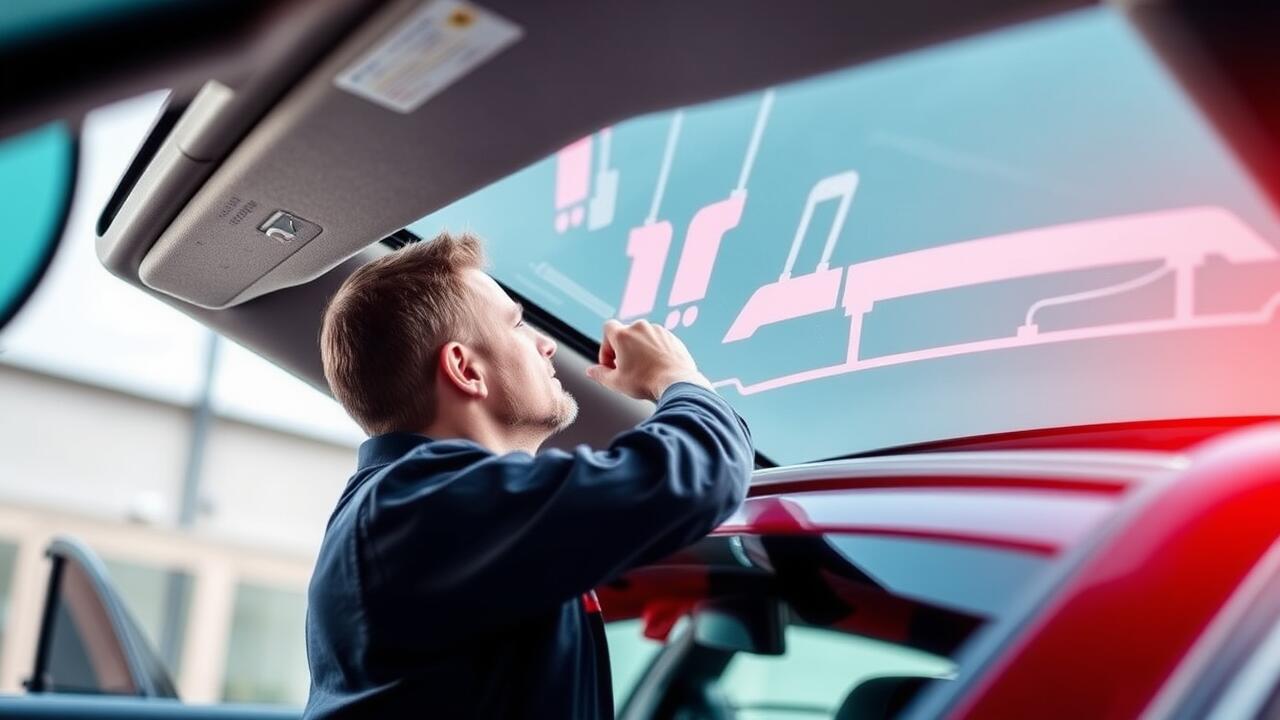
The initial stage in the sunroof sealing process involves thoroughly cleaning the area around the sunroof to remove any dirt, debris, or old sealant. Using a soft cloth and a suitable cleaning solution will ensure that the surface is free from contaminants. After cleaning, inspect the sunroof and the surrounding area for any signs of damage that might affect the sealing. If any issues are found, consider undertaking a sunroof repair before proceeding with the sealing process.
Next, select a high-quality automotive sealant specifically designed for sunroof applications. Apply the sealant evenly along the edges of the sunroof, making sure to cover any gaps or potential leak points. It is essential to use the right amount of sealant to avoid overflows. After application, smooth the sealant with a plastic spatula or your finger to ensure a tight seal. This step greatly enhances the bonding and longevity of the seal, making it far less likely for water to seep through in the future.
Continue to read this blog post for more great tips.
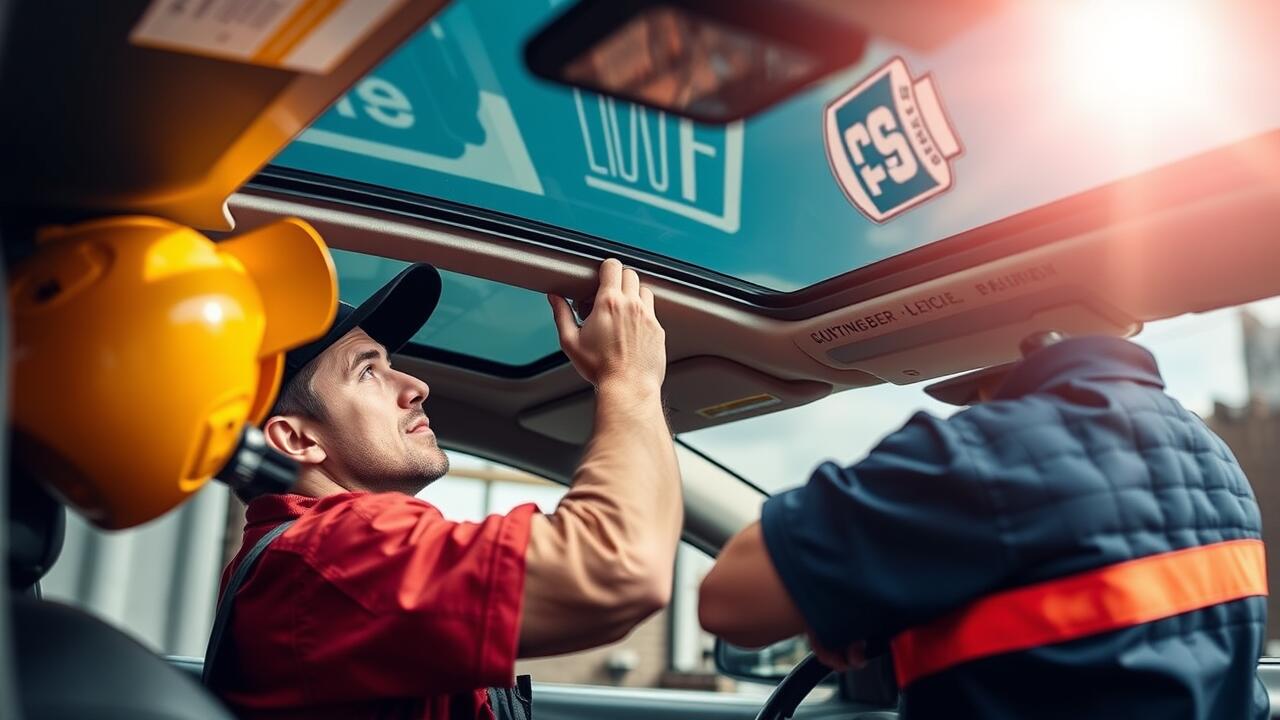
Applying the Sealant Effectively
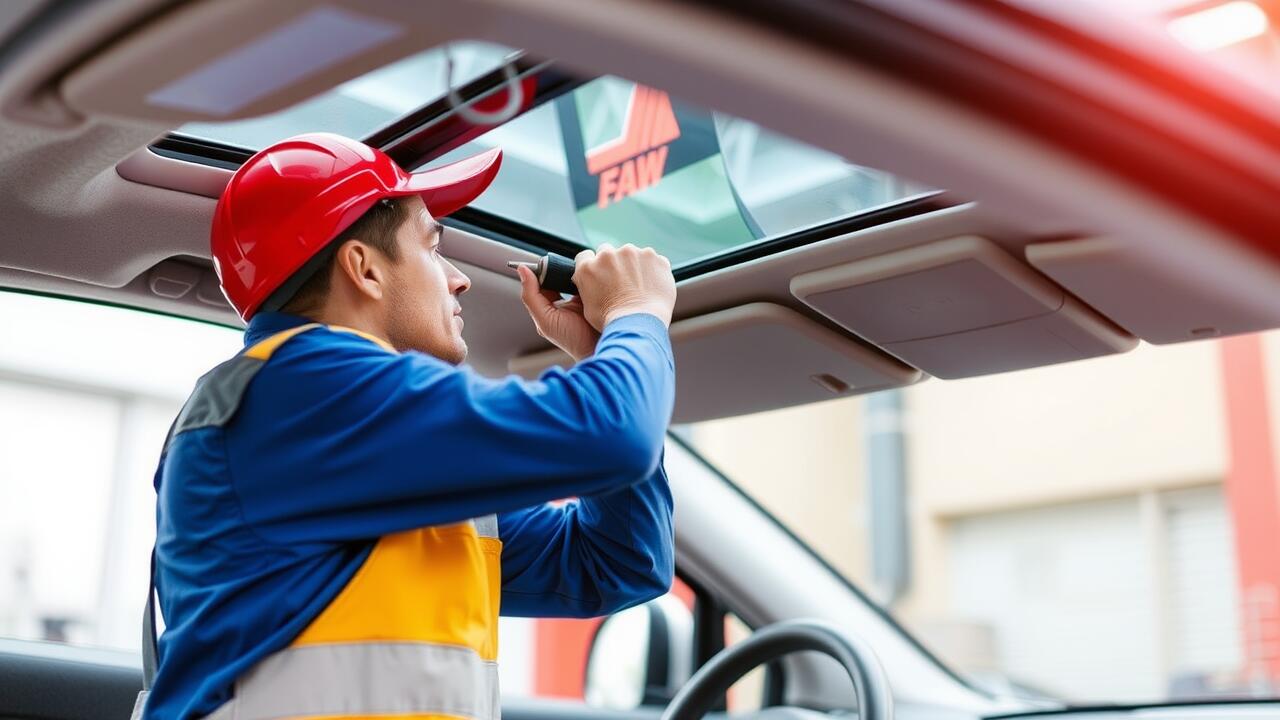
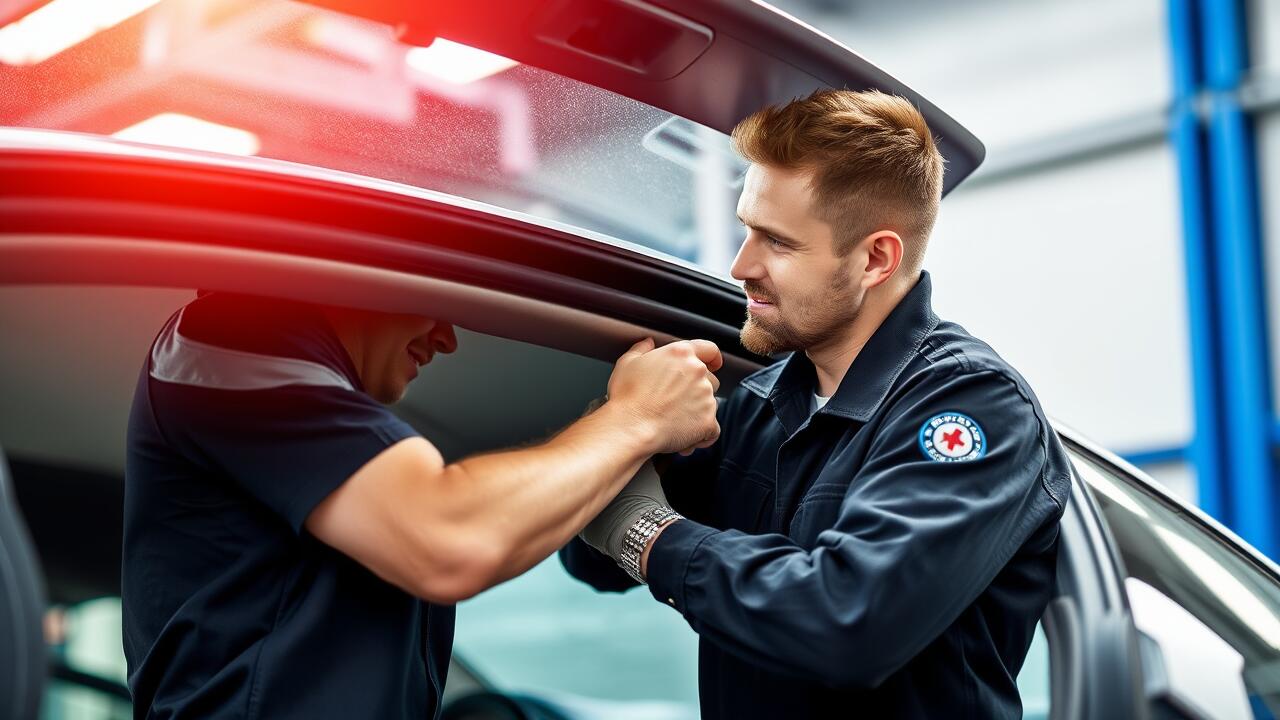
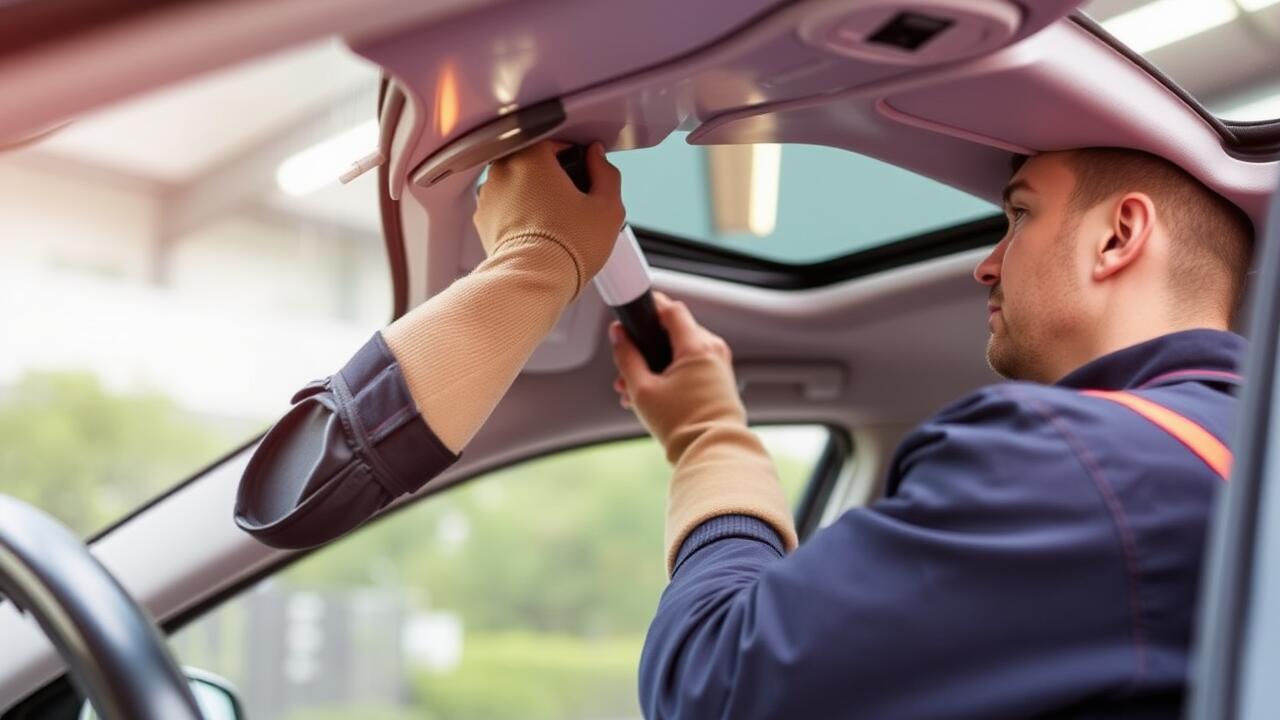
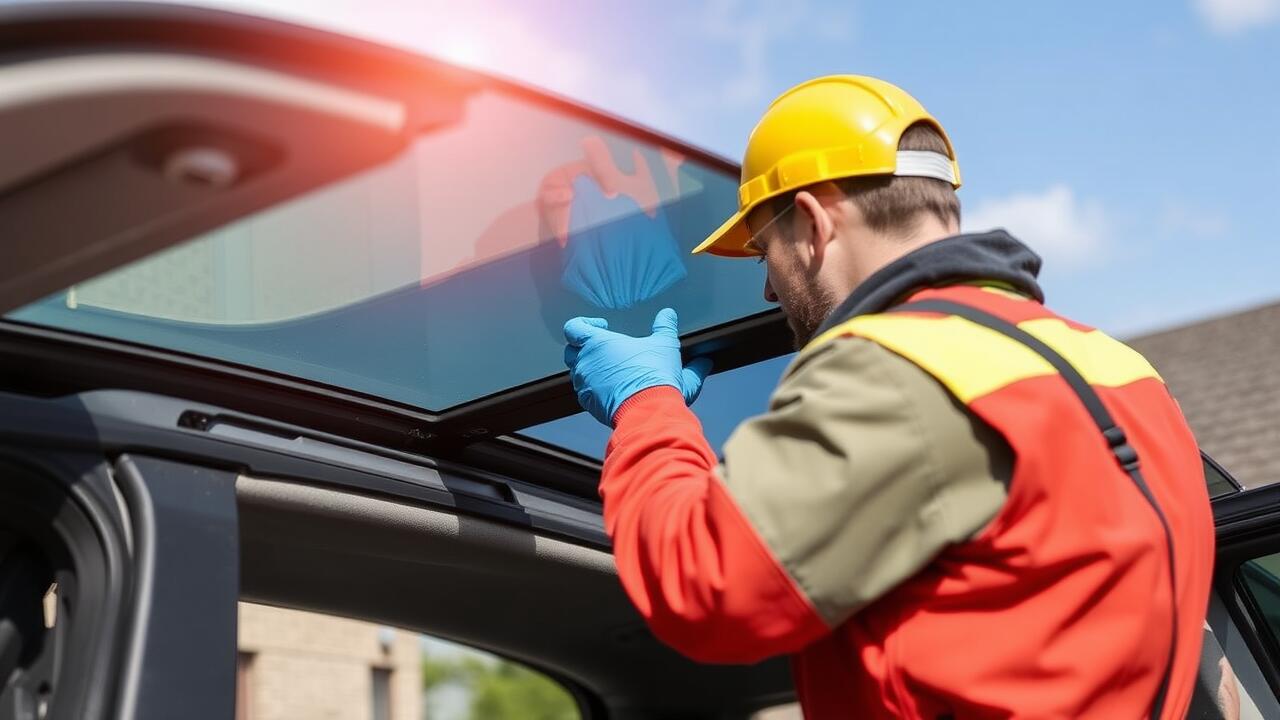
When applying sealant to a sunroof during a sunroof repair, it is essential to select a high-quality product designed for automotive use. Begin by thoroughly cleaning the surface of the sunroof and the surrounding frame, as dirt and debris can prevent proper adhesion. Ensure the area is dry before moving on to the application of the sealant. The application should be generous, covering any gaps or imperfections in the existing seal. Use a caulking gun for precision and smooth application, allowing for an even layer.
After applying the sealant, it is crucial to smooth out any uneven areas with a putty knife or finger to ensure a uniform finish. This helps eliminate potential weak spots that could lead to leaks in the future. Pay close attention to corners and edges where moisture might infiltrate easily. Allow the sealant sufficient curing time as per the manufacturer's instructions before exposing the sunroof to moisture or weather conditions. Checking the sealant for any missed spots can prevent issues down the line.
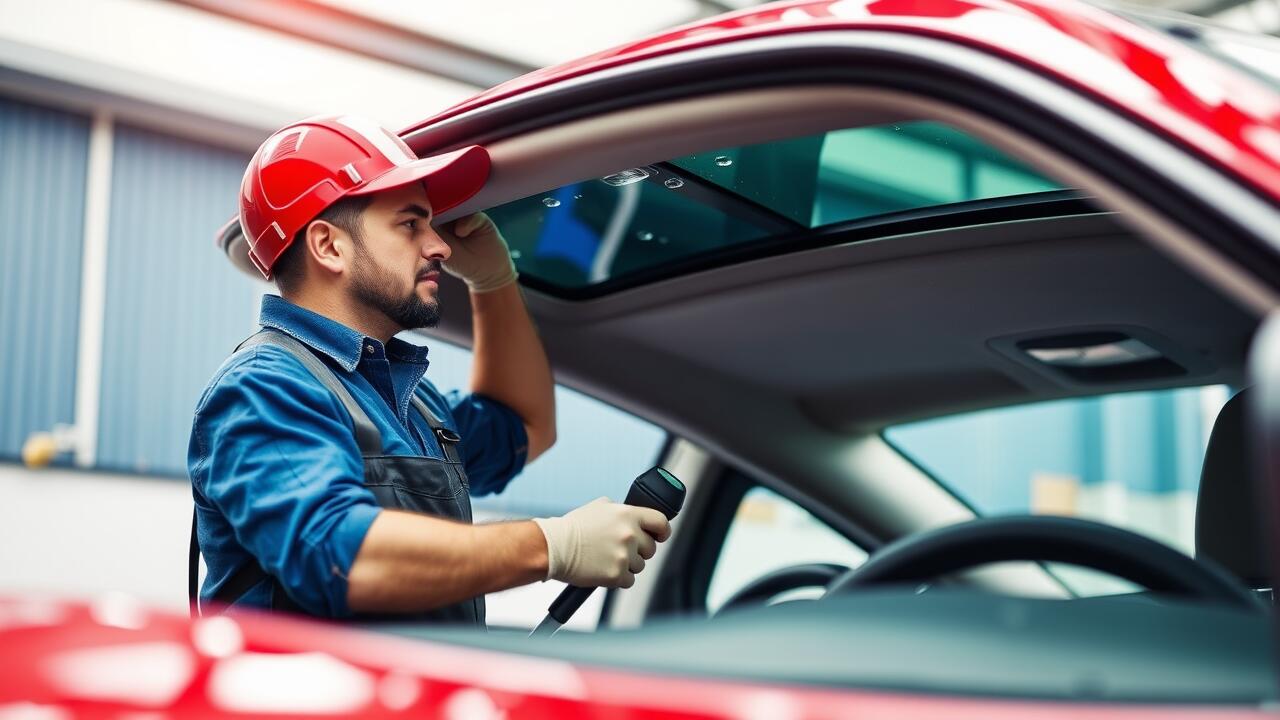
Ensuring Proper Adhesion
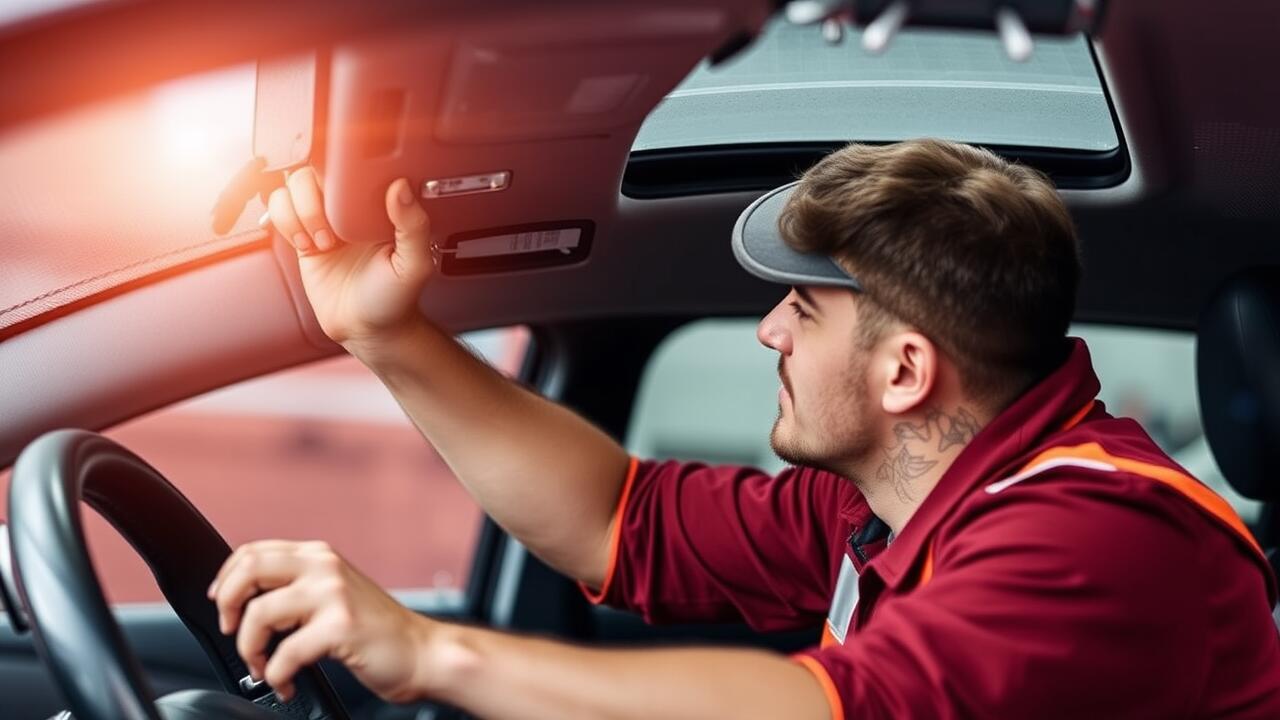
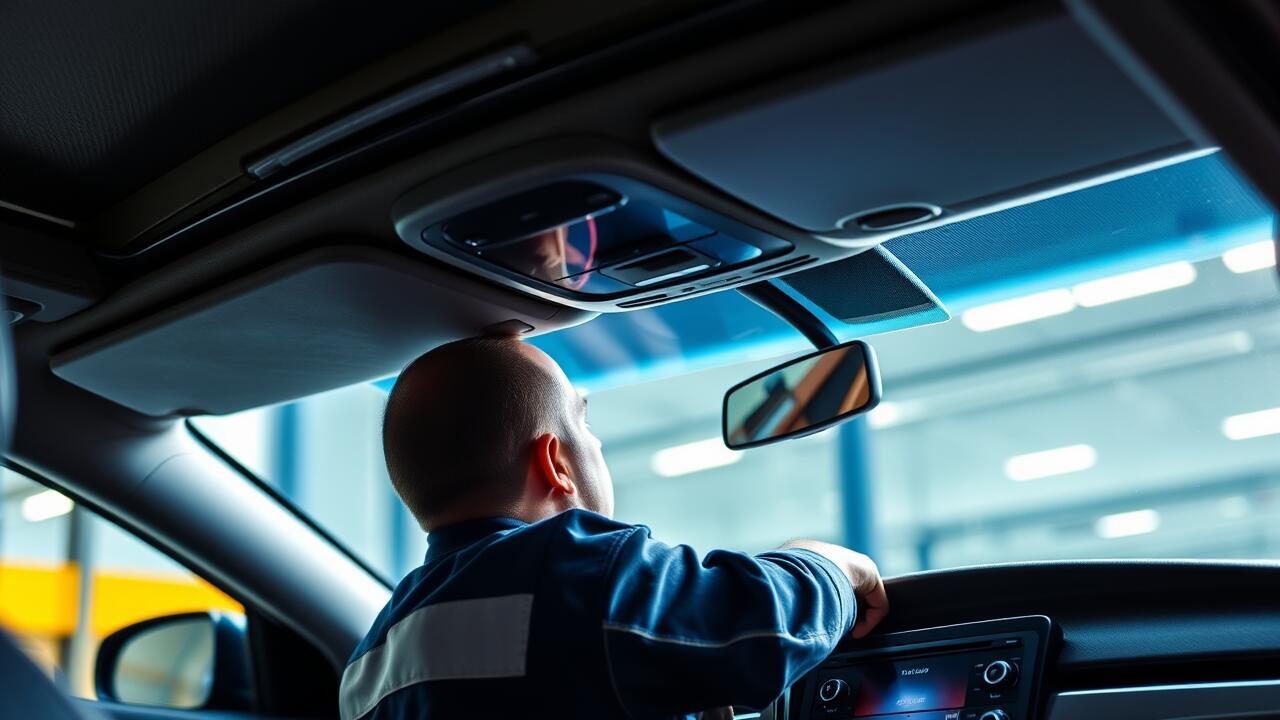
Achieving proper adhesion is crucial for the effectiveness of a sunroof seal. Before applying any sealant, ensure that the surface is clean and free from contaminants. Dirt, dust, and old adhesive residues can hinder the sealant's ability to bond effectively. Using a degreaser or an appropriate solvent can help prepare the area. For best results, allow the surface to dry completely before proceeding with the installation.
When applying the sealant, attention to detail is essential. Use a consistent bead of sealant around the perimeter of the sunroof, ensuring even coverage to strengthen the bond. Press down firmly on the sealant to eliminate any air pockets. After application, it may be beneficial to reinforce the adhesion by applying pressure through clamps or weights. This technique can help improve the durability of the seal, making it less susceptible to deterioration over time. Proper sunroof repair requires meticulousness to ensure a long-lasting solution.
Techniques for a Strong Bond
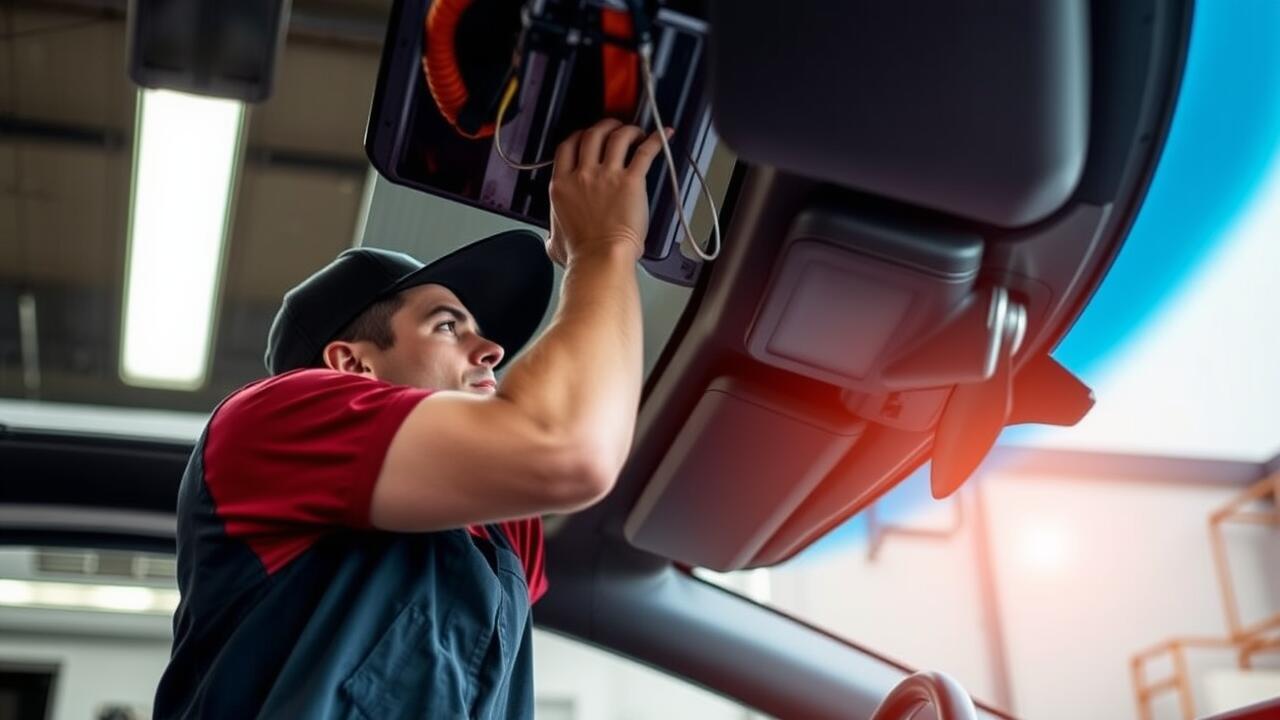
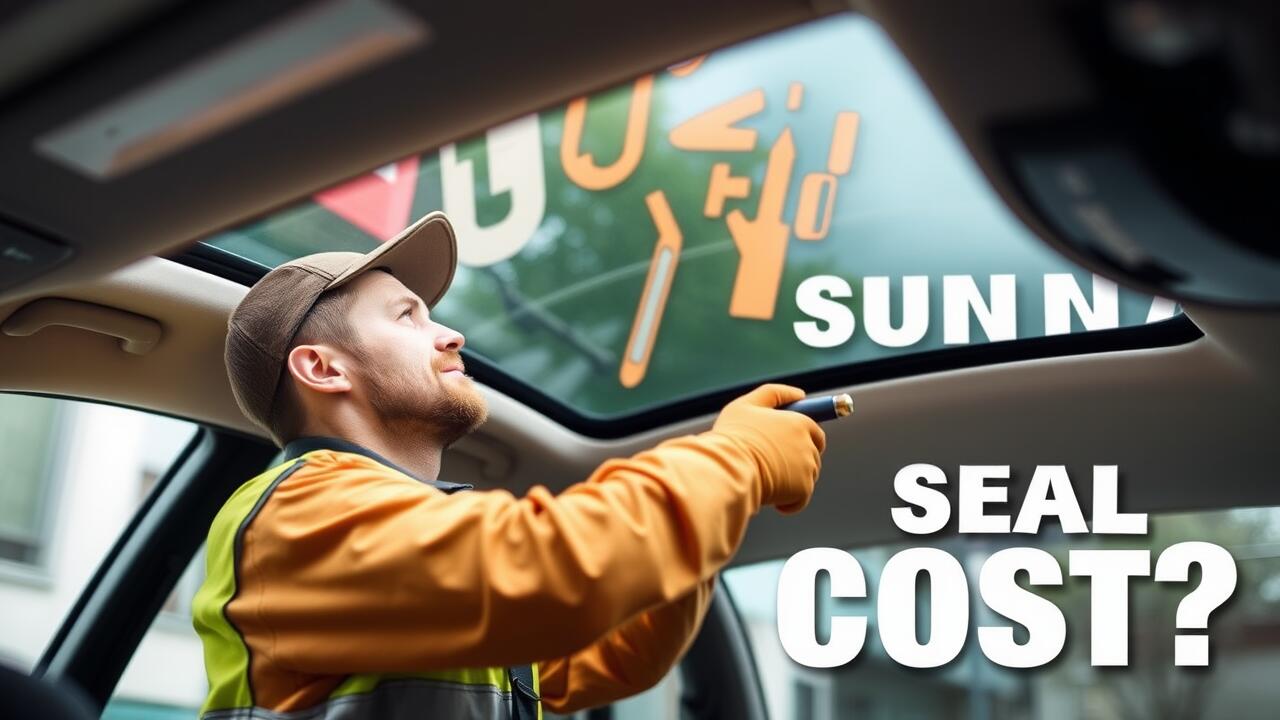
Achieving a strong bond when sealing a sunroof is crucial for ensuring long-lasting effectiveness. Begin by selecting a high-quality sealant specifically designed for automotive use. This will provide better adhesion and durability. Clean the surface thoroughly before application to remove any dirt, grease or old sealant residues. Using a suitable solvent can help eliminate contaminants and allow for optimal bonding conditions.
After preparation, apply the sealant evenly along the edges of the sunroof frame. Utilize a caulking gun to dispense the sealant smoothly, ensuring there are no gaps or uneven areas. Once applied, it is important to provide sufficient time for the sealant to cure properly. Avoid exposing the area to moisture during the curing process, as this can hinder the effectiveness of the bond. For those facing ongoing issues with leaks, Sunroof Repair specialists often recommend following up with a visual inspection to ensure the integrity of the seal after it has set.
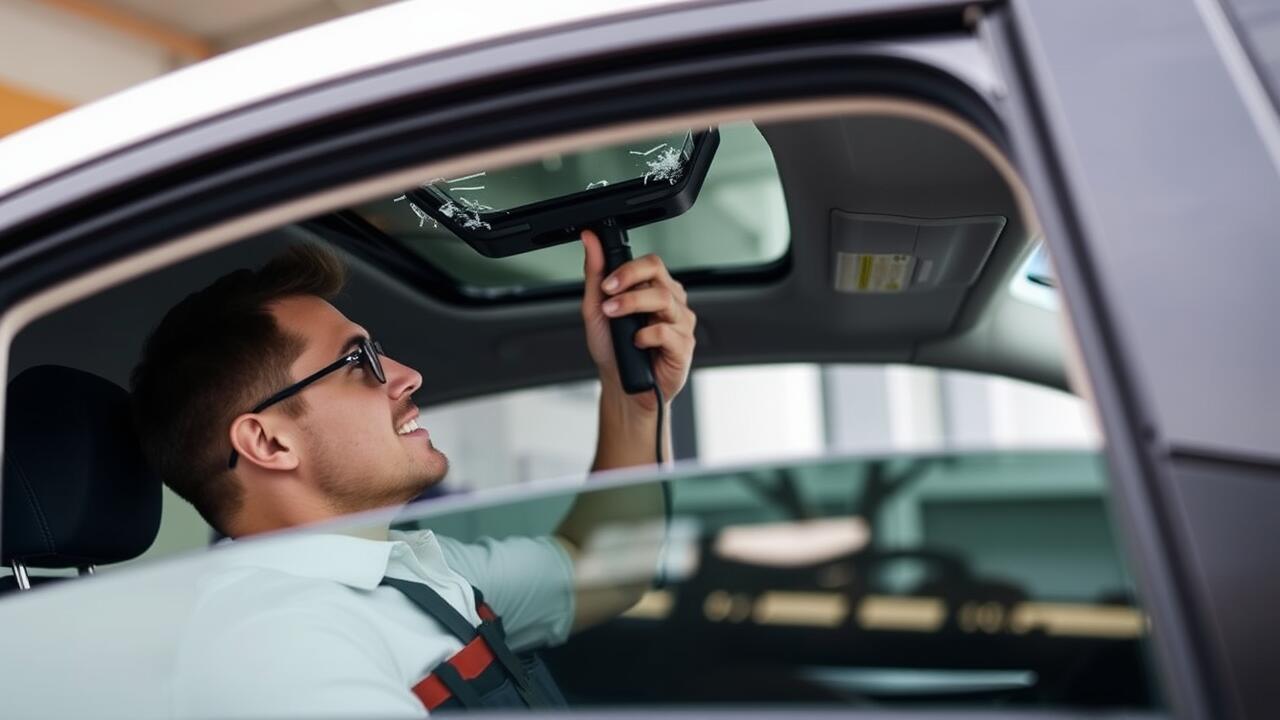
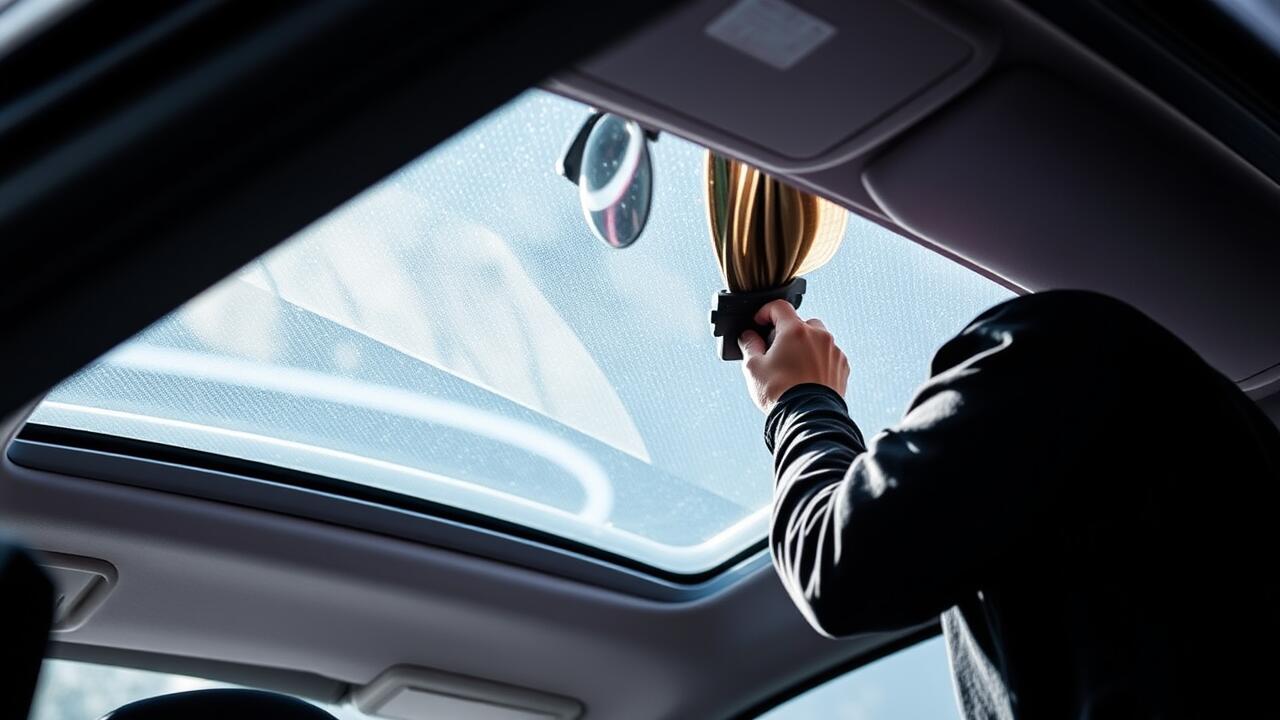
Testing for Leaks
After sealing the sunroof, it is essential to test for leaks to ensure the integrity of your work and avoid future complications. One effective method is to use a hose. Direct a steady stream of water towards the sunroof from various angles, allowing the water to flow over the edges and panels. Keep an eye inside the vehicle to check for any signs of water intrusion, particularly around the headliner. This straightforward approach provides a clear indication of whether the seal has been properly applied.
In addition to the water test, you can also consider using a vacuum test for a more precise assessment. This method involves sealing the sunroof area and creating a vacuum to monitor any changes in pressure. Any drop in pressure may indicate a potential leak. Conducting these tests not only guarantees a reliable seal but also prevents the need for costly sunroof repair down the line. Regular maintenance and testing can extend the lifespan of the sunroof and enhance the overall driving experience.
Methods to Check a Successful Seal
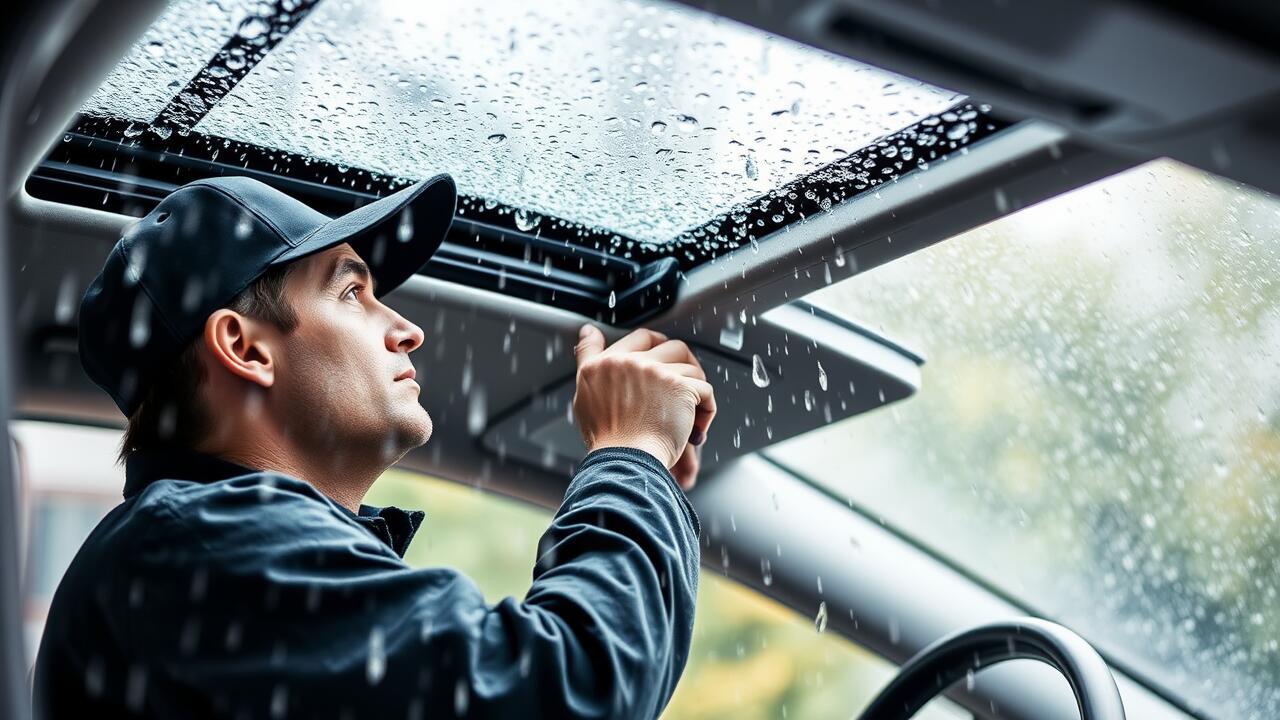
Once you have sealed the sunroof, verifying its effectiveness is crucial to prevent future leaks. One method to test the seal is to use a gentle water spray. Direct the water over the sunroof and observe any signs of leakage inside the vehicle. Pay close attention to areas around the edges of the sealant, as these are common points for potential water ingress. If you notice any drips or dampness, it may indicate that a more thorough sunroof repair process is needed.
Another effective approach is to inspect the interior cabin after a rainfall. Look for any moisture accumulation on the headliner or around the windows. This can serve as a key indicator of how well the seal is holding up. Keep in mind that larger volumes of water can compromise the integrity of a seal faster, so prolonged exposure during downpours can offer insight into the quality of your sunroof repair. Regular checks after rain can help ensure lasting results from your sealing efforts.
FAQS
Can I seal my sunroof permanently without professional help?
Yes, you can seal your sunroof permanently on your own by following the step-by-step sealing process outlined in the article. However, ensure you have the right tools and materials for the job.
What type of sealant should I use for sealing a sunroof?
It’s best to use a high-quality, weather-resistant sealant specifically designed for automotive applications, such as silicone or polyurethane sealant, to ensure a durable and effective seal.
How do I know if my sunroof is leaking?
You can check for leaks by inspecting the interior for water stains, performing a water test by pouring water over the sunroof, or looking for dampness after heavy rain.
What techniques can I use to ensure proper adhesion when sealing?
Techniques for strong adhesion include cleaning the surface thoroughly before application, applying the sealant evenly, and allowing sufficient curing time as recommended by the sealant manufacturer.
How often should I check my sunroof seal after sealing it?
It’s a good idea to inspect the sunroof seal every few months, especially after heavy rain or extreme weather conditions, to ensure it remains intact and functioning properly.