Table Of Contents
Choosing the Right Replacement Glass
When facing a broken car window, selecting the appropriate replacement glass is crucial for maintaining the vehicle’s integrity and safety. Consider the type of glass used in your car's original window; most vehicles are equipped with laminated or tempered glass. Laminated glass offers better protection against shattering, while tempered glass is more durable and resistant to impact. For a rear window replacement, ensure you choose glass that matches the specifications of your vehicle to guarantee a perfect fit and optimal visibility.
Quality is another important factor to contemplate when choosing replacement glass. Inferior glass can lead to issues such as distortion, reduced visibility, or even safety hazards in the event of an accident. Seek out certified suppliers who provide high-quality products that meet industry standards. Using OEM (Original Equipment Manufacturer) or reputable aftermarket glass will help ensure the longevity and performance of your new window. Doing thorough research will not only provide peace of mind but also contribute to the overall safety of your vehicle.
Discover more here.
Factors to Consider When Selecting New Glass
When selecting new glass for a car window, it is essential to determine the type needed for your specific vehicle. Rear Window Replacement may require different specifications compared to side windows or windshields. Glass quality often varies; opt for tempered or laminated glass for increased safety and durability. Be sure to check the manufacturer's recommendations or consult with automotive glass specialists to ensure you choose the right type.
Another crucial factor to consider is whether the glass includes any additional features, such as tinting or defrosting capabilities. Some car models come with specially coated glass that enhances performance and comfort. Replacement glass should not only match the original specifications but also meet local regulations regarding visibility and safety. Ensuring compatibility with your vehicle's electronics and sensors can save time and effort during installation.
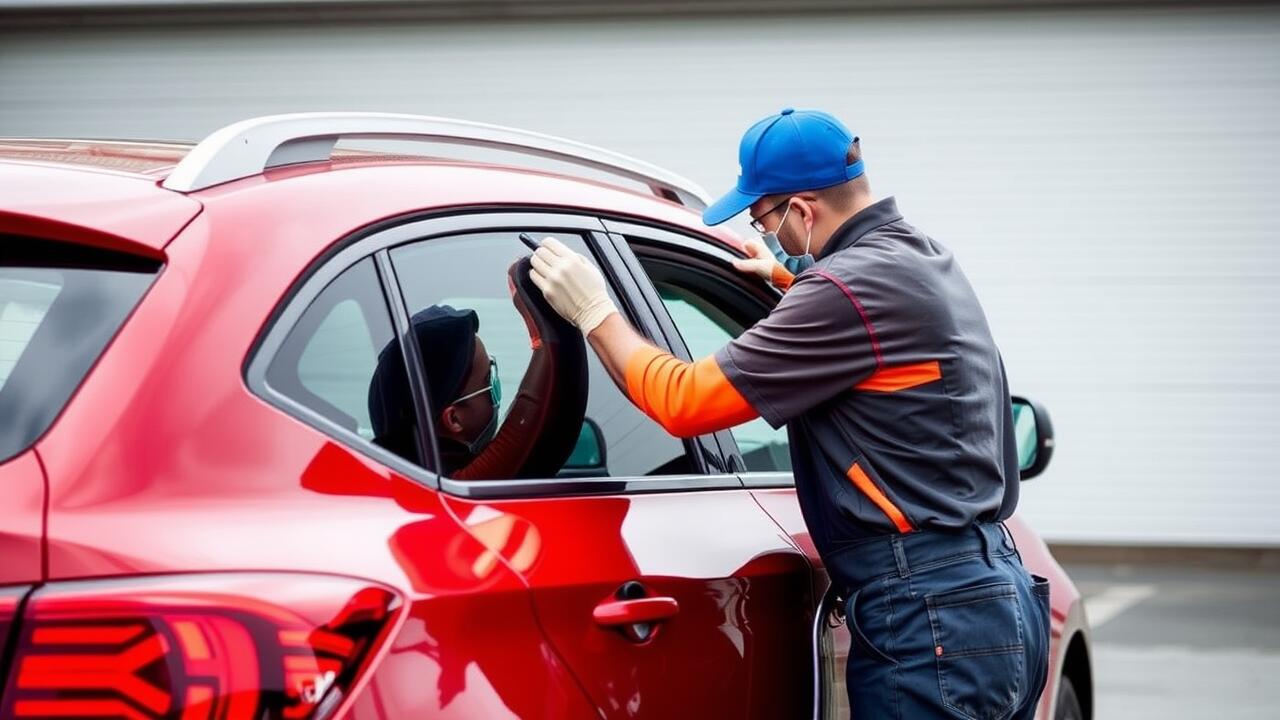
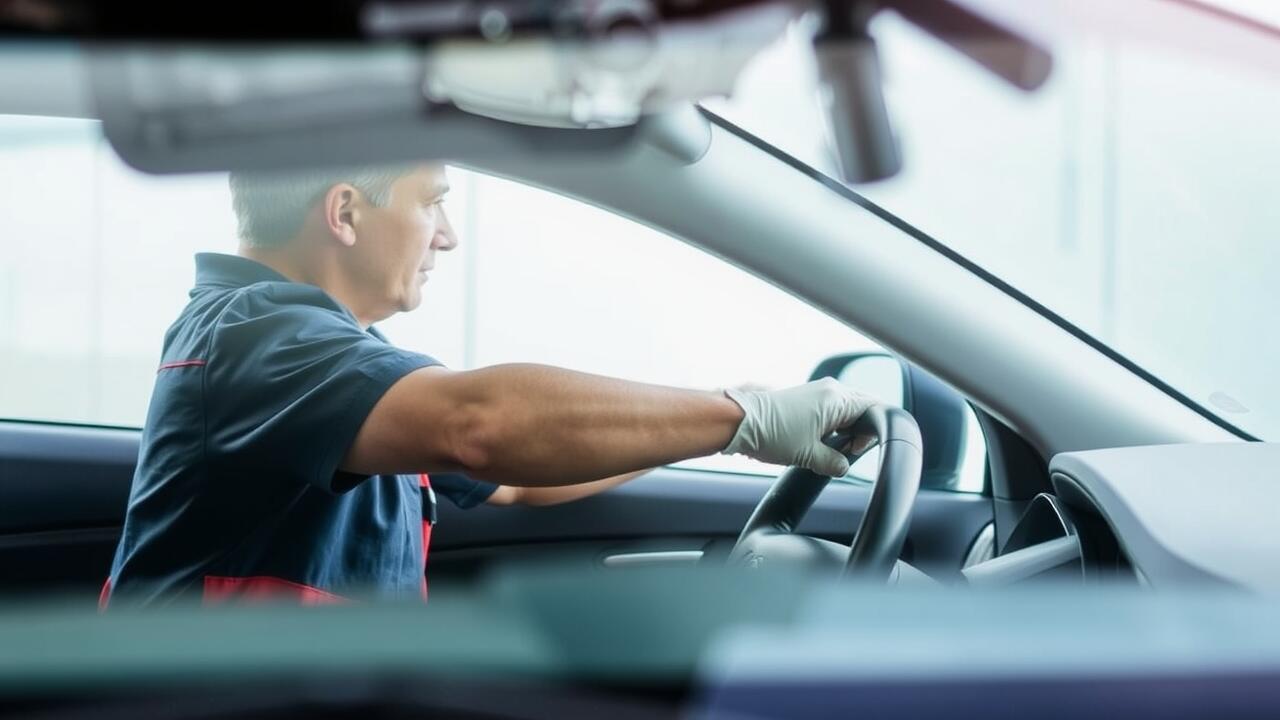
Installing the New Window
When installing the new window, ensuring that the frame is clean and free from debris is essential for a seamless fit. Begin by gently inserting the new glass into the designated opening. Take care to position it securely within the frame. Once the glass is in place, check for any gaps and make sure it aligns properly with the edges. An accurate fit will provide enhanced stability and prevent issues such as rattling or leaking.
For a successful rear window replacement, applying the right amount of adhesive is crucial. Use a high-quality automotive adhesive that can withstand varying weather conditions. Carefully run the adhesive along the edges of the frame before pressing the new window into place. This step is not only vital for securing the glass but also helps create a watertight seal. Allow adequate curing time for the adhesive to ensure a long-lasting installation.
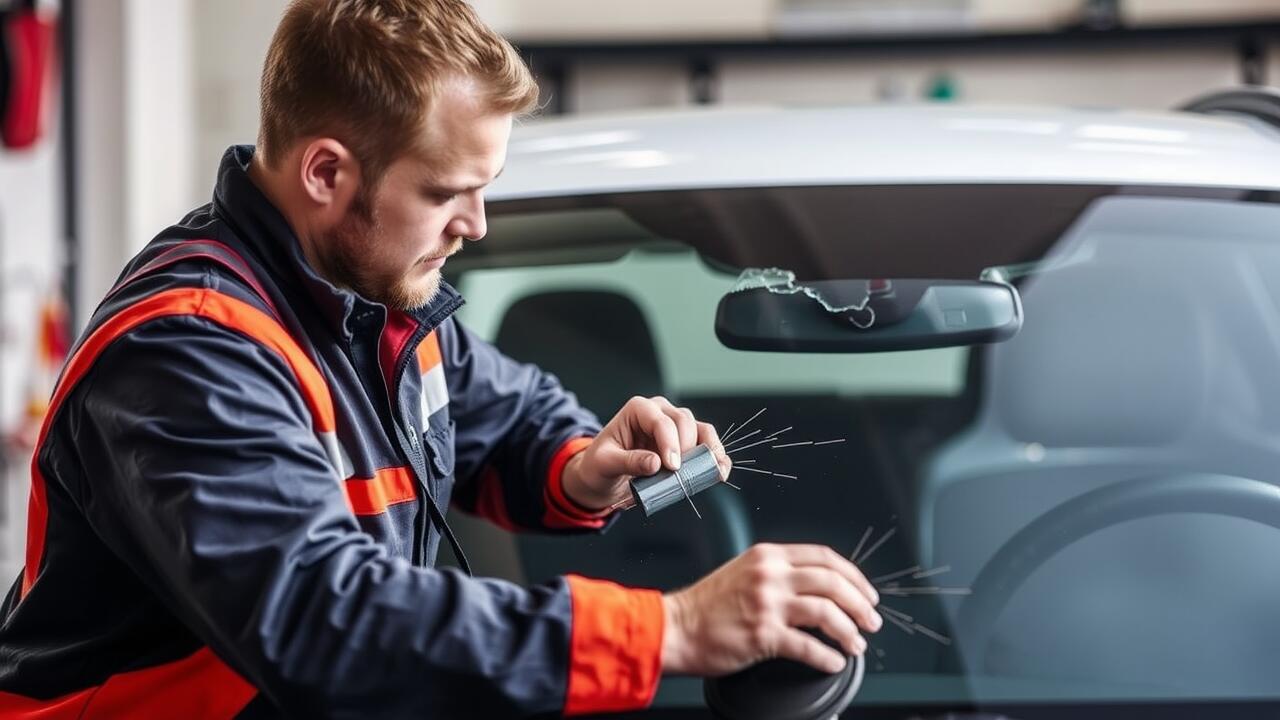
Proper Techniques for a Secure Fit
To achieve a secure fit during rear window replacement, it is crucial to prepare the area thoroughly before installation. Start by cleaning the frame to remove any debris, dirt, or old adhesive. This ensures optimal adhesion for the new glass. A primer may be applied to the frame to enhance the bonding process. Once the frame is clean and prepped, use a strong adhesive specifically designed for automotive glass. Applying the adhesive evenly along the frame will provide a solid base for the new window.
When positioning the new glass, using suction cups can improve handling and accuracy. It is essential to align the glass carefully with the frame to avoid any gaps that could lead to leaks. Once in place, apply even pressure across the surface to ensure proper adhesion. It may be helpful to secure the glass with tape temporarily while the adhesive sets. Allow the adhesive to cure according to the manufacturer's instructions, ensuring a robust and lasting fit.
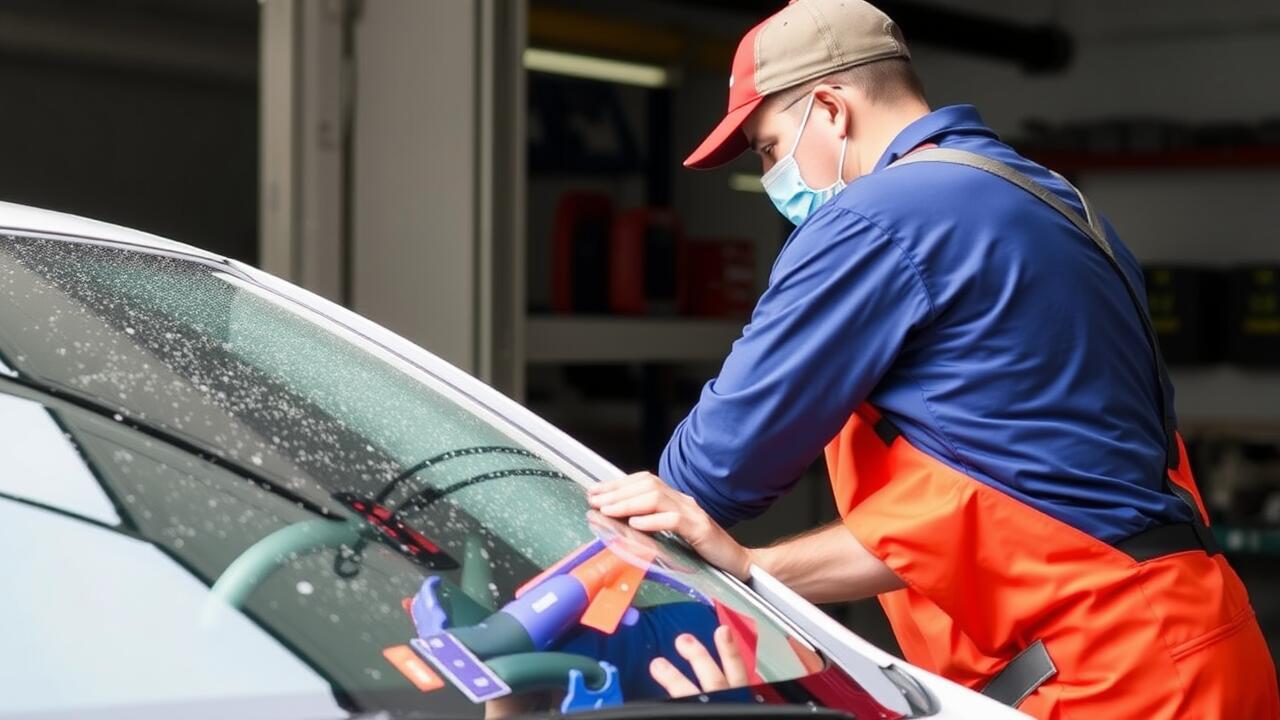
Sealing the Window
After installing the new window, sealing it properly is essential to ensure it remains durable and weatherproof. Special attention should be given to the edges where the glass meets the car body. Using a high-quality automotive sealant is recommended, as it provides a strong bond while also accommodating any flexing of the vehicle’s frame. Applying the sealant evenly will help prevent water leaks and reduce air noise inside the cabin.
For those performing a rear window replacement, it is crucial to pay attention to the corners where the window curves. The application of sealant in these areas prevents the accumulation of debris and moisture, which can lead to rust over time. Using a caulking gun, apply a continuous bead of sealant, ensuring that it fills any gaps. After sealing, allow the sealant to cure fully according to the manufacturer's instructions before exposing the vehicle to rain or heavy humidity.
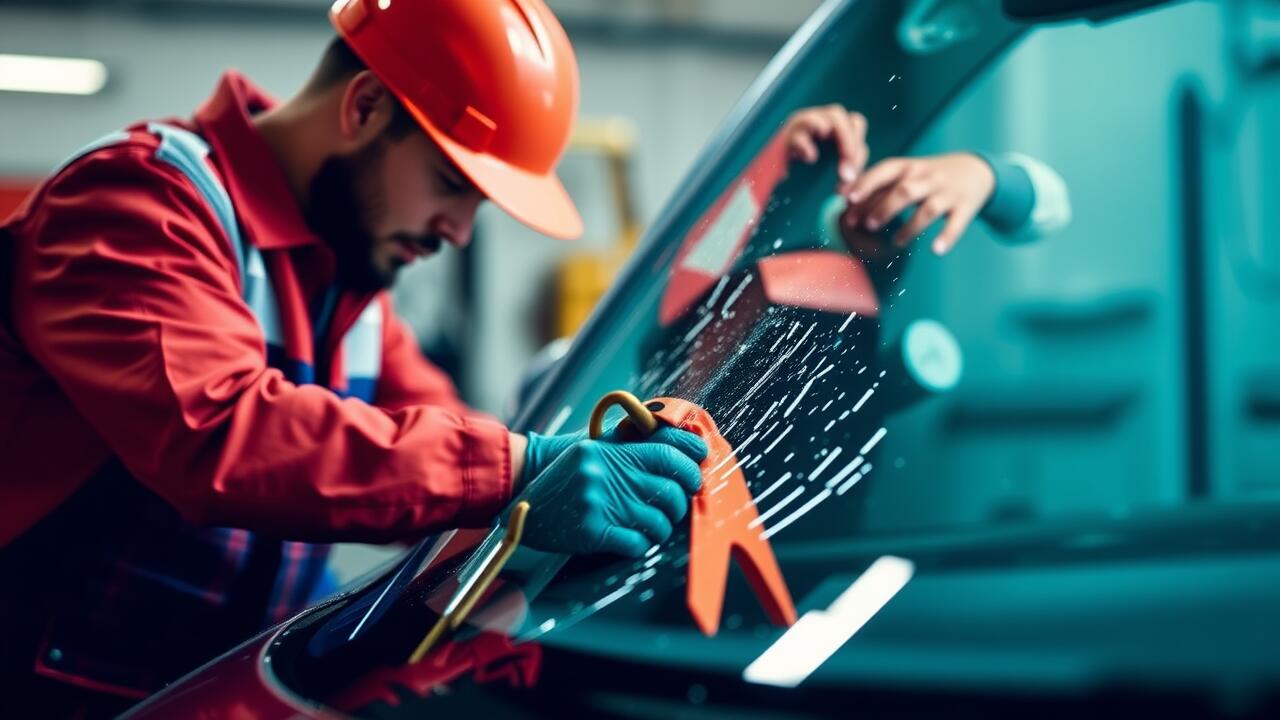
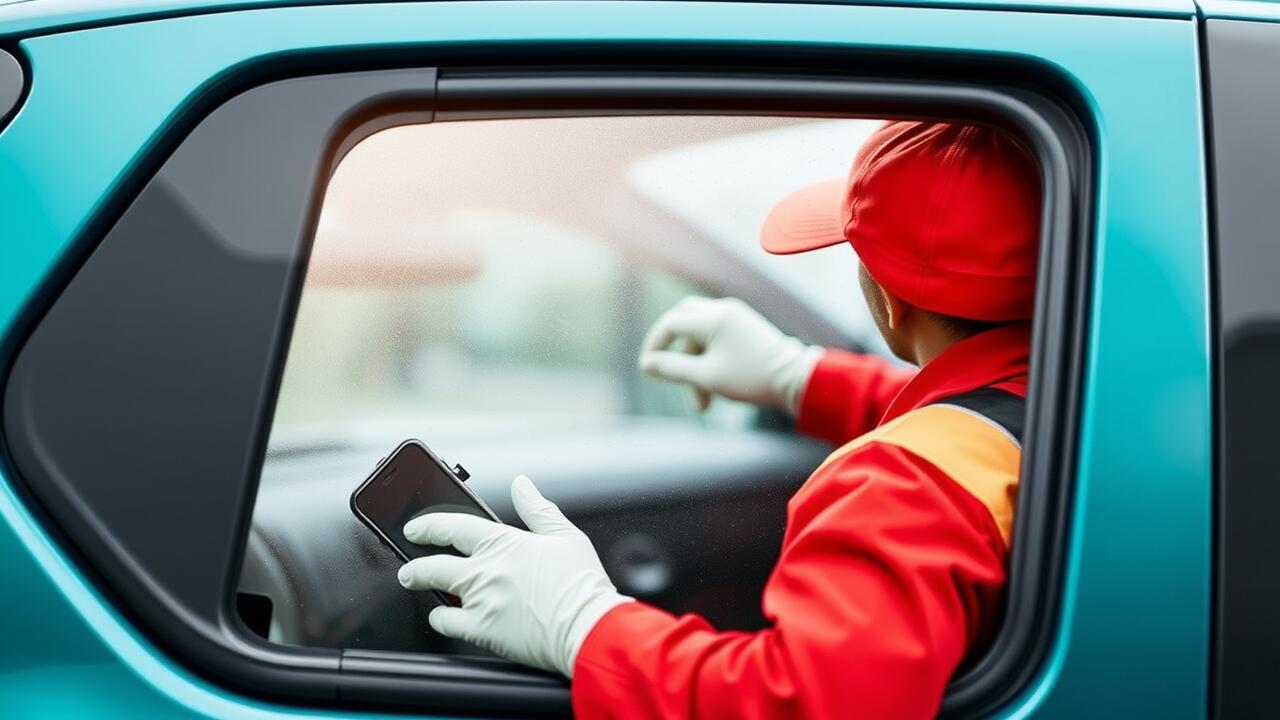
Ensuring Weatherproofing and Stability
Ensuring a proper seal around the new window is crucial for maintaining the car's weatherproofing. Begin by using high-quality weatherstripping or sealant specifically designed for automotive applications. Check that the edges of the glass align correctly with the frame, allowing for a tight fit. Pay special attention to corners and any potential gaps, as these areas are more susceptible to water intrusion and air leaks. Once the glass is in place, apply the sealant evenly and extensively around the perimeter to create a durable barrier against the elements.
When it comes to rear window replacement, it's essential to allow the sealant sufficient time to cure before exposing it to moisture. Follow the manufacturer's instructions regarding drying times to ensure the best results. After installation, conduct a thorough inspection to verify that all areas are sealed properly. Testing the window for stability by gently pressing along the edges can help confirm that it is securely in place. Proper sealing not only enhances the car's aesthetics but also contributes to overall safety and comfort while driving.
FAQS
What type of glass should I use to replace my car window?
It's best to use OEM (Original Equipment Manufacturer) glass for the exact fit and quality. Alternatively, high-quality aftermarket glass can also be suitable; just ensure it meets safety standards.
Can I replace a car window myself, or should I hire a professional?
While replacing a car window can be a DIY project for those with some experience, it's recommended to hire a professional to ensure a proper installation and avoid potential issues.
How long does it take to replace a broken car window?
The time required can vary, but generally, it takes about 1 to 2 hours for a professional to replace a car window, including the sealing process.
Will my car window be weatherproof after replacement?
Yes, if the window is installed correctly and properly sealed, it should be weatherproof. It's important to follow the sealing techniques carefully to ensure stability and prevent leaks.
What tools do I need to replace a broken car window?
Essential tools include a glass cutter or suction cups, a sealant applicator, safety gloves, and possibly a trim removal tool. Depending on your vehicle, you may also need specific tools to access the window frame.