Table Of Contents
Steps Involved in Resealing a Rubber Roof
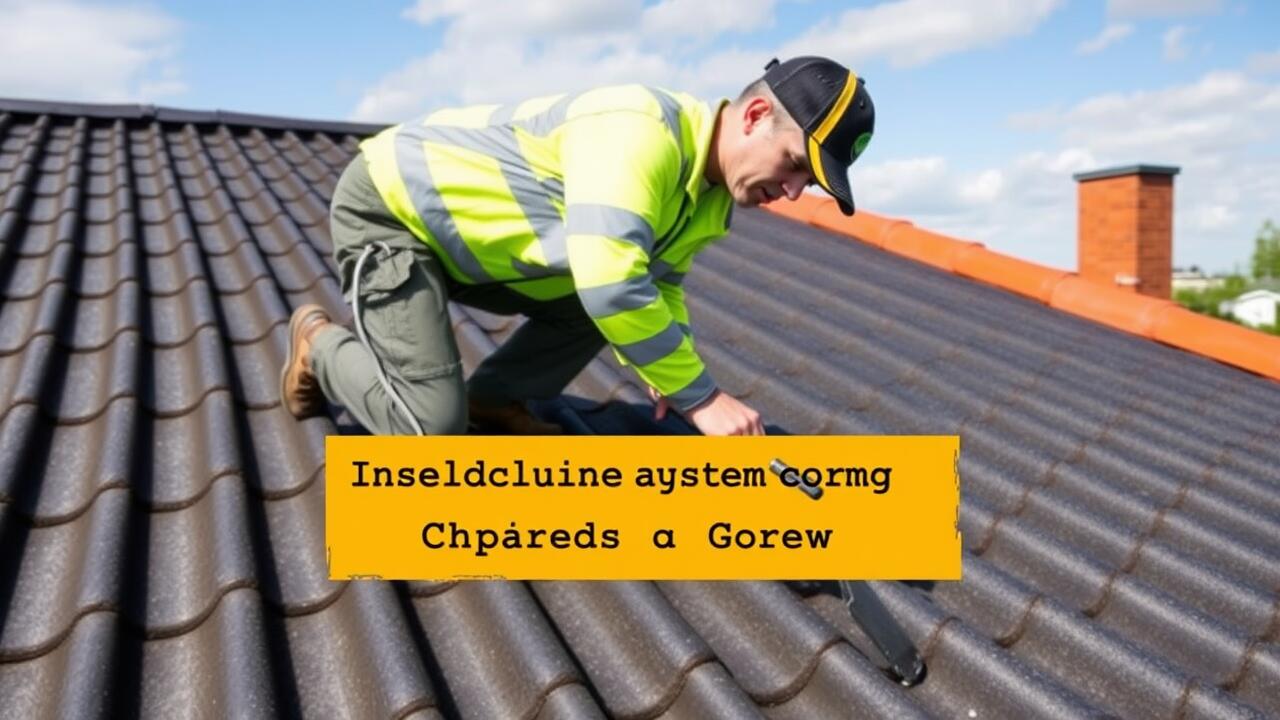
Resealing a rubber roof involves several sequential steps that ensure proper application and longevity of the sealant. Initially, you need to inspect the roof for any visible damage, such as cracks or tears. Cleaning the surface is essential, removing dirt, debris, and any previous sealant residue. Using a gentle detergent mixed with water is usually effective. Once the area is clean and dry, a primer may be needed, especially if the roof has not been treated recently. This preparation ensures the sealant adheres well to the rubber material.
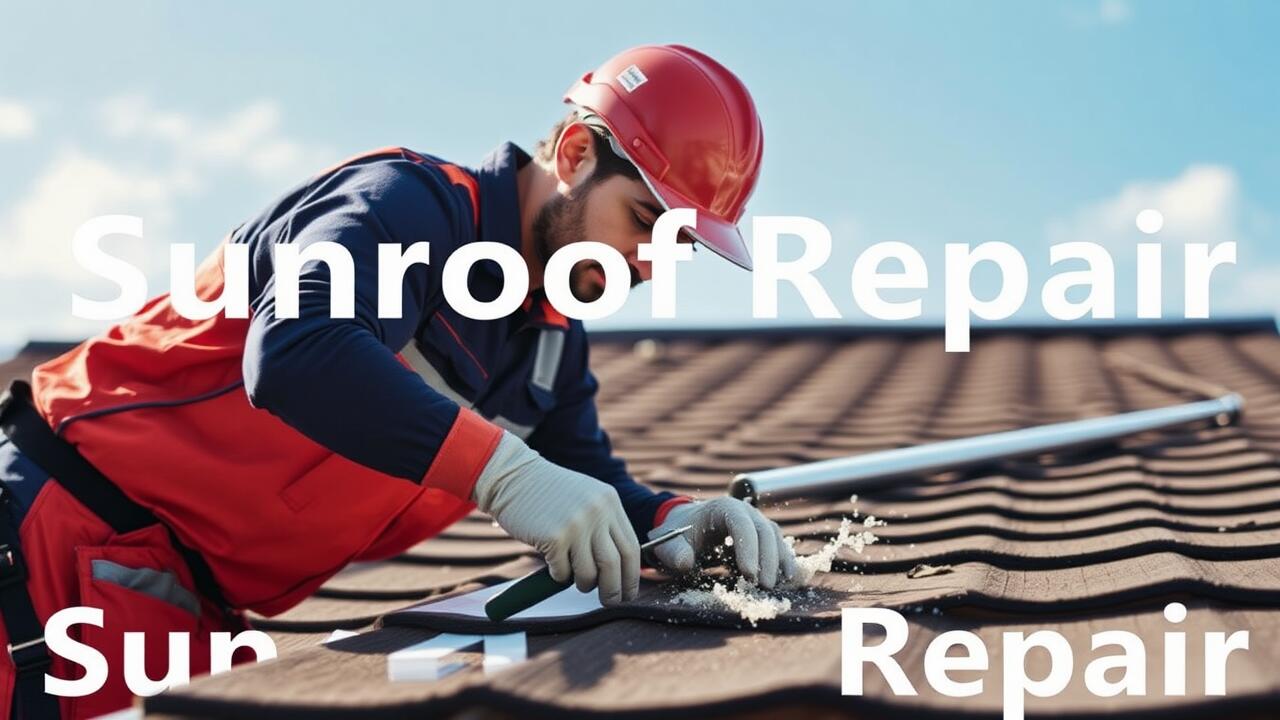
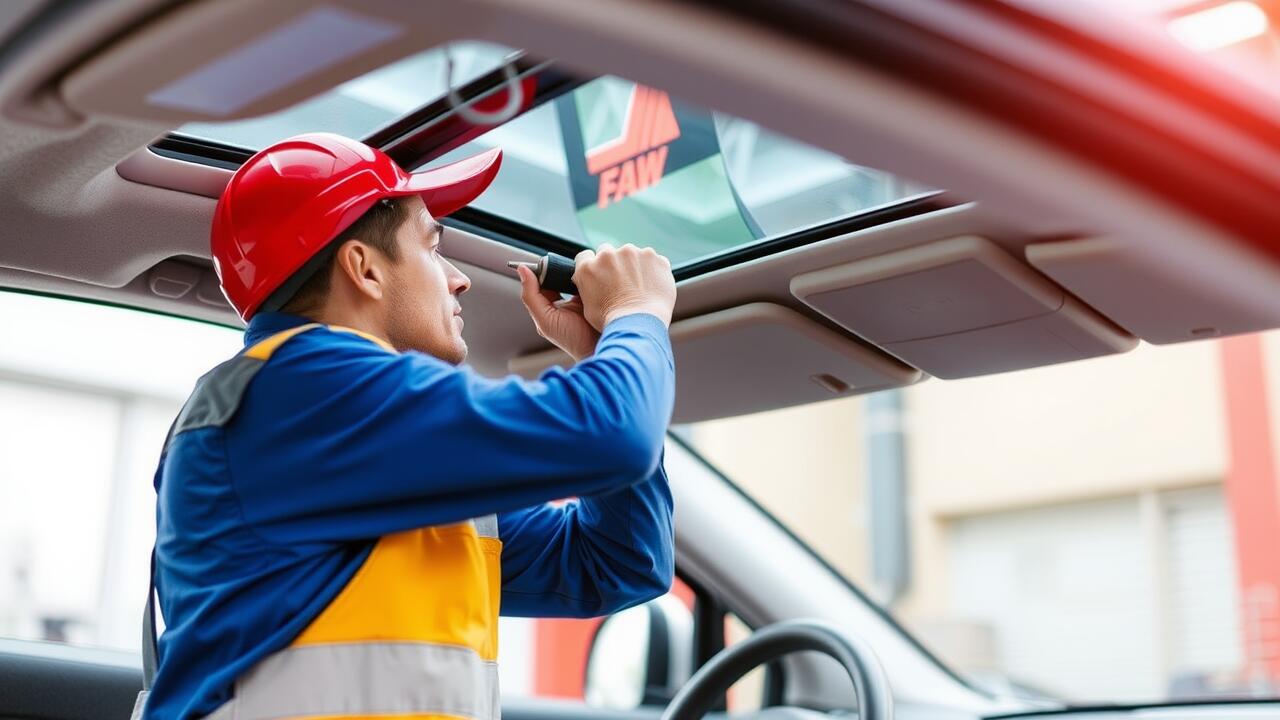
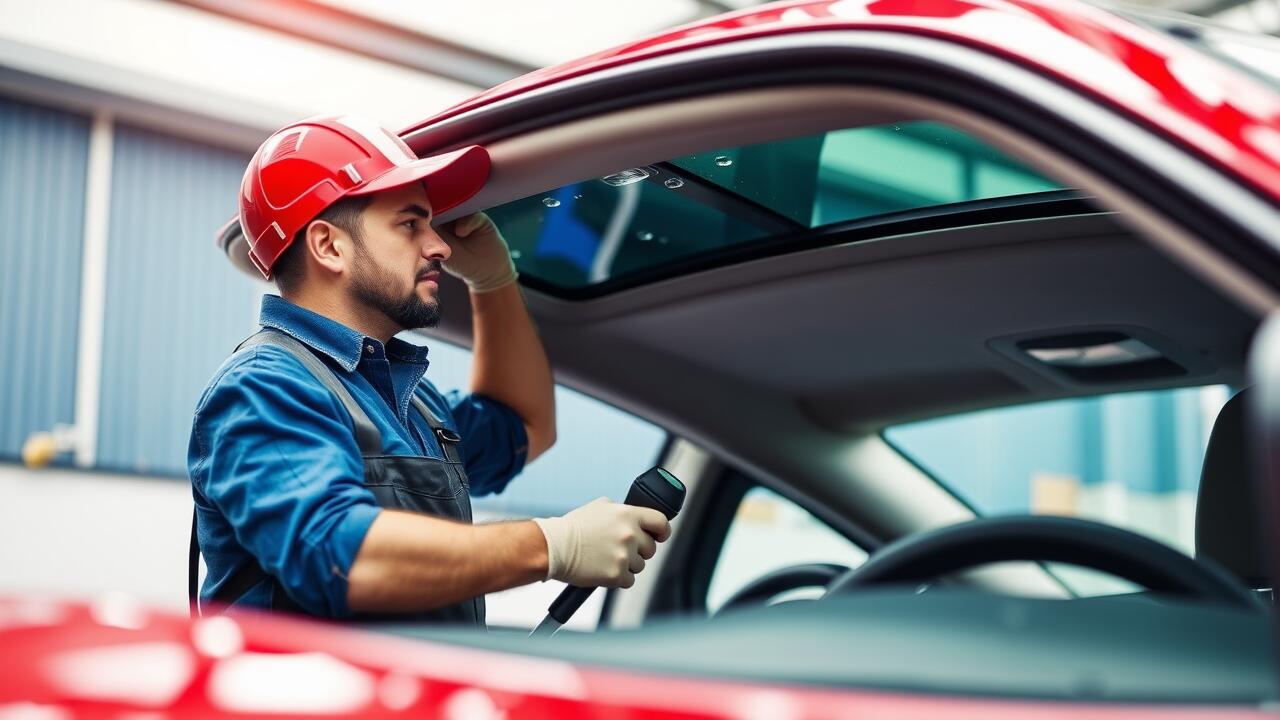
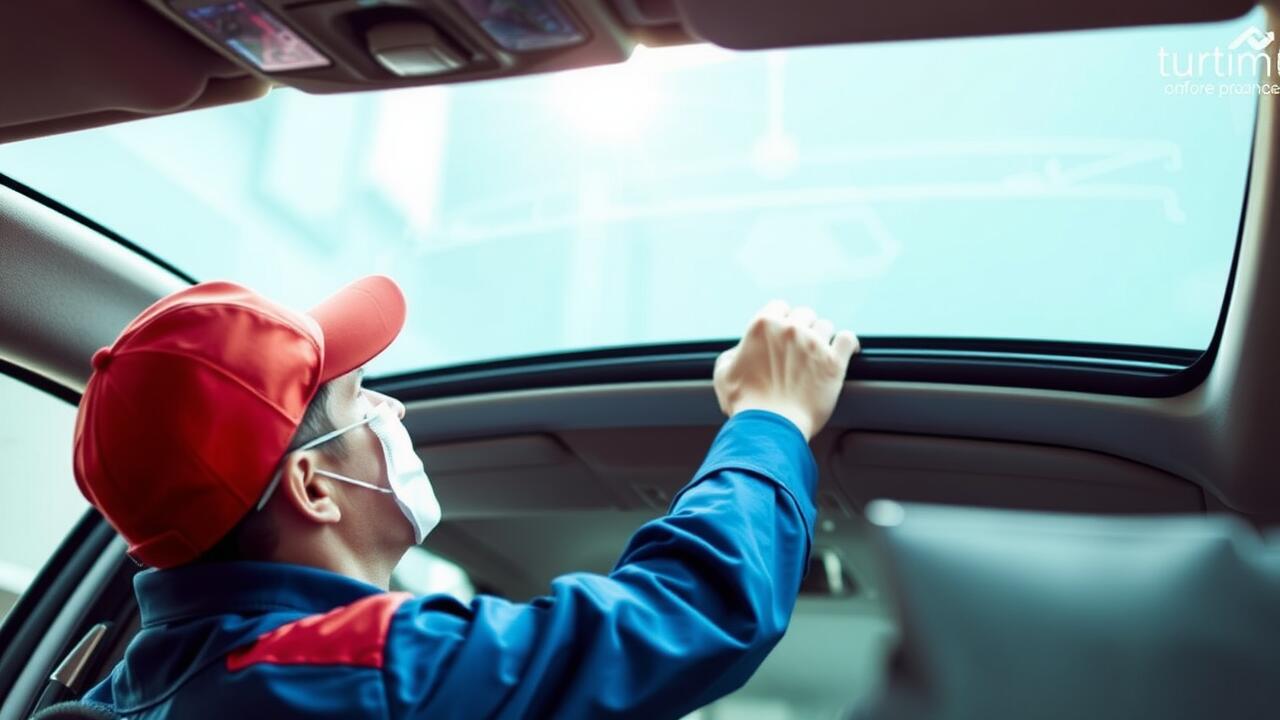
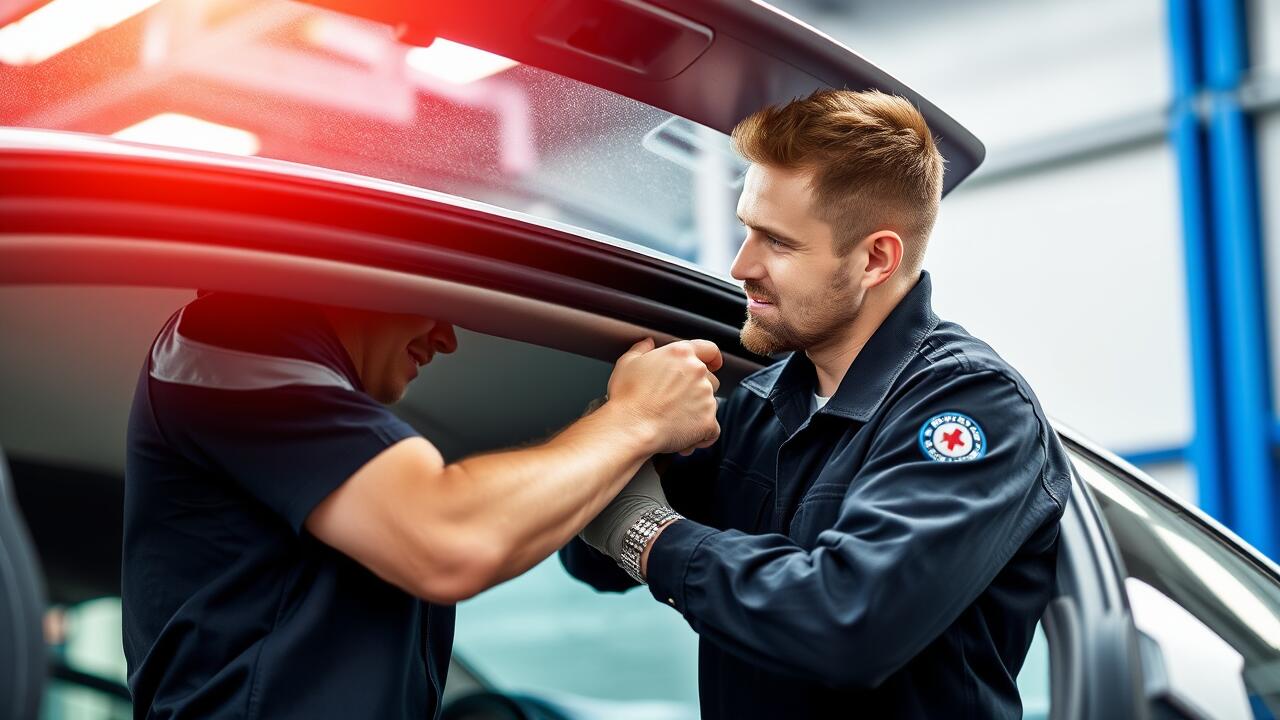
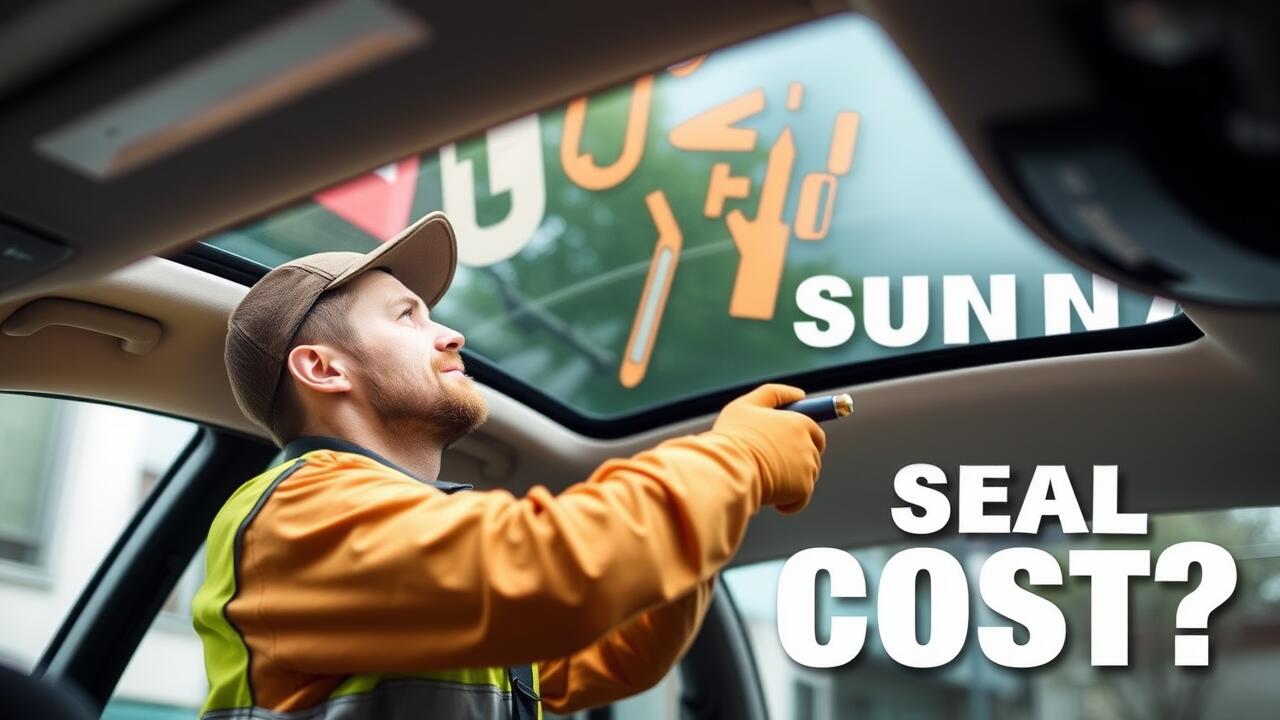
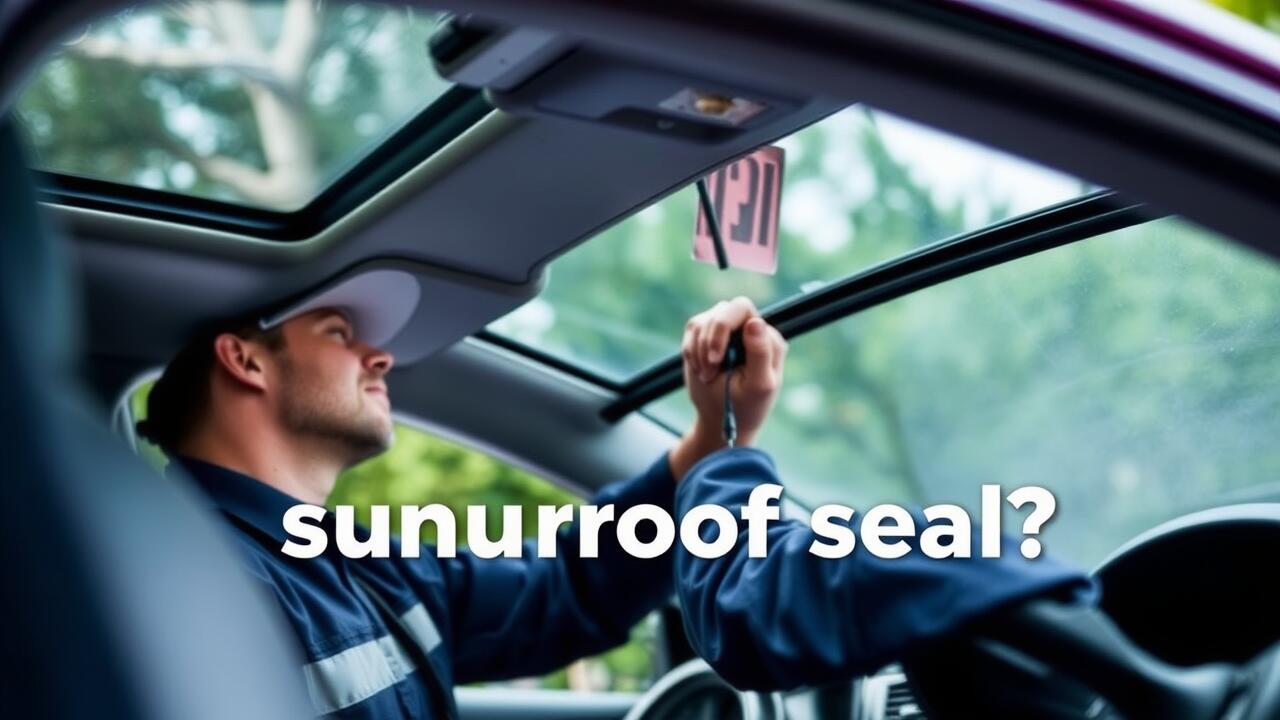
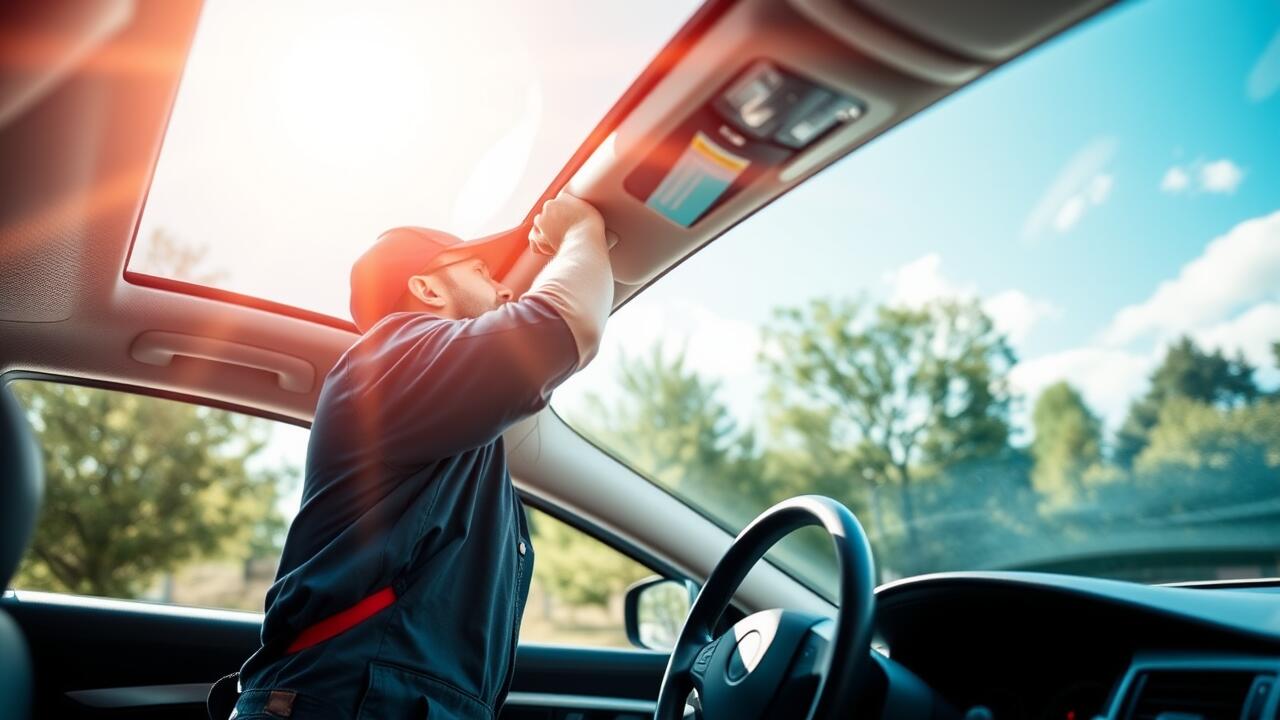
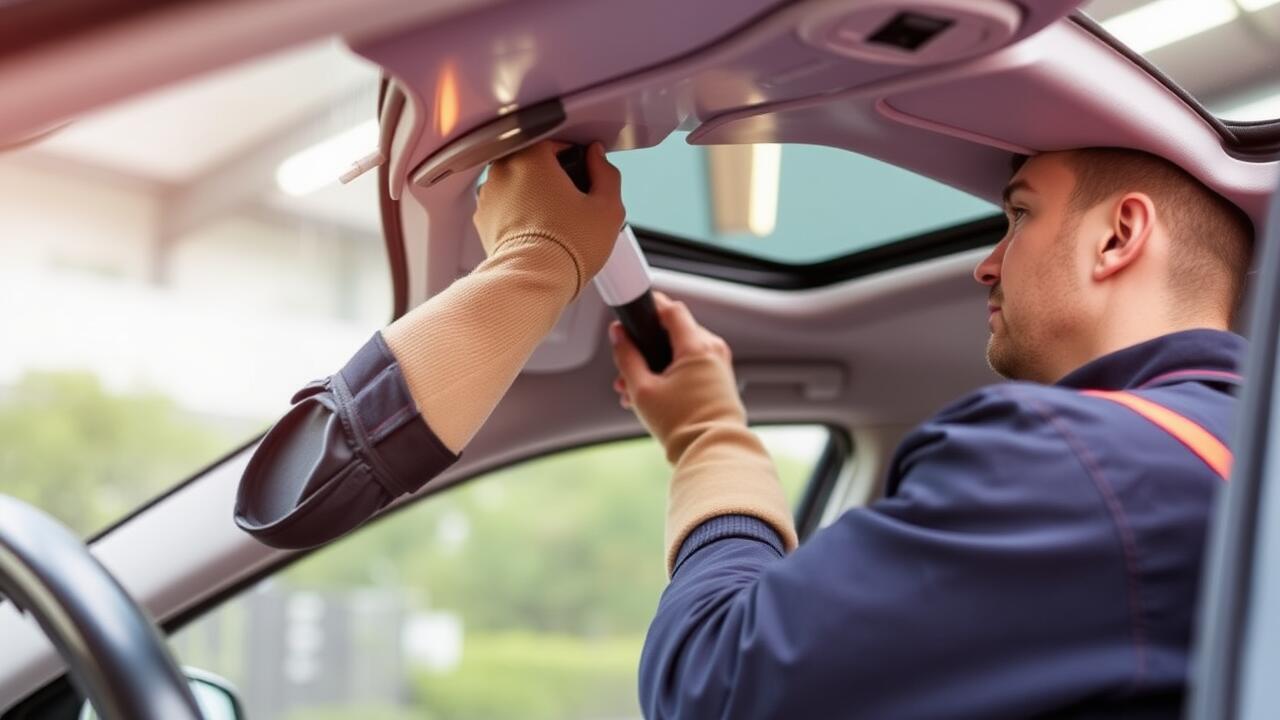
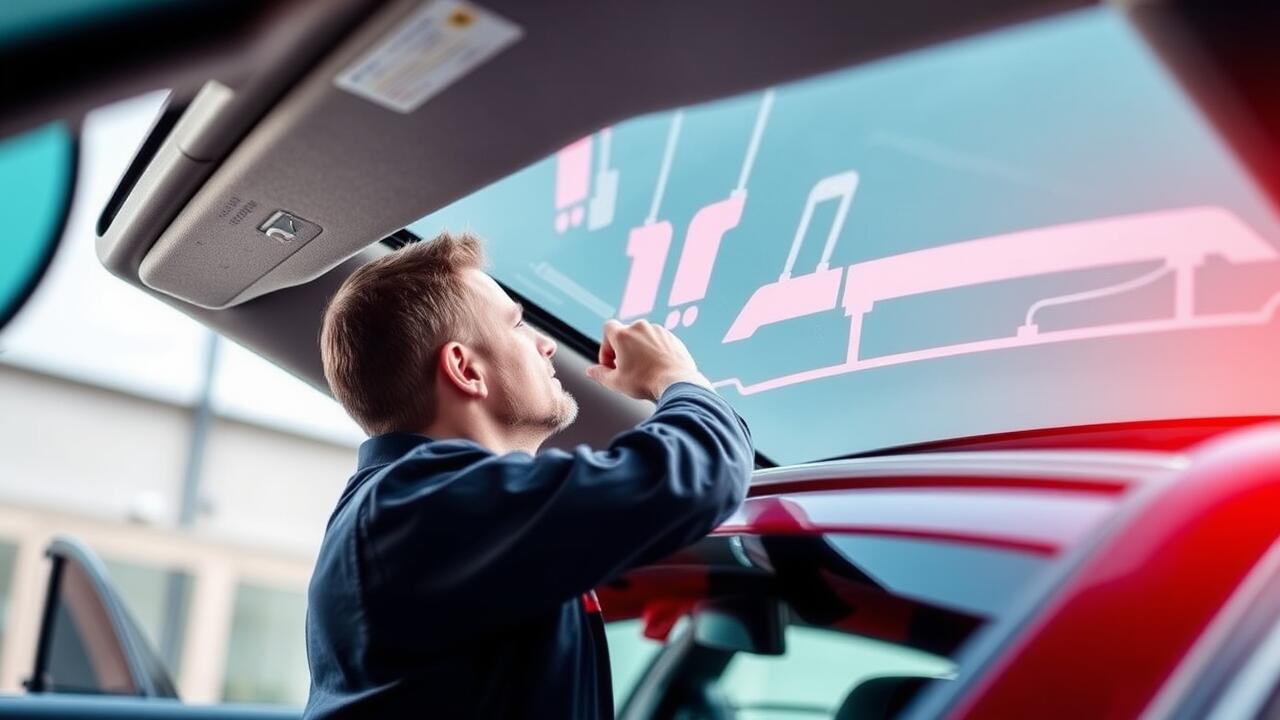
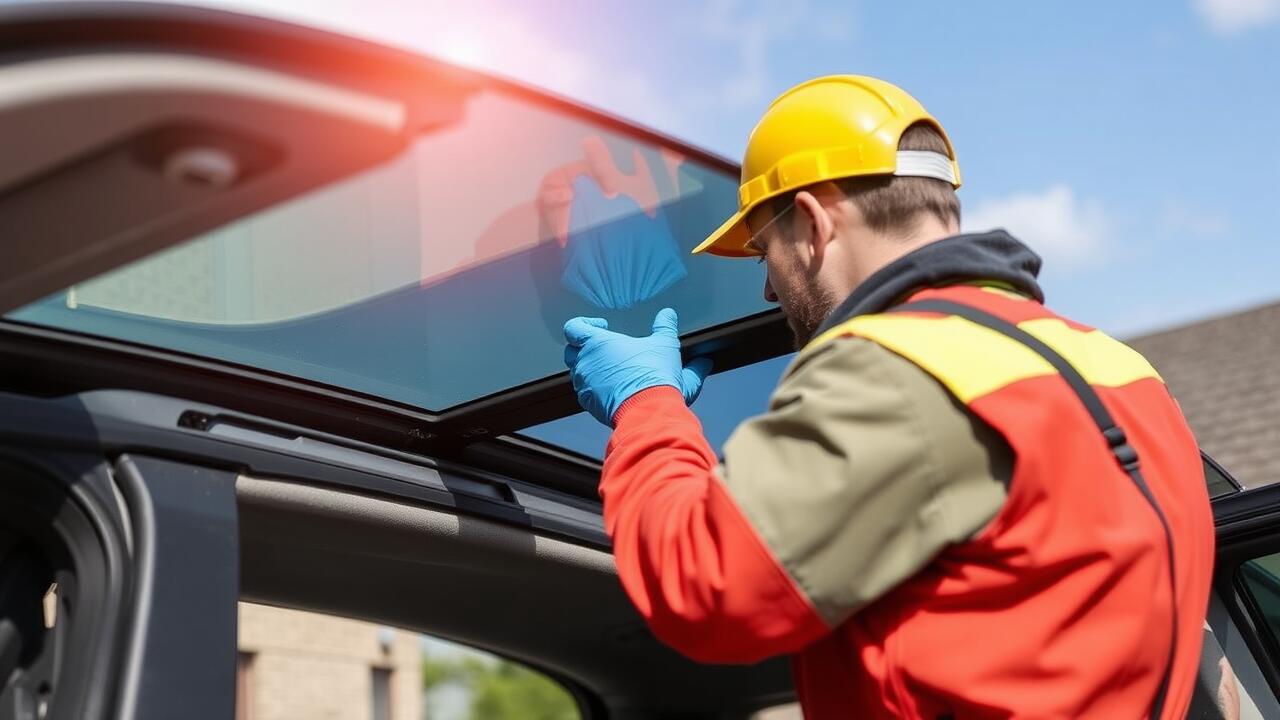
After the initial preparation is complete, the next phase involves applying the sealant. Using a roller or brush, apply a generous amount of product evenly across the roof surface. Areas requiring extra attention, like seams and flashing, may need additional layers. Allow adequate drying time as indicated on the sealant packaging, avoiding application during wet weather. For those also concerned about sunroof repair, similar principles apply in maintaining the integrity of the seals and preventing leaks. Regular maintenance helps to extend the life of both rubber roofs and sunroofs, protecting your investments.
Hop over here to discover more.
Detailed Resealing Process
Resealing a rubber roof typically begins with a thorough cleaning to remove debris, dirt, and any existing sealant. A power washer works effectively for this task, ensuring the surface is prepped for maximum adhesion. Following the cleaning, it is essential to inspect the roof for cracks, punctures, or seams that may require attention. Any identified issues should be fixed using appropriate sealants or patches to prevent further damage. The preparation stage is crucial, as it lays the groundwork for a successful reseal.
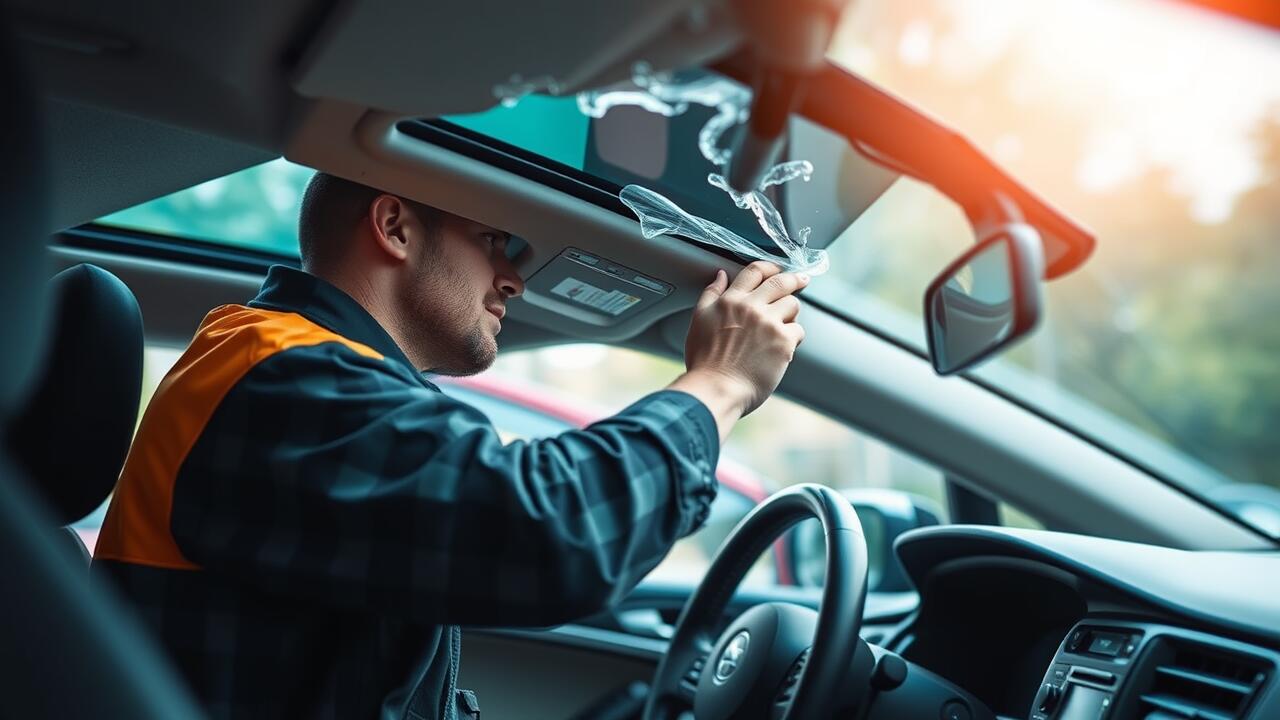
Once the surface has been cleaned and repaired, the resealing application can begin. A specially formulated rubber roof sealant is applied using a roller or a brush for even distribution. Care should be taken to cover all areas, particularly seams and joints where leaks are more likely to occur. Depending on the product, a second coat may be necessary after the first has dried. It's worth noting that while performing this maintenance, homeowners may consider any necessary sunroof repair to ensure all roof components are functioning optimally.
Frequency of Resealing
The frequency of resealing a rubber roof largely depends on various factors, including climate conditions, exposure to UV rays, and the overall wear and tear experienced by the roof. Generally, it is advisable to assess the condition of your rubber roof at least once a year. A thorough inspection can help identify any deteriorating areas that may need attention. In regions with harsh weather or extreme heat, more frequent checks could be beneficial to prolong the life of the roof.
For optimal maintenance, many homeowners choose to reseal their rubber roofs every five to ten years. This time frame allows for adequate protection against potential leaks and UV damage. Planning for resealing can prevent costly repairs in the future and is a wise aspect of home care. It's important to consider that if you are also looking into repair services, aspects like Sunroof Repair may play a role in determining the overall maintenance schedule for your property.
Recommended Resealing Schedule
The recommended resealing schedule for a rubber roof typically ranges between five to ten years, depending on various factors such as climate, material quality, and roof exposure. Regular inspections can help determine the right timing for resealing. In areas with intense sun exposure or harsh weather conditions, earlier resealing may be necessary to maintain the roof's integrity. Property owners should consider their specific environment when establishing a timeline for maintenance.
In addition to the regular schedule, homeowners should remain vigilant for any signs of wear or damage. If indications of deterioration appear before the expected timeframe, resealing might be needed sooner. Neglecting these signs can lead to more extensive issues requiring costlier repairs, such as Sunroof Repair. Proper maintenance can prolong the lifespan of the roof, ensuring safety and comfort beneath it.
Signs Your Rubber Roof Needs Resealing
Identifying the signs that indicate a need for resealing your rubber roof is crucial for maintaining its integrity. Common indicators include visible cracks, tears, or splits in the material. Another sign to watch for is the presence of ponding water, which can lead to further damage over time. If you notice any areas where the rubber has started to detach from the seams or edges, this could suggest that resealing is necessary. Regular inspections can help catch these issues early, preventing more extensive repairs.
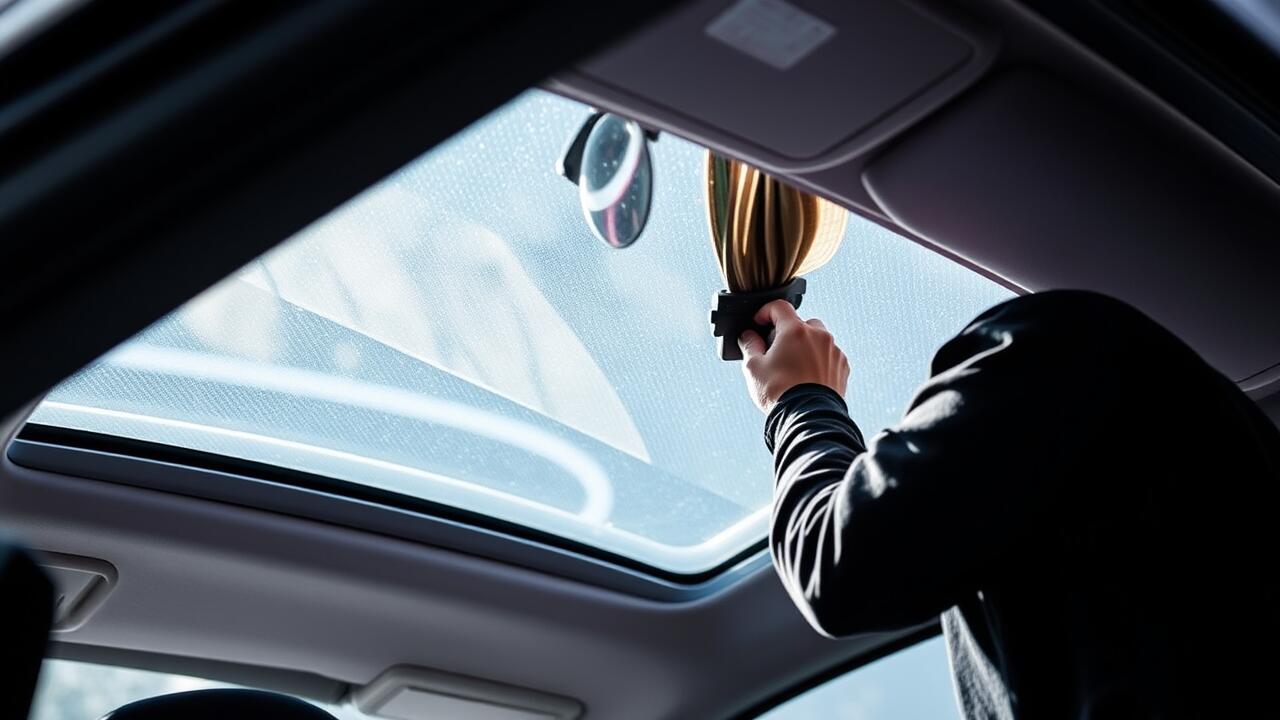
In addition to physical damage, changes in the performance of your roof may also signal the need for attention. Increased leaks during rainfall or water pooling where it was previously absent suggests that the sealant may have worn down. Observing these problems early can save you money in the long run by avoiding more extensive repairs or a complete Sunroof Repair. Being proactive and addressing these signs can extend the life of your rubber roof significantly.
Common Indicators of Damage
A well-maintained rubber roof is crucial for preventing leaks and extensive damage. Common indicators of damage include visible cracks or tears in the material. Over time, UV exposure can cause the rubber to degrade, resulting in brittleness and potential separation from seams. If you notice any water pooling on the surface, it could signify underlying issues that need attention. Regular inspections can help identify these problems early, avoiding costly Sunroof Repair later on.
Another sign of damage is the appearance of discolouration or staining, which may indicate the presence of mould or mildew. These substances thrive in damp environments and can compromise the structural integrity of the roof. Pay attention to any bubbling or lifting of the rubber, as this can signal a breakdown of the adhesive or the formation of trapped moisture underneath. Proper upkeep is essential to address these issues promptly and prolong the life of your rubber roofing.
FAQS
What is the average cost to reseal a rubber roof in Australia?
The average cost to reseal a rubber roof in Australia typically ranges from $1,500 to $3,500, depending on the size of the roof and the materials used.
How often should I reseal my rubber roof?
It is generally recommended to reseal your rubber roof every 5 to 10 years, depending on the local climate and the condition of the roof.
What are the signs that my rubber roof needs resealing?
Common indicators that your rubber roof may need resealing include visible cracks, bubbling, or peeling of the surface, as well as water leaks or pooling.
Can I reseal my rubber roof myself, or should I hire a professional?
While some homeowners may choose to reseal their rubber roof themselves, hiring a professional is often recommended to ensure proper application and to avoid potential damage.
Does the type of rubber roof affect the resealing cost?
Yes, the type of rubber roof can affect the resealing cost, as different materials may require specific types of sealants and application methods, influencing overall pricing.