Table Of Contents
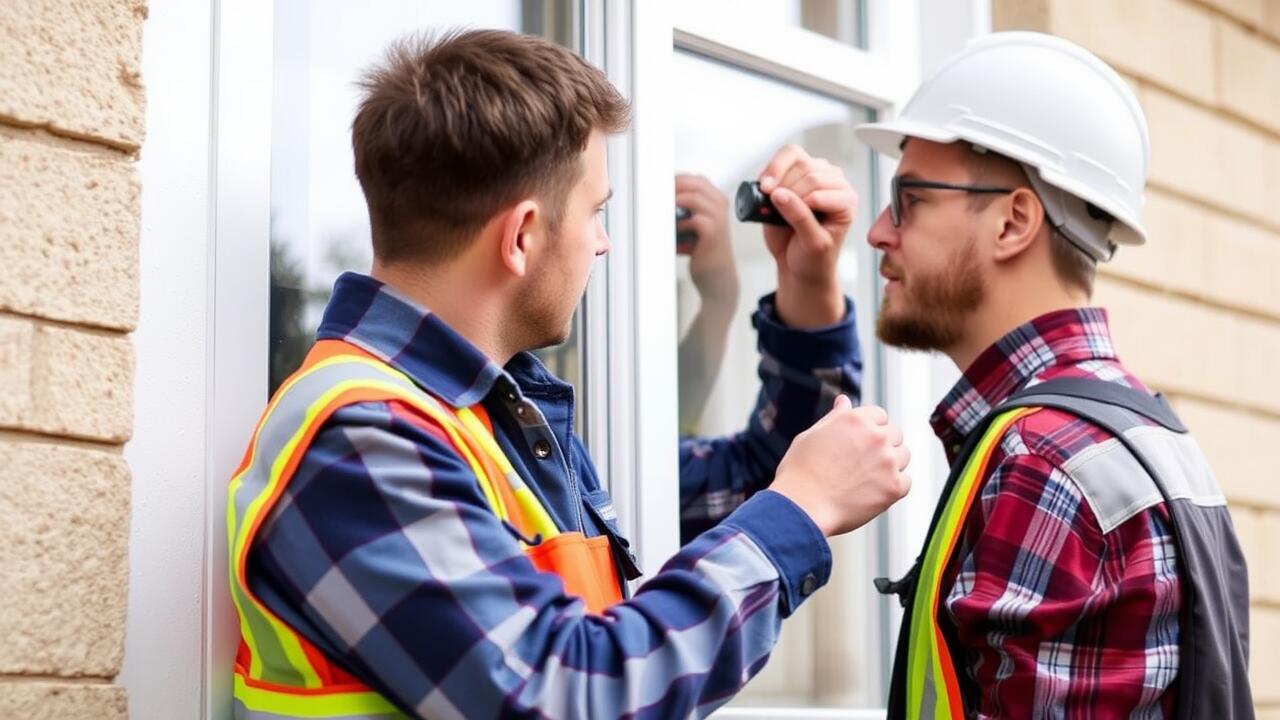
Professional vs. DIY Installation
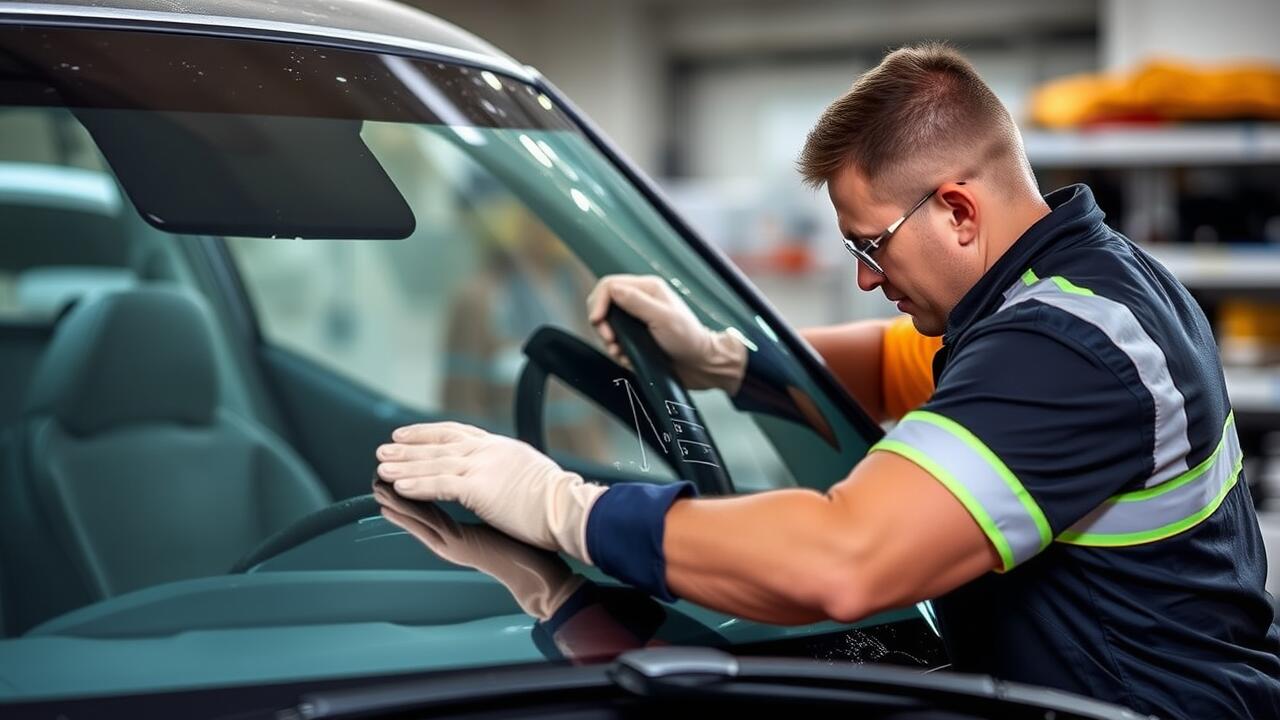
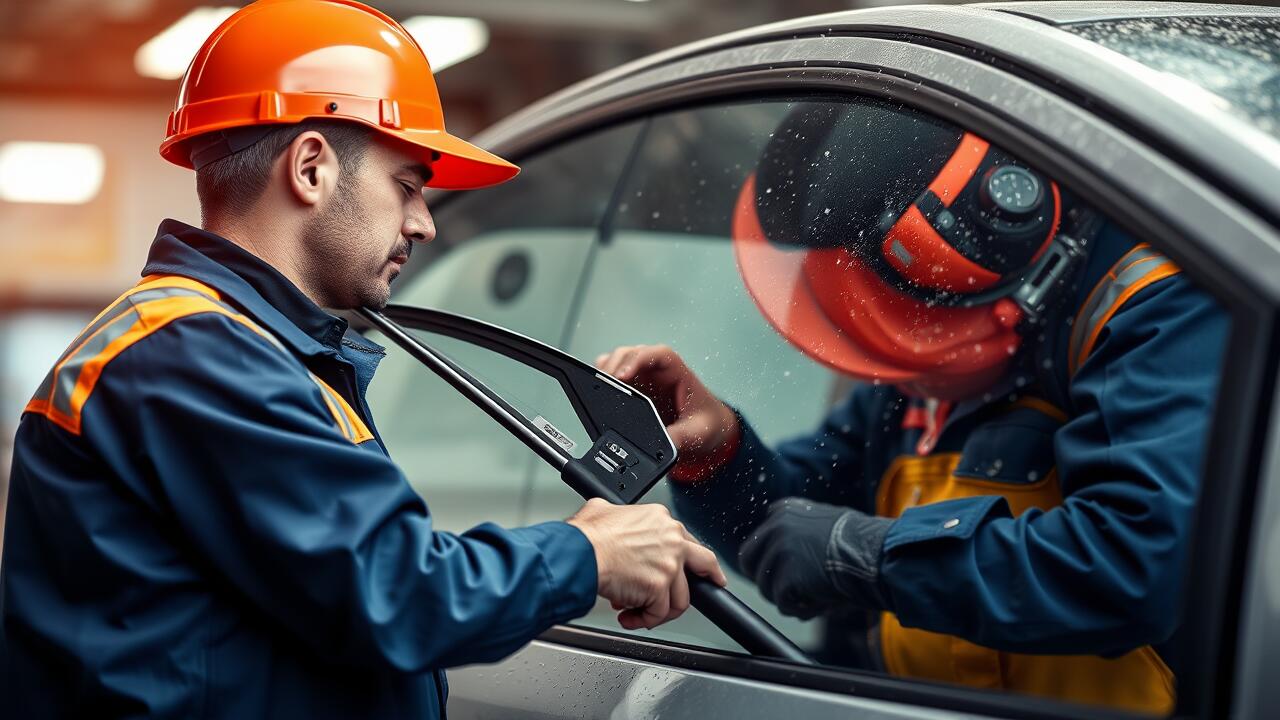
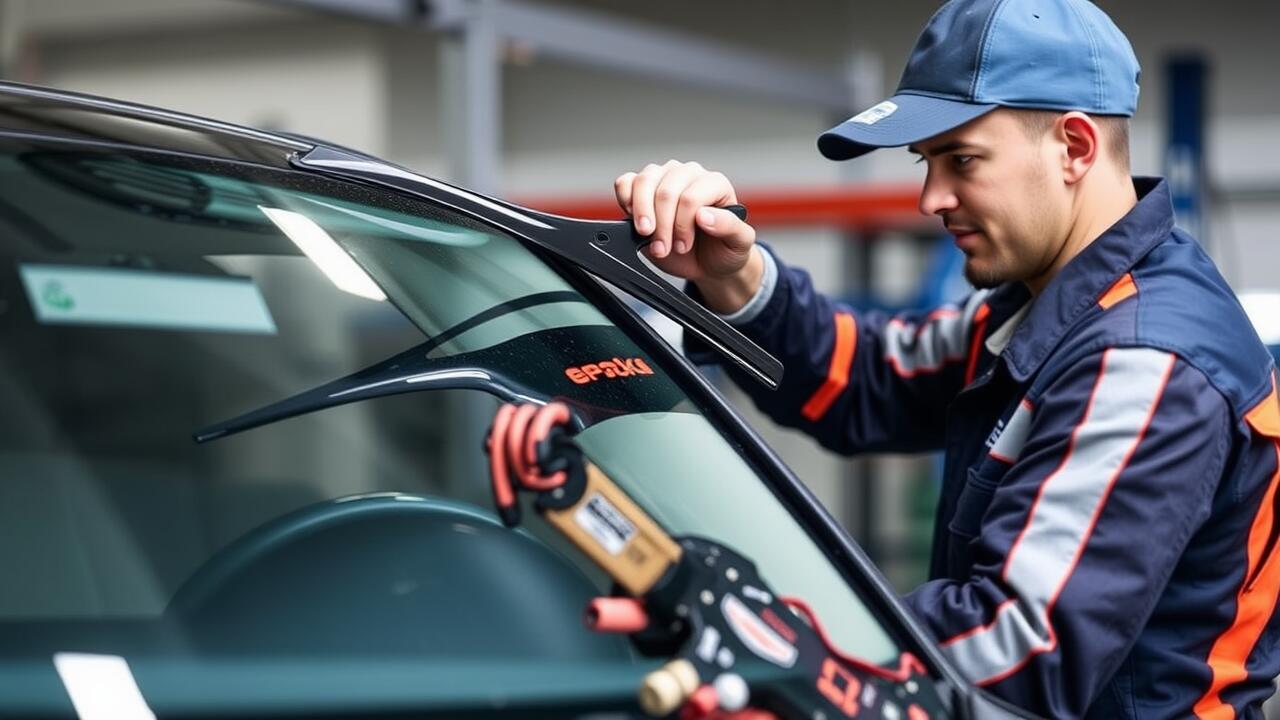
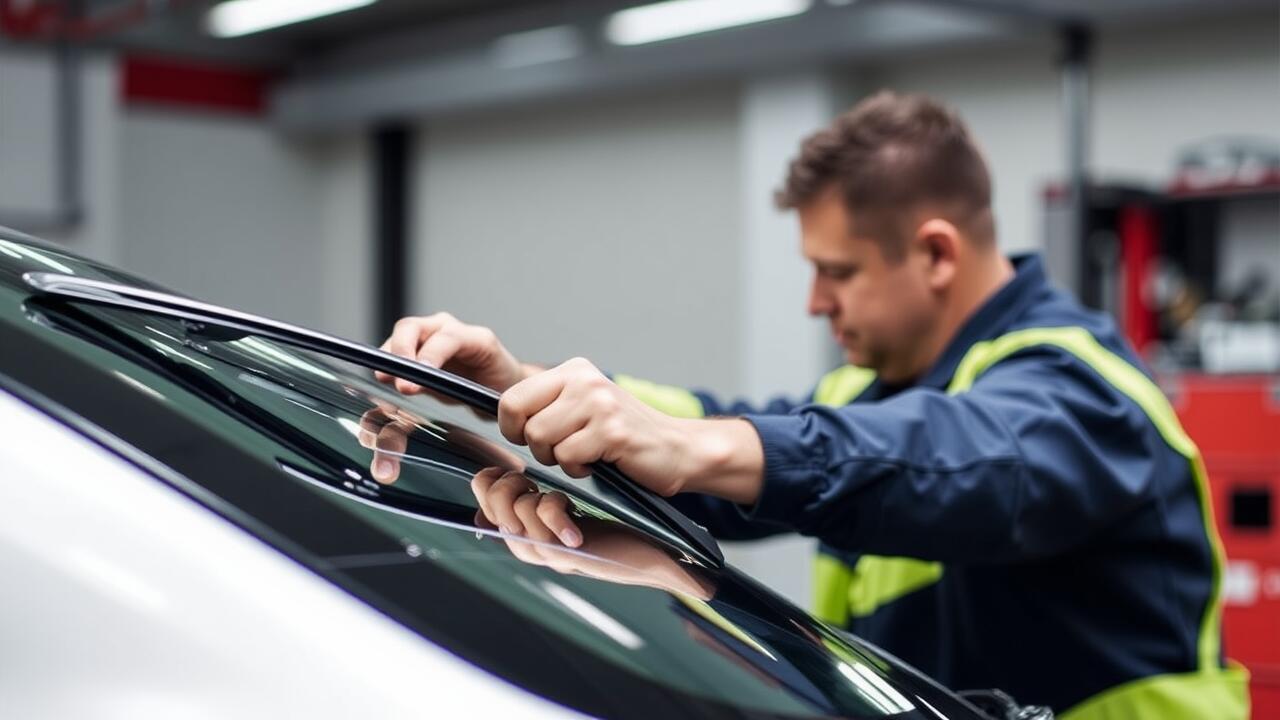
When considering rear window replacement, the choice between professional installation and a DIY approach is significant. Professional services offer expertise and experience, ensuring optimal adhesion and fit. Technicians use specialised tools and materials, often leading to a quicker turnaround time. Many mechanic shops provide warranties for their work, which can offer peace of mind for vehicle owners. This option is particularly beneficial for those unfamiliar with the intricacies of rear window repair or those seeking a hassle-free process.
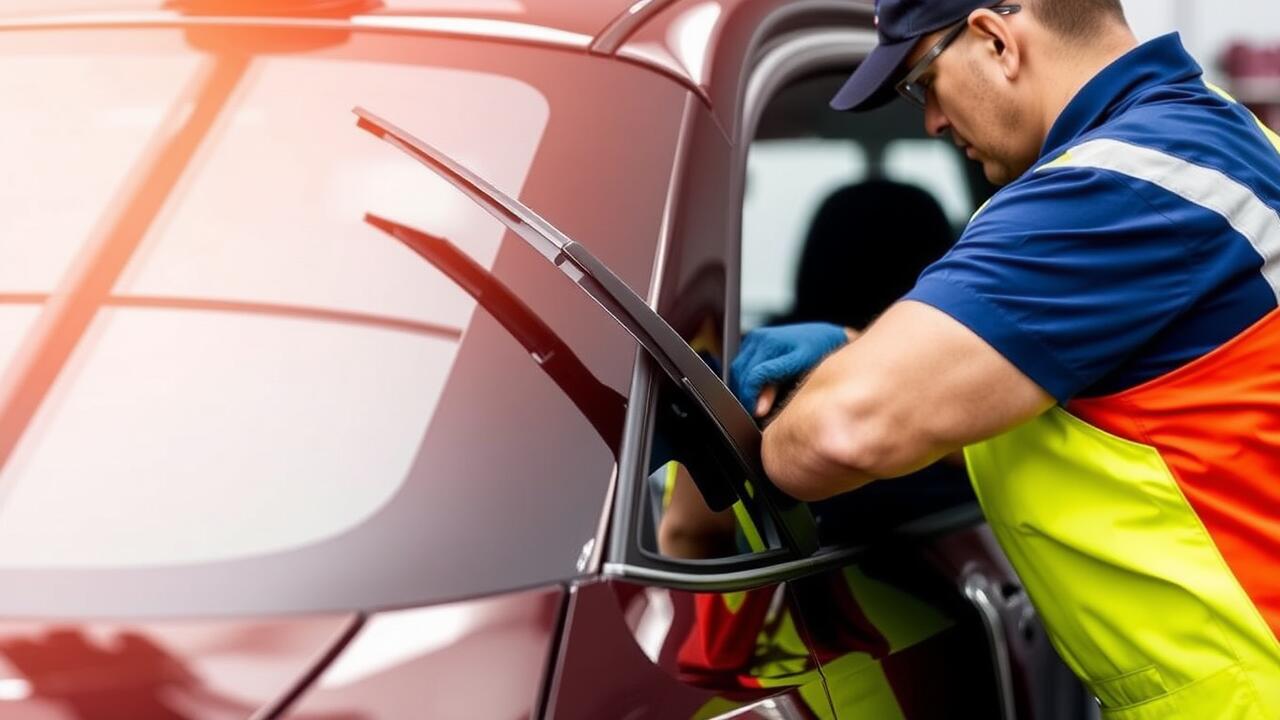
On the other hand, a DIY installation can be appealing for those looking to save costs and who have some technical skills. This approach allows individuals to work at their own pace, possibly resulting in a sense of accomplishment upon completion. However, the downside includes the potential for mistakes, which could lead to leaks or other issues down the line. Assessing your abilities and the potential risks involved in rear window repair is crucial before deciding to tackle the job yourself.
Here is a super informative post that goes into more detail.
Pros and Cons of Each Approach
When considering whether to hire a professional or attempt a DIY installation for a rear window repair, each approach carries distinct advantages. Professional services often boast expertise and tools that ensure a high-quality fit and finish. This option can also save time and reduce the likelihood of errors, particularly for those unfamiliar with the process. Additionally, many professionals offer warranties on their work, providing further peace of mind regarding the durability of the installation.
On the other hand, a DIY installation can be more cost-effective, appealing to those willing to invest time and effort into learning the required skills. This route allows for flexibility in scheduling, as individuals can work at their own pace and choose when to start the project. However, it also comes with risks. Inexperience can lead to mishaps that may result in improper sealing or alignment, potentially compromising the window’s functionality and safety. Ultimately, the choice depends on the individual's comfort level and the specific circumstances surrounding the rear window repair.
Preparing for a Rear Window Replacement
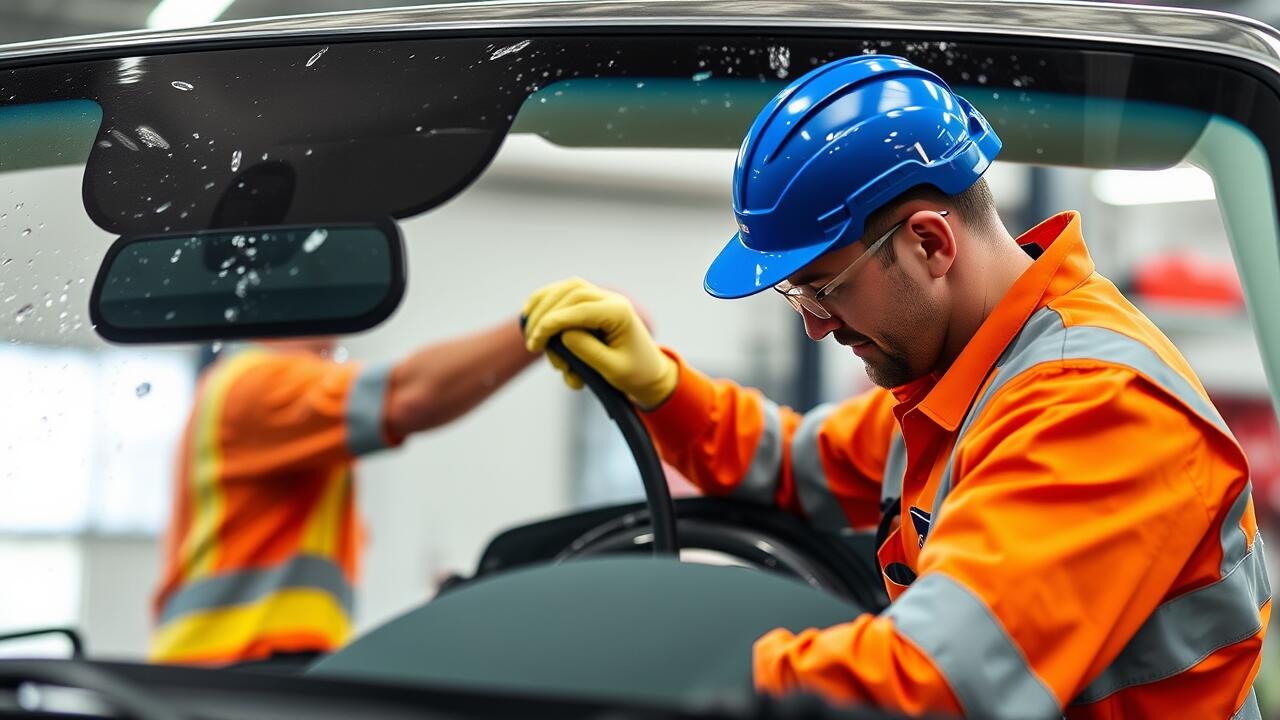
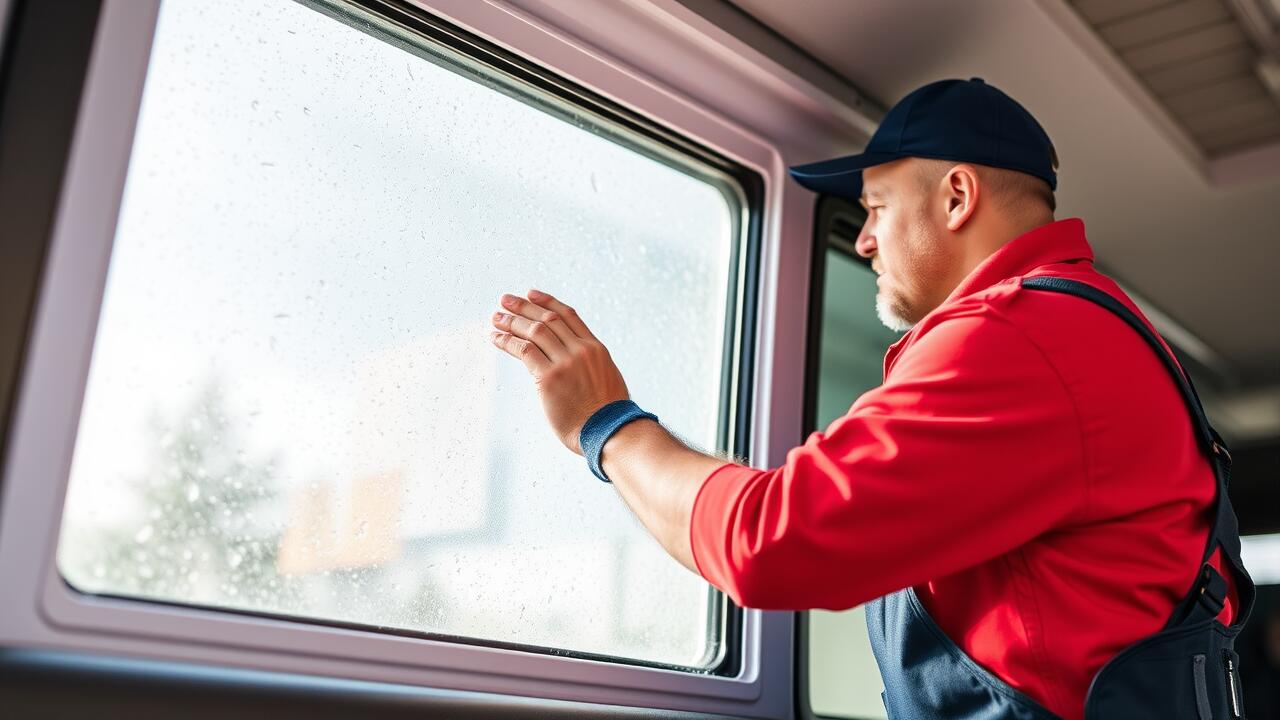
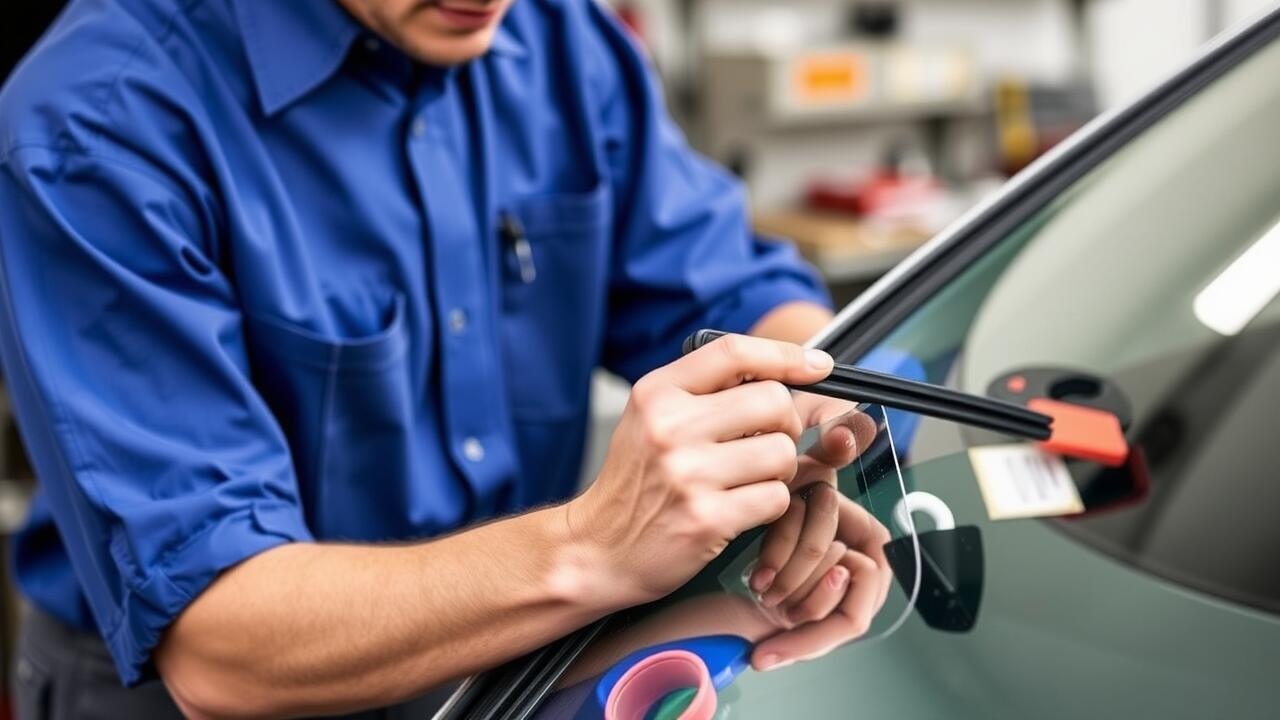
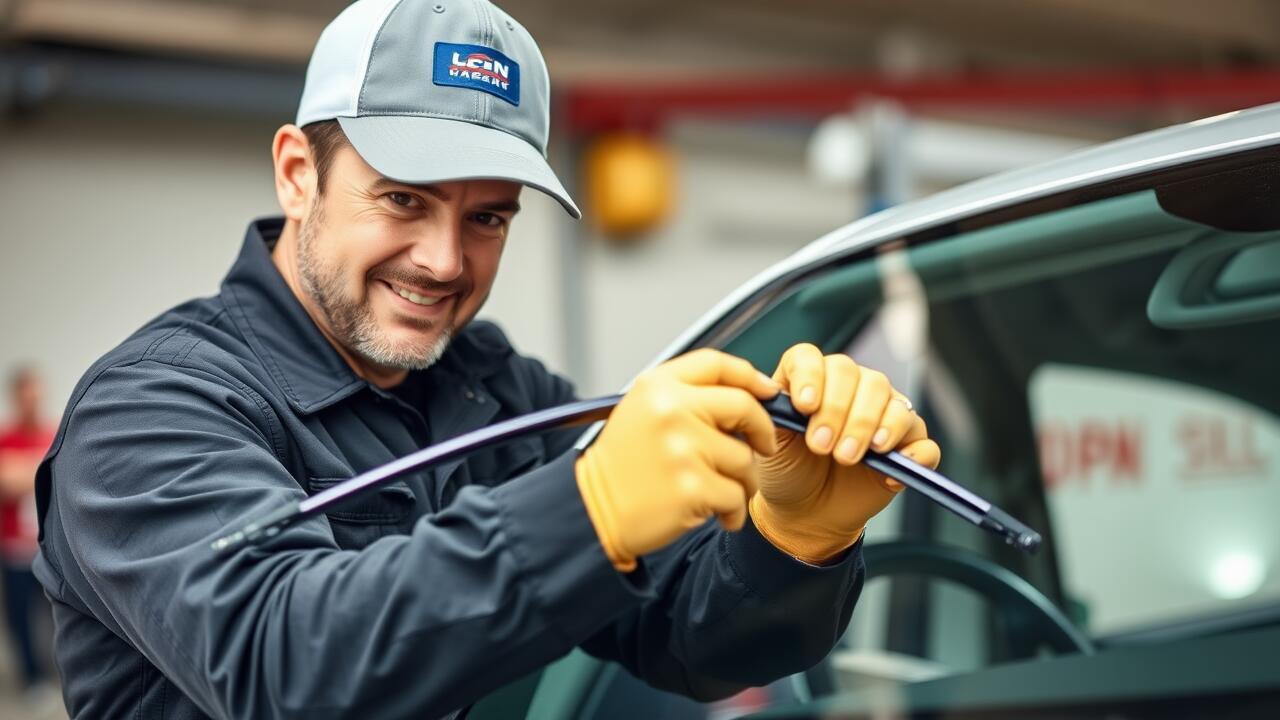
Before starting the process of rear window replacement, it is crucial to gather all necessary tools and materials. Ensure you have a suitable replacement window, adhesive or sealant, a utility knife, and any special tools that may facilitate the removal of the old window. Depending on the vehicle, you might also need a heat gun for loosening the adhesive. In addition, having a clean workspace is essential for efficiency and safety. A clutter-free environment not only aids in the smooth execution of the task but helps prevent damage to the vehicle's interior or exterior.
Consider the condition of the car and any surrounding elements that may impact the installation. Factors such as existing rust or damage around the window frame must be addressed before proceeding with the rear window repair. If the frame shows signs of deterioration, it may require additional treatment or replacement parts. Proper preparation ensures that the newly installed window adheres effectively and lasts over time. Always keep in mind that meticulous attention to detail during these preparatory steps can significantly influence the outcome of the replacement process.
Checklist Before the Job
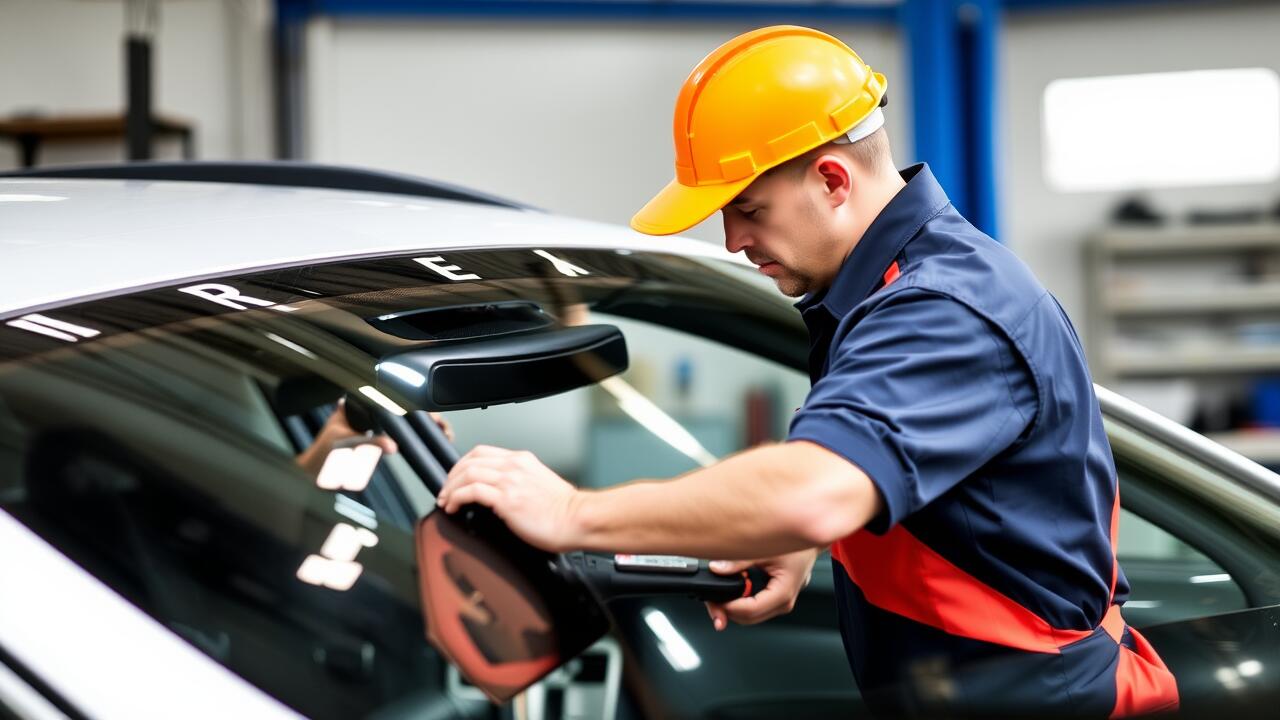
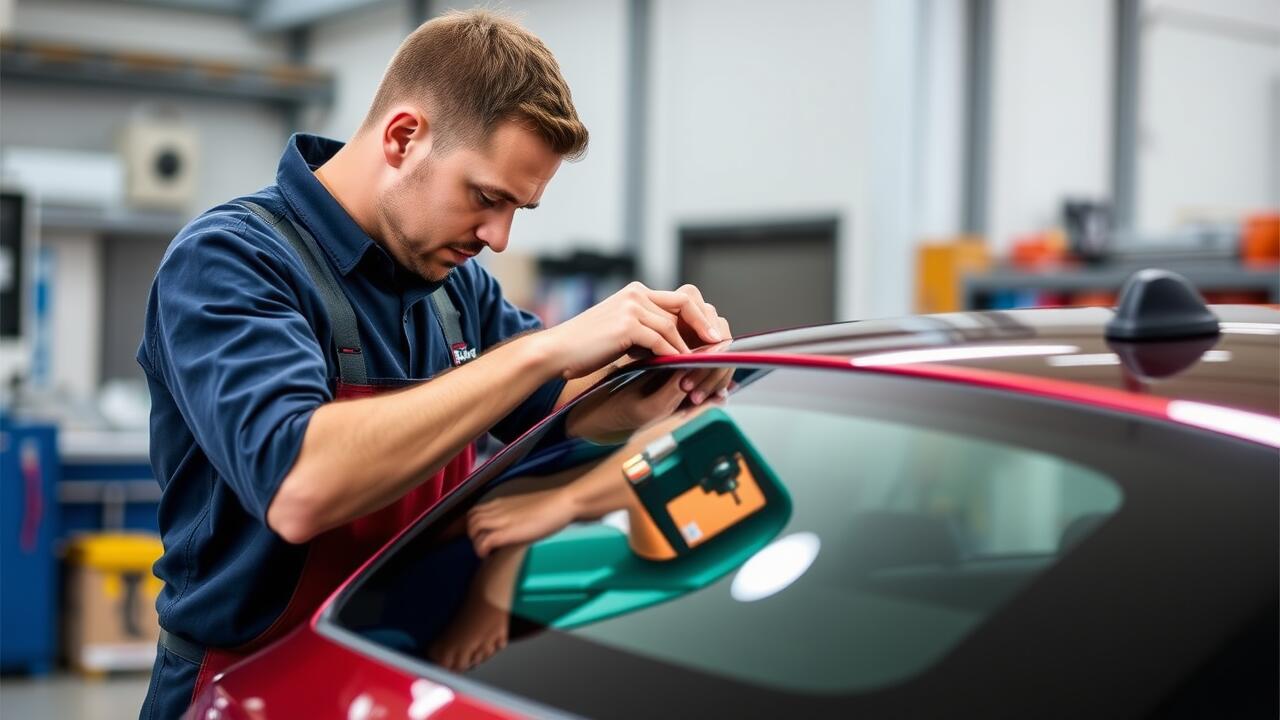
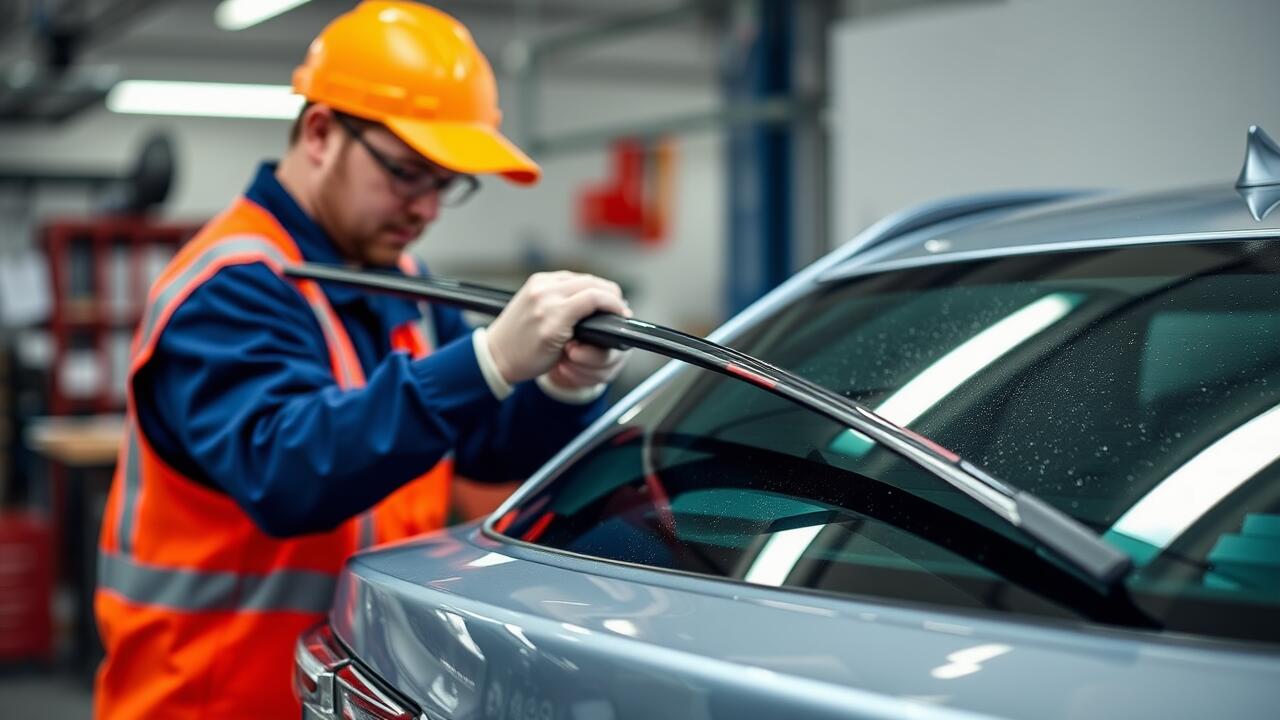
Before starting any Rear Window Repair, it's vital to gather all necessary tools and materials. A proper toolkit should include a utility knife, adhesive, a scraper, and clean rags, among other items. Ensuring you have each of these components ready can significantly reduce delays during the installation process. Additionally, securing the right type of replacement glass for the vehicle model is essential, as not all windows fit all cars.
Checking the environment before beginning work is equally important. Ensure the area is clean and free from debris to prevent contamination during the installation. It should also be a well-lit space to provide optimum visibility. Taking the time to prepare appropriately can lead to a smoother and more efficient Rear Window Repair experience.
Importance of Weather Conditions
Weather conditions play a crucial role in the success of a rear window repair. Extreme temperatures can significantly affect the adhesives used in the installation process. For instance, high heat may cause the adhesive to cure too quickly, risking a poor bond, while cold conditions can prevent proper adhesion altogether. Humidity levels also contribute to the curing process, making it essential to monitor weather forecasts before commencing any repair work.
Ideal weather conditions are typically mild and dry when approaching a rear window repair. Temperatures between 10°C and 30°C are generally recommended to ensure that adhesives perform optimally. A calm day with low wind will also help to prevent debris from affecting the installation area. Planning the replacement during a suitable weather window not only enhances the quality of the repair but also prolongs the lifespan of the newly installed window.
Ideal Conditions for Installation
When planning a rear window repair, the weather plays a crucial role in the installation process. Ideally, the temperature should be moderate, between 15°C and 25°C, to ensure that the adhesive cures properly and forms a strong bond. Excessive heat or cold can affect the adhesive's performance, leading to potential issues with the seal and the longevity of the installation. Additionally, humidity levels should be low to moderate; high humidity can delay the curing time of the adhesive, complicating the repair.
Apart from temperature and humidity, wind conditions should also be considered. Wind can introduce dust and debris into the installation site, impacting the cleanliness and quality of the adhesive bond. Performing a rear window repair in a sheltered area or inside a garage can help minimise these risks. These ideal conditions not only ensure a more efficient installation process but also contribute to the overall durability of the rear window once the job is complete.
FAQS
How long does it typically take to fit a rear window professionally?
Professionally fitting a rear window usually takes between 1 to 3 hours, depending on the vehicle type and the technician's experience.
Can I install a rear window myself, and how long would that take?
Yes, you can install a rear window yourself, but it may take anywhere from 3 to 6 hours, especially if you're unfamiliar with the process.
What factors can affect the time it takes to fit a rear window?
Several factors can affect the installation time, including the make and model of the vehicle, the experience level of the installer, and the complexity of the job.
Are there any specific weather conditions that could delay the installation of a rear window?
Yes, extreme weather conditions such as rain, snow, or high winds can delay the installation, as they can impact the adhesive curing process.
What should I do to prepare for a rear window replacement?
To prepare for a rear window replacement, ensure you have all necessary tools and materials, check the weather forecast, and review a checklist of steps to follow during the installation process.