Table Of Contents
Curing the Resin
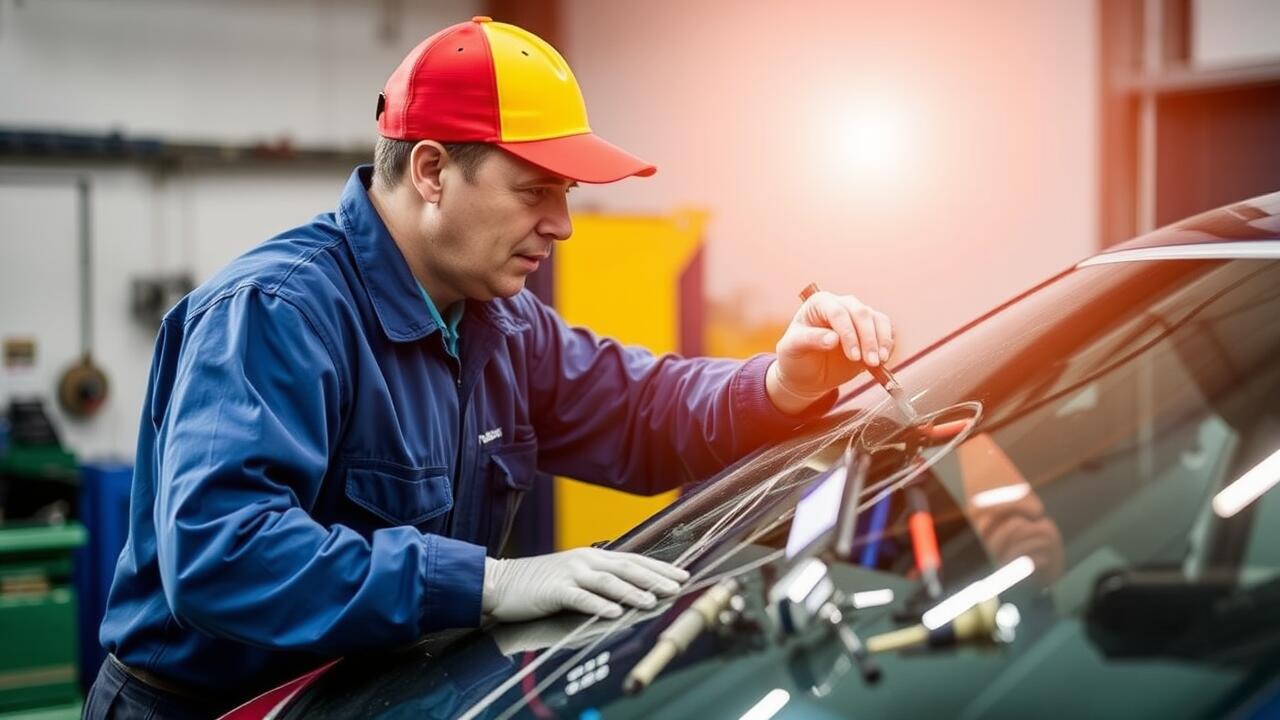
Curing the resin is a crucial step in the windshield repair process. After applying the resin to the chip, it needs to harden properly to ensure a durable fix. Most repair kits include a curing strip or film that helps protect the resin from contaminants while it sets. Following the manufacturer's instructions regarding the curing time is essential. In many cases, this can be completed in as little as 30 minutes to an hour, depending on the environmental conditions and the specific product used.
Exposure to UV light can significantly enhance the curing process. Direct sunlight is often sufficient to activate the resin, leading to a quicker and more efficient hardening. If working indoors or on a cloudy day, consider using a UV lamp if recommended by your repair kit. Properly cured resin not only strengthens the repair but also promotes clarity and appearance, which are crucial for achieving a successful windshield repair.
View this external resource for great tips and advice.
Importance of UV Light
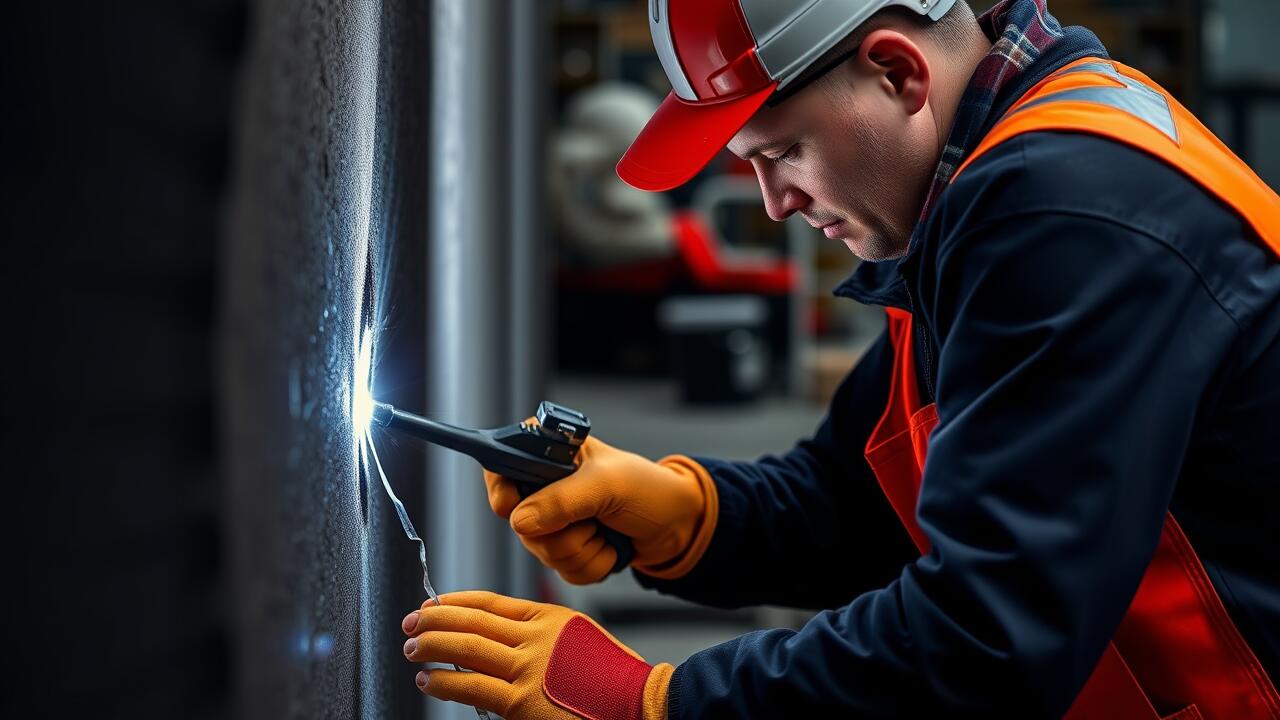
UV light plays a crucial role in the effectiveness of windshield repair. After injecting resin into the chip, curing it with UV light ensures that the material hardens properly. This process not only strengthens the bond between the resin and the glass but also enhances the overall durability of the repair. Without sufficient UV exposure, the resin may remain tacky or fail to cure entirely, which compromises the repair's longevity.
Using a UV lamp can optimise the curing time, often taking just a few minutes to achieve a solid bond. The right intensity of UV light can dramatically improve the quality of the finish, making it transparent and less noticeable. When performing windshield repair, proper curing under UV light is vital to achieving a successful outcome.
Polishing the Area
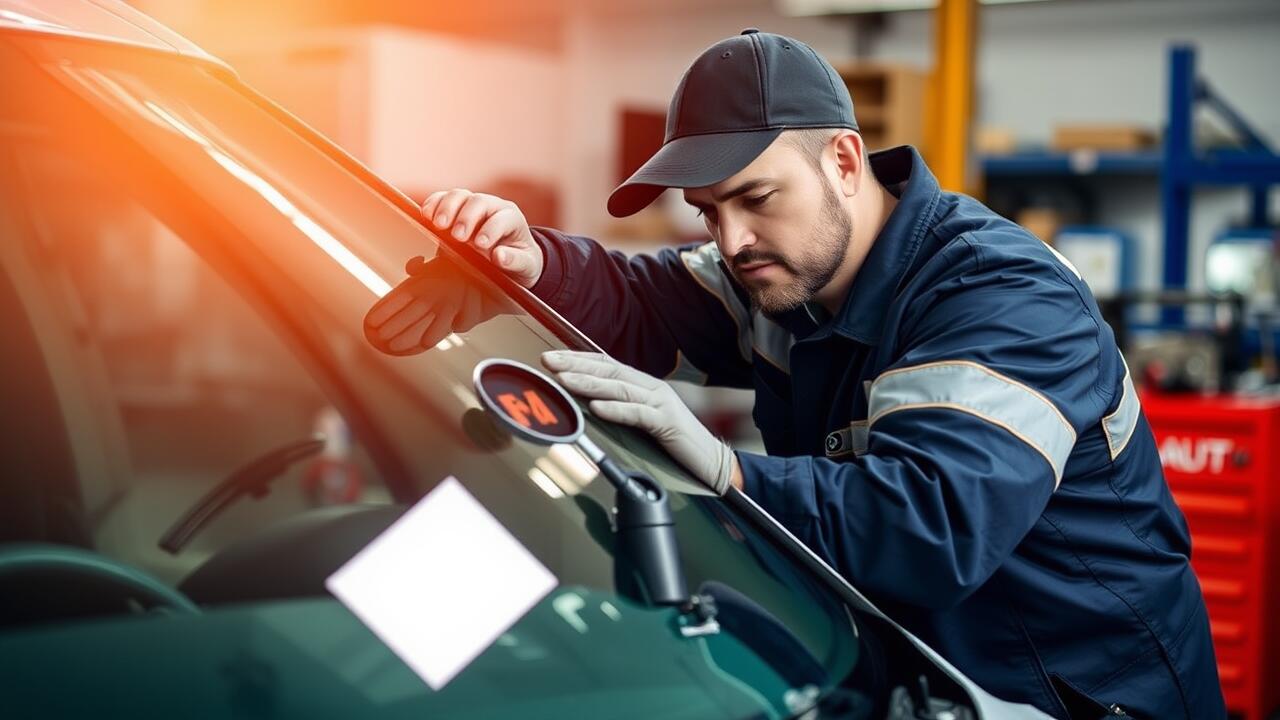
Polishing the area after applying repair resin is a crucial step in the windshield repair process. This phase enhances the overall appearance of the repair and helps restore the structural integrity of the glass. Once the resin has fully cured, ensuring that the repair site is free of any debris or excess resin is essential. Using a clean, soft cloth alongside a suitable glass cleaner can effectively remove particles that may interfere with the polishing.
Employing techniques such as using a polishing compound specially designed for glass will drastically improve the finish. A small amount of the compound applied to a felt or foam pad can help buff the area, making the surface smooth and clear. Care should be taken to use a gentle motion to avoid further damage. Following this step ensures that the repaired section blends seamlessly with the surrounding glass, ultimately enhancing the effectiveness of the windshield repair effort.
Techniques for a Smooth Finish
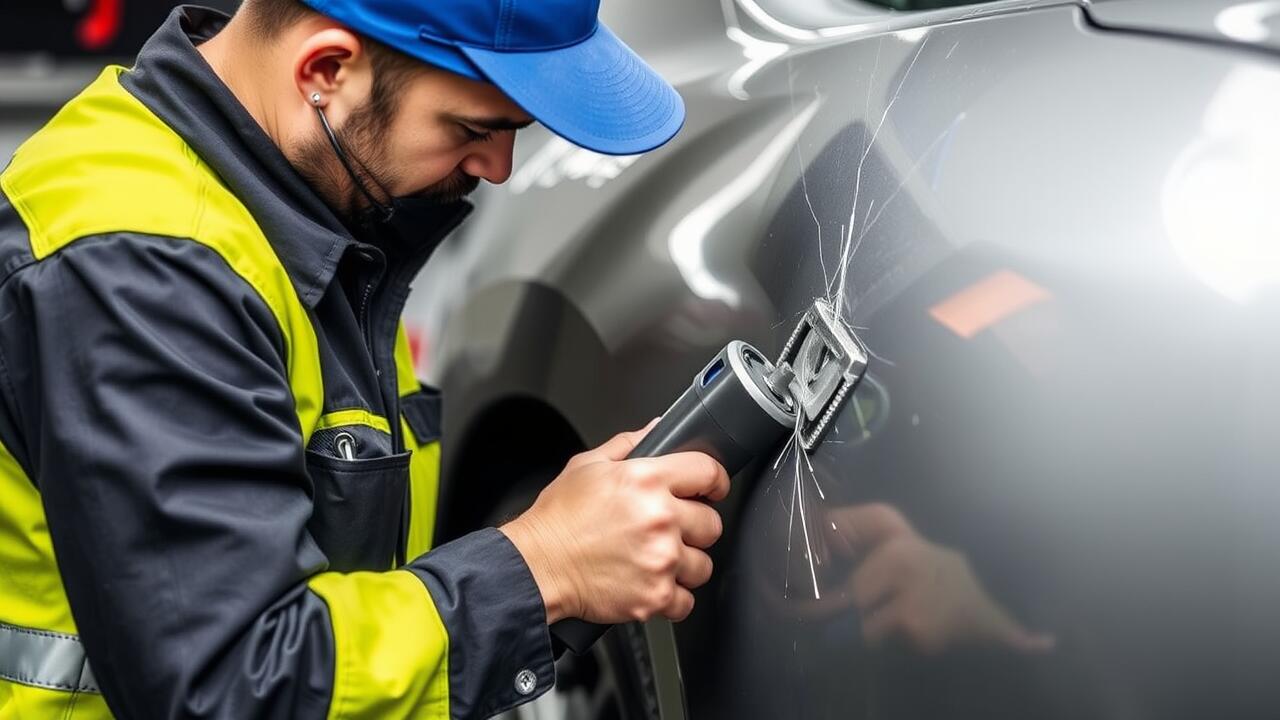
Achieving a smooth finish after a windshield repair requires careful attention to detail. Start by using a razor blade or a plastic scraper to remove any excess resin that has bubbled up around the chip. Ensure that you work gently to avoid scratching the glass. Once the excess material is cleared, smooth out the surface by polishing it lightly with a soft cloth. This technique helps to restore a clear view and eliminates any rough edges that may remain from the application process.
After the initial polishing, consider using a specialised glazing compound that can further enhance the smoothness of the repaired area. Apply a thin layer of this compound over the repaired chip using a clean applicator, ensuring it fills in any remaining imperfections. Allow the compound to cure completely according to the manufacturer's instructions. Completing this final step will not only improve the appearance of the windshield but also ensure the repair is more effective and durable.
Evaluating the Repair
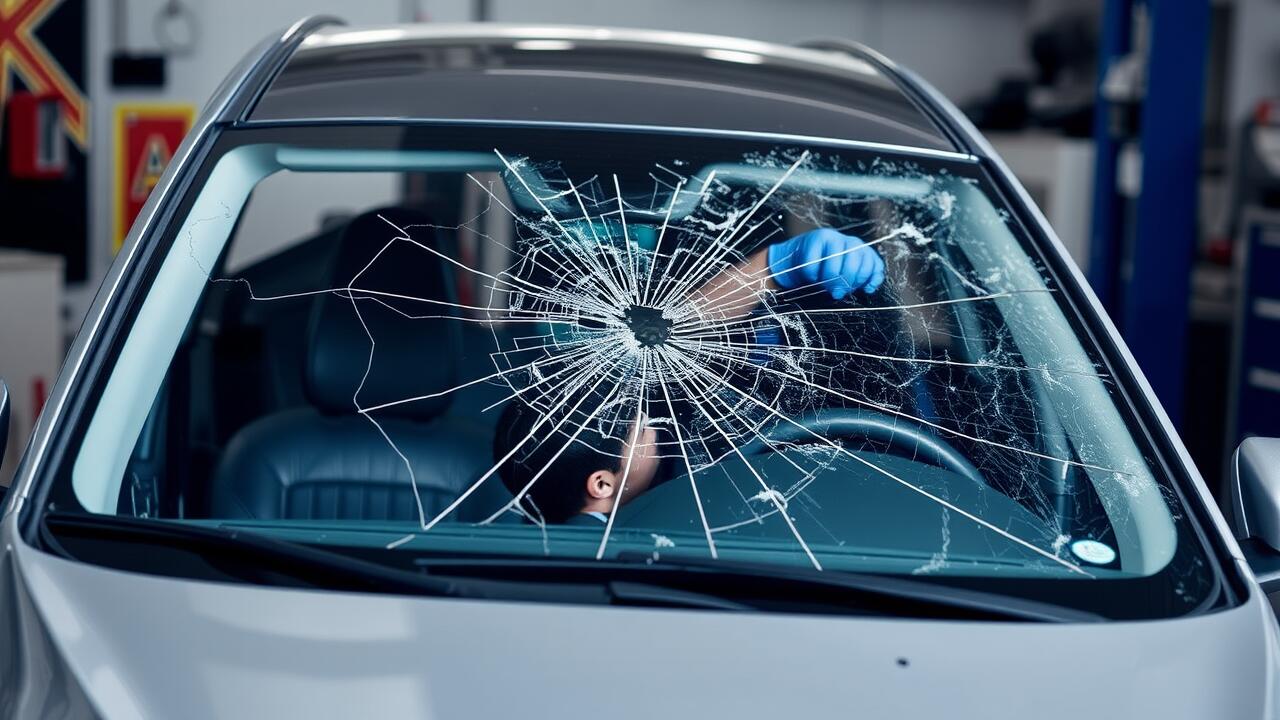
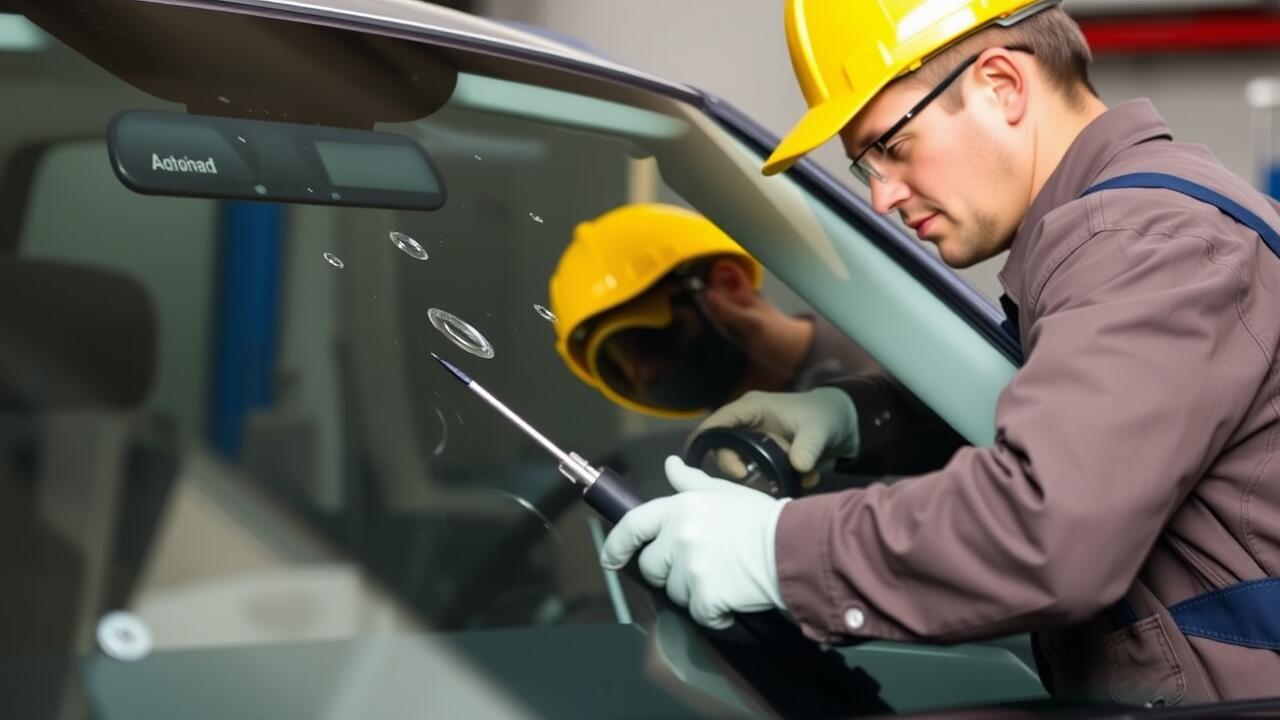
Once the resin has fully cured, evaluating the quality of your windshield repair becomes essential. Inspect the area for any remaining air bubbles or imperfections that may impact visibility. A proper repair should leave the surface smooth and clear, with no noticeable distortions affecting your line of sight. If any blemishes are present, it may indicate that the repair was not entirely successful, which could necessitate further attention or professional intervention.
After ensuring the surface is flawless, check the sealing around the repaired area. A well-executed windshield repair will maintain its integrity against environmental factors such as moisture and temperature changes. Any signs of peeling or separation could compromise the durability of the fix. It’s important to confirm that the resin has successfully bonded, ensuring your windshield remains safe for driving.
Checking for Clarity and Sealing
After completing the repair, it is essential to evaluate the clarity of the area treated. A well-executed windshield repair should leave minimal visible marks, with the resin blending seamlessly into the glass. Inspect the chip from various angles, checking for distortions or cloudiness. This assessment helps ensure that the repair has been effective, maintaining the safety and aesthetics of your vehicle.
Sealing is another crucial step following the repair process. Properly curing and sealing the resin prevents any contaminants from entering the chip and preserves its integrity. A good seal also protects against moisture, which could lead to further damage. Applying an additional layer of resin can create a stronger bond, so it’s beneficial to be thorough in this part of the process.
FAQS
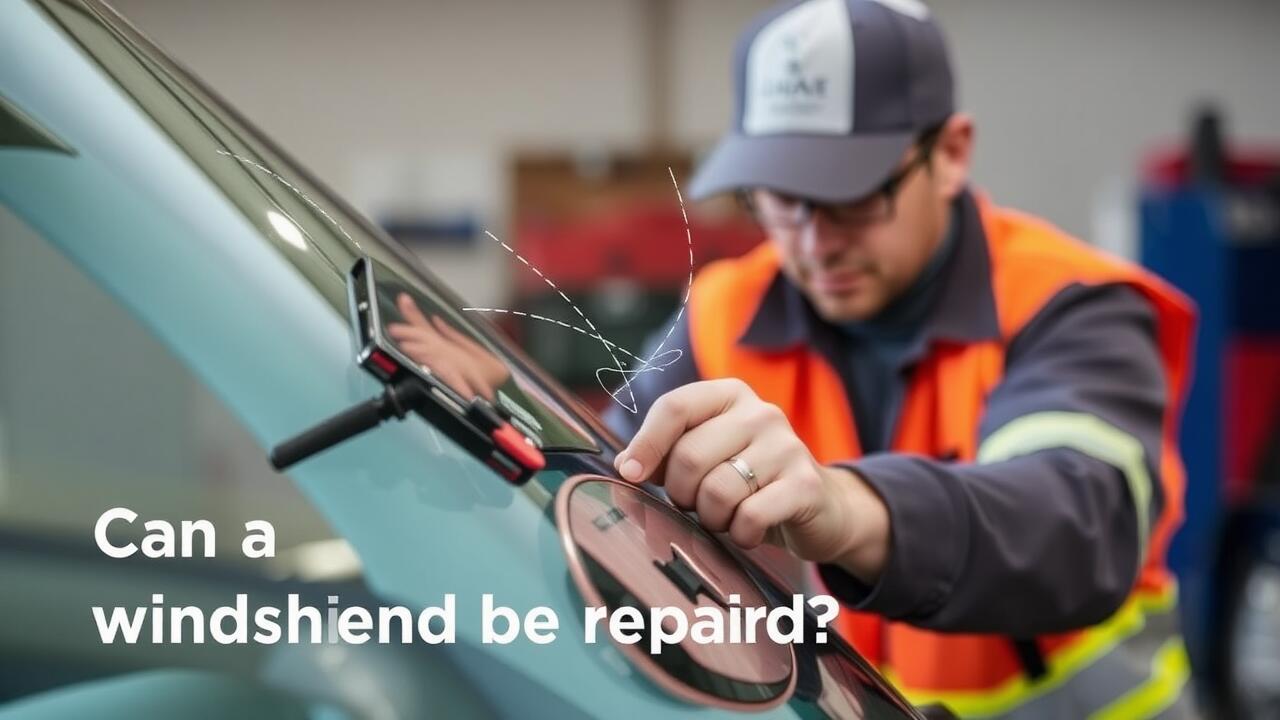
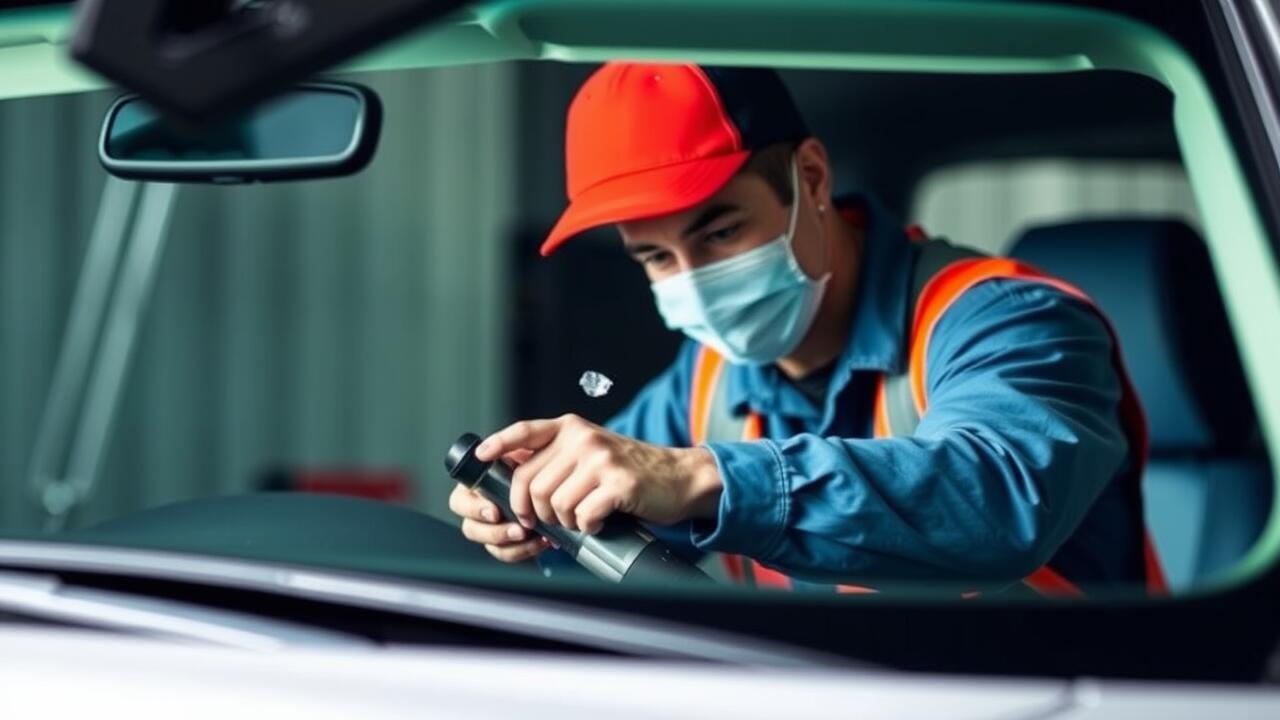
Is it safe to fix a chip in my windshield myself?
Yes, fixing a chip in your windshield yourself can be safe, provided you follow the proper procedures and use the right materials. However, for larger cracks or if you’re unsure, it’s best to consult a professional.
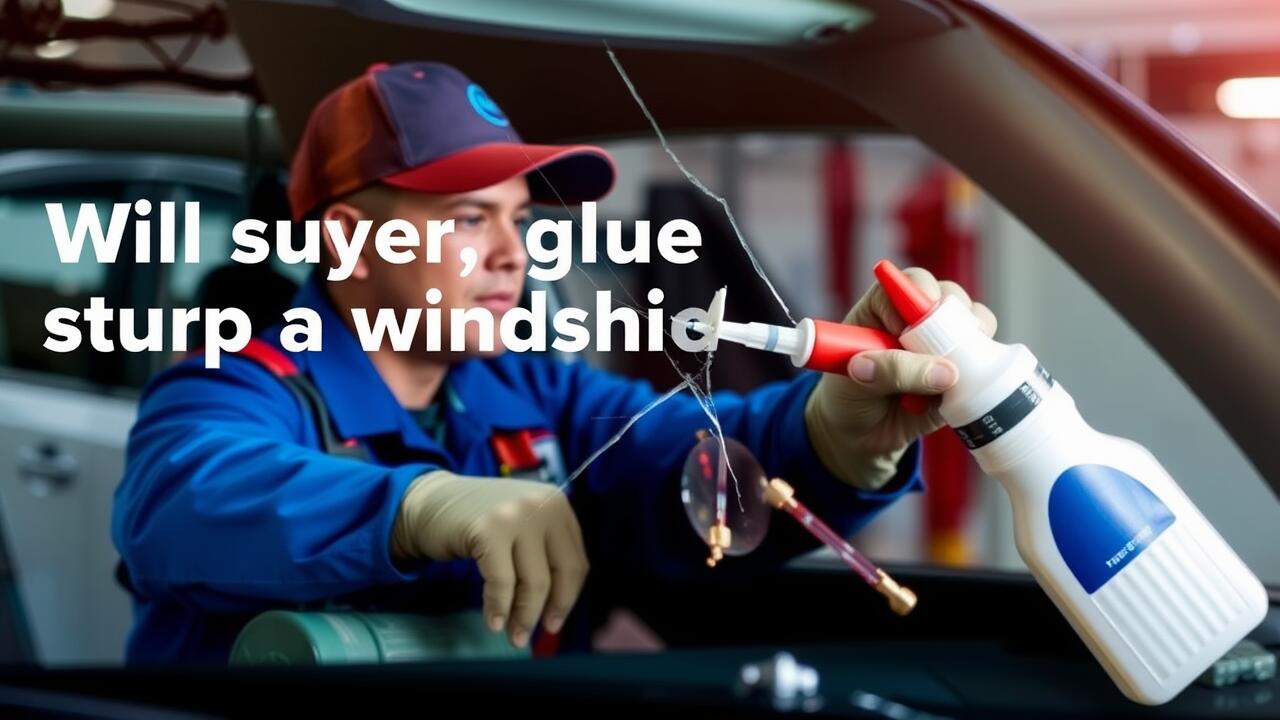
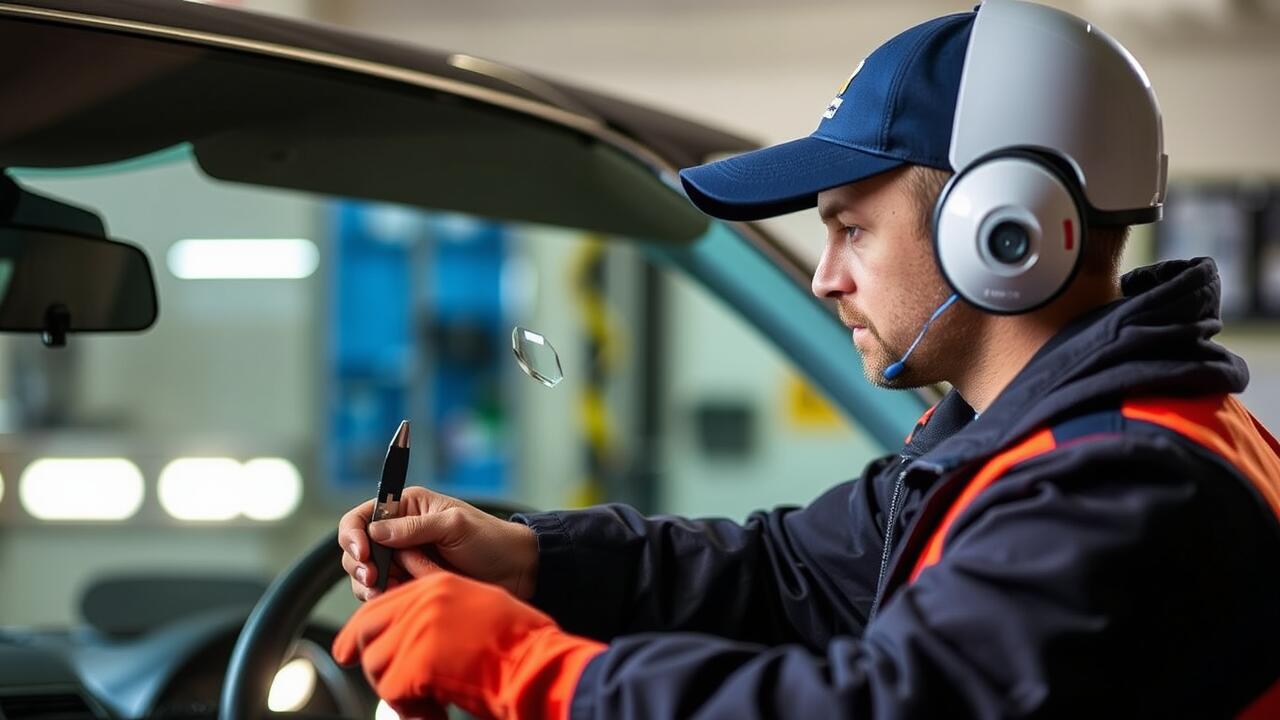
What materials do I need to repair a chip in my windshield?
To repair a chip, you’ll need a windshield repair kit, which typically includes resin, a curing film, a razor blade, and sometimes a UV light. Ensure you have these items before starting the repair.
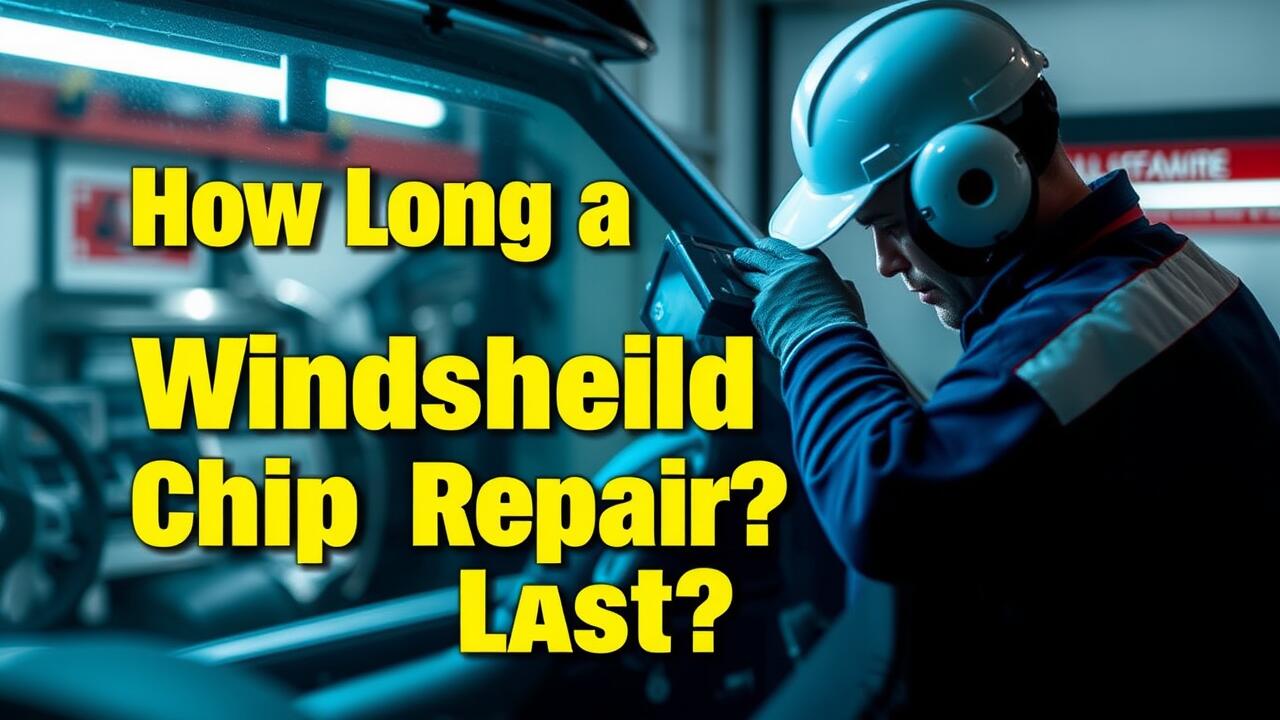
How long does it take to fix a chip in my windshield?
The entire process of fixing a chip can take about 30 minutes to an hour, depending on the size of the chip and the curing time of the resin used.
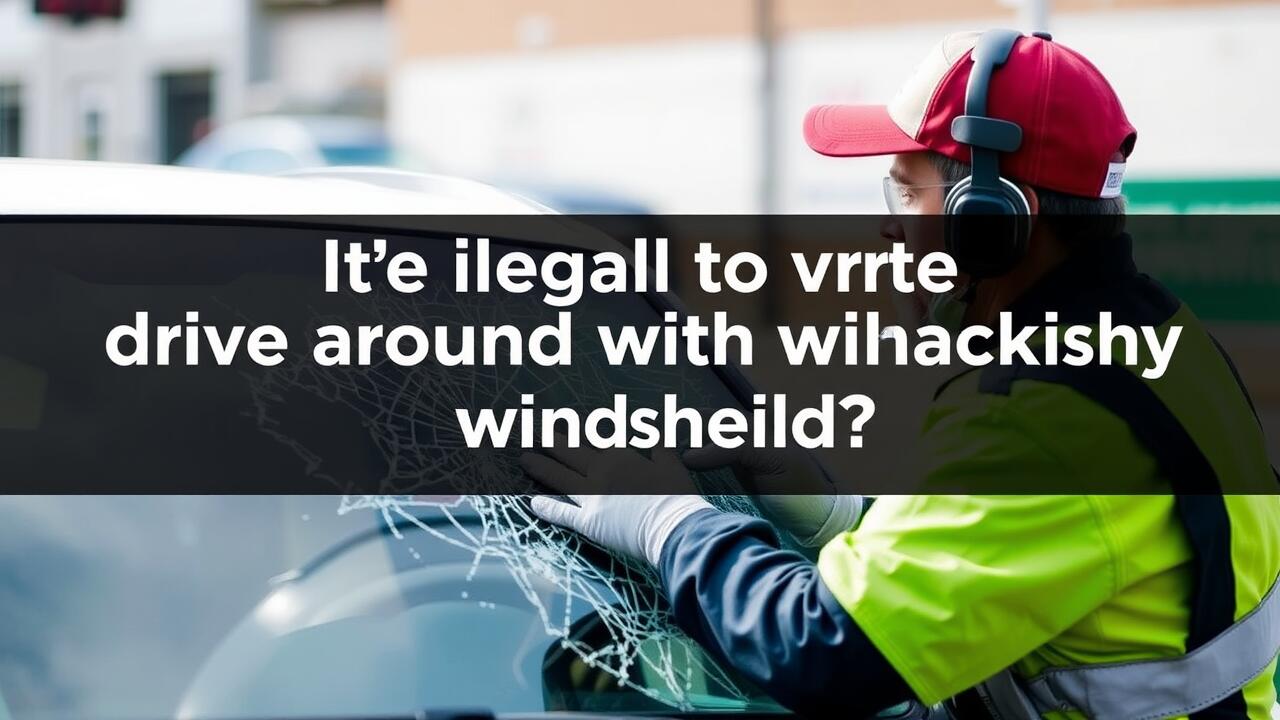
Can I drive my car immediately after repairing the windshield chip?
It’s best to wait for the resin to fully cure before driving your car. Follow the instructions on your repair kit, as curing times can vary based on the product and environmental conditions.
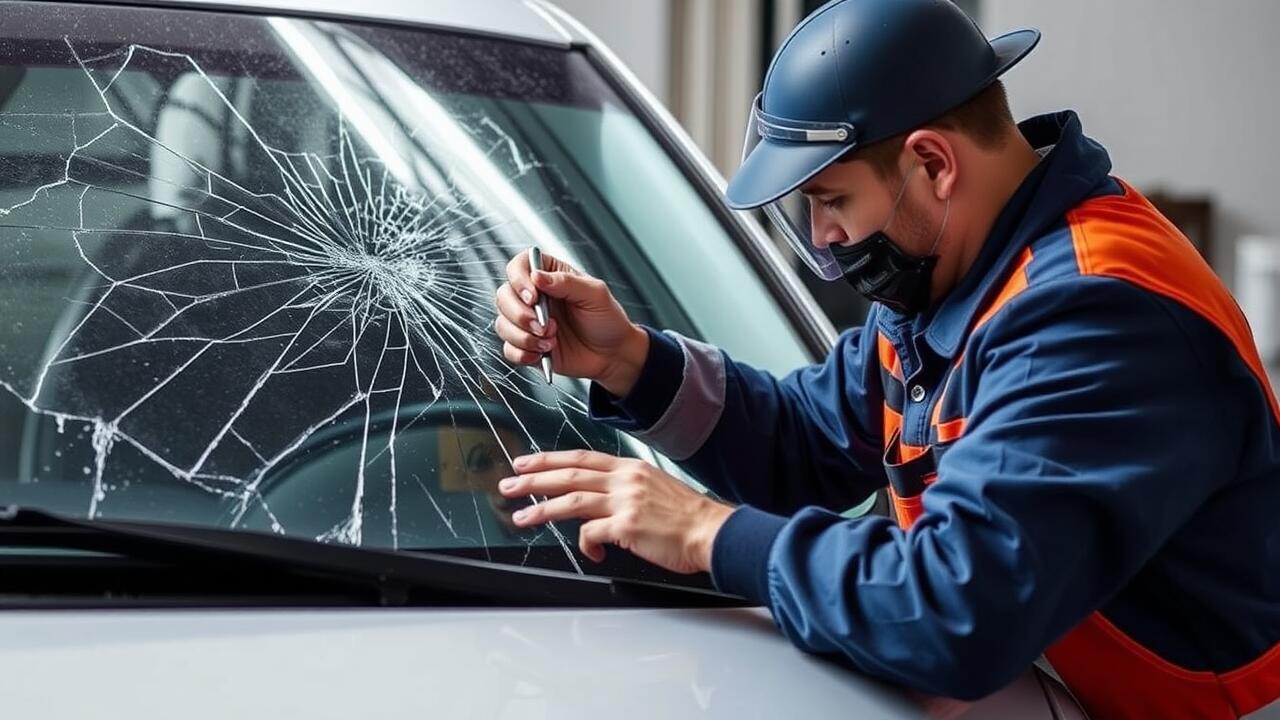
What should I do if the chip in my windshield is too large to repair?
If the chip is larger than a quarter or has multiple cracks extending from it, it’s advisable to consult a professional auto glass repair service. They can assess the damage and recommend the best course of action.